Set-up using a computer’s USB port (USB)
1. Open the
(3) AAA Battery Compartment
on the left headphone, and insert
2 AAA batteries.
2. Press and hold the
(2) Power Button
for 3 seconds. The
(2) Power Button
will flash slowly.
3. Plug the
(c) USB Power Cable
into the
(6) USB Connection Port,
and then into your
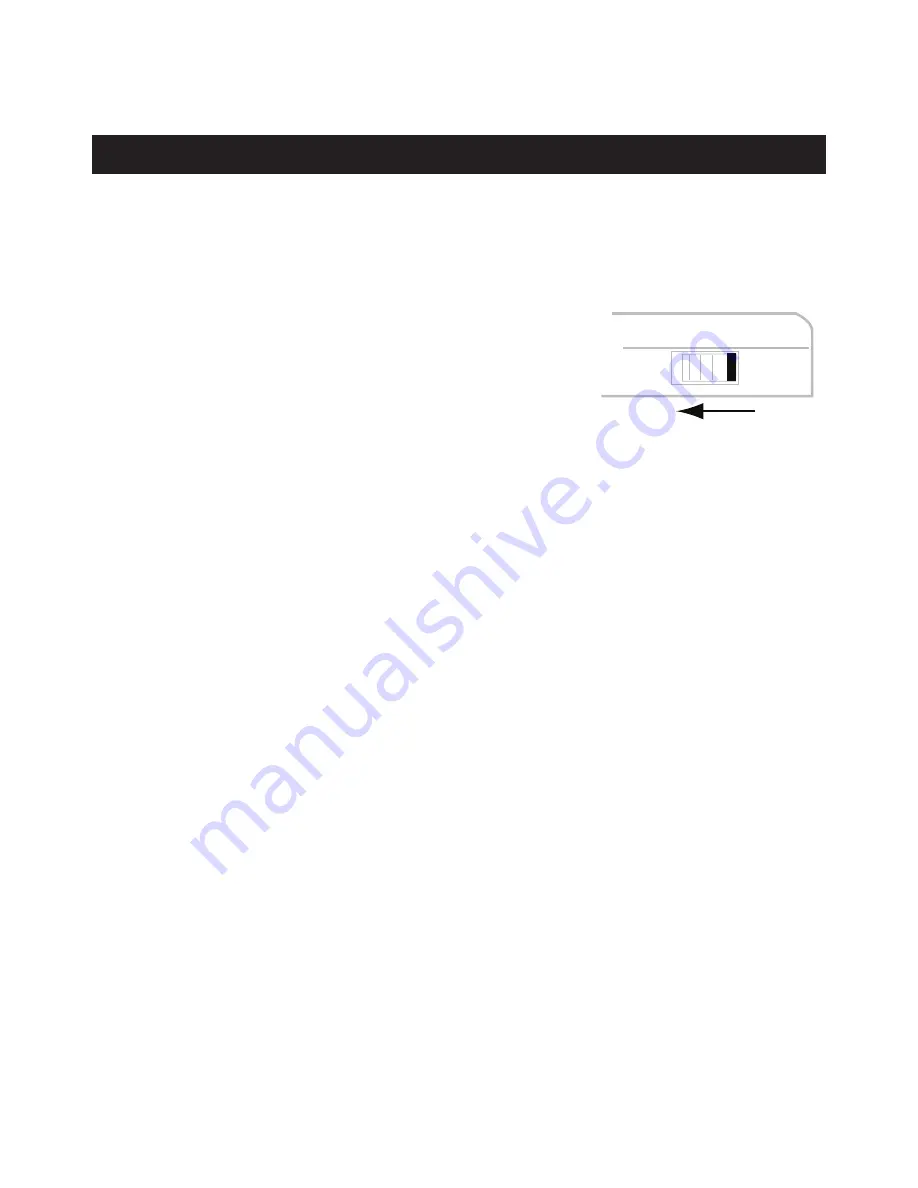
computer’s USB port, see Fig 2. Make sure the
(b) Audio Transmitter
is switched to
USB Mode
.
(You don’t need to use the
(d) 3.5mm Audio Cable
when connecting to
a computer. Power and audio are sent through the
(c) USB Power Cable
)
4. Hold the ‘Connect’ button on the
(1) Headphone Control Switch
and the
(5) Transmitter Connect LED Button
for 5 seconds.
A long “beep” will sound from the headphones and at the same time
the
(5) Transmitter Connect LED Button
will flash quickly. The PC will
detect the
(b) Audio Transmitter
automatically.
5. When you play an audio track on your computer, both the
(5) Transmitter
Connect LED Button
on the
(b) Audio Transmitter
and the
(2) Power Button
on the
(a) 2.4Ghz Headphones
glow solid to indicate a
successful connection.
When you re-connect to your computer, a connection will be made
automatically:
1. Power on the
(a) 2.4Ghz Headphones
and
(b) Audio Transmitter
. The
(5) Transmitter Connect LED Button
will flash quickly.
2. Connect to the audio source and play an audio track.
The
(5) Transmitter Connect LED Button
on the
(b) Audio Transmitter
and the
(2) Power Button
on the
(a) 2.4Ghz Headphones
glow solid to
indicate a successful connection.
Now you are ready to enjoy wireless, crystal-clear audio performance on
your computer
USB AUDIO IN
Operating Instructions
Using with a Computer


