6
7
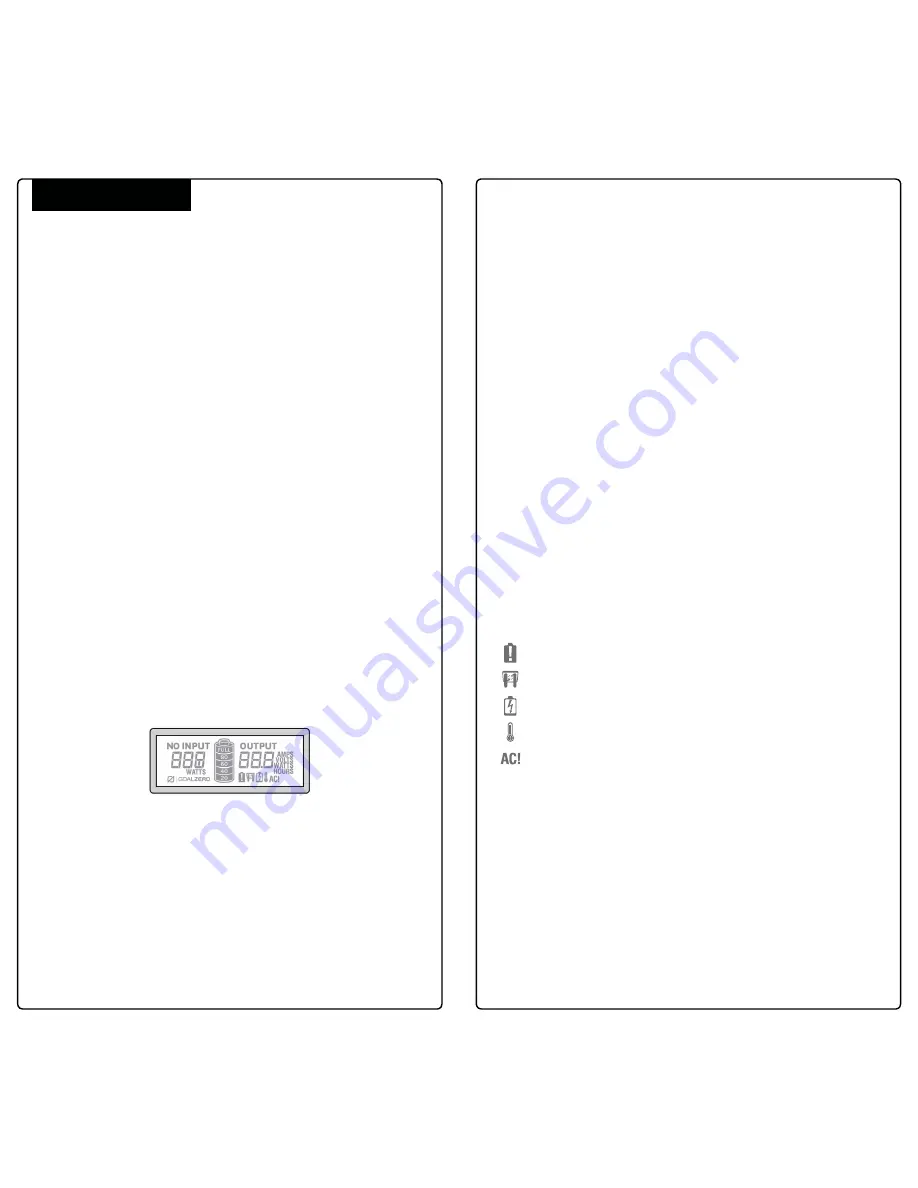
show LOW. If charging from the sun, reposition your solar panels
into more direct sunlight.
2. The BATTERY outline in the middle of the display indicates the current
charge level of your YETI. You can read more about the charging your
YETI on page 4.
3. The OUTPUT section on the right side of the display indicates the
amount of power your devices are pulling from the YETI. This information
can be displayed in AMPS, VOLTS, WATTS, AMP HOURS (Ah), and WATT
HOURS (Wh).
a. Press and hold the DISPLAY button until the display begins
flashing. Release the button and press again to scroll through
different display options
b. AMPS, VOLTS, and WATTS are all indicators of runtime, meaning
they will give you a good estimate of how long you’ll be able to use the
devices plugged in before the YETI needs to be charged.
c. Wh and Ah reflect the power usage over the lifetime of the YETI.
To reset these numbers, press and hold the DISPLAY button for 10
seconds. The OUTPUT display will begin flashing, and then stop
flashing – release the button to reset the totals.
**To efficiently monitor your power usage, reset Wh and Ah after you
fully charge your YETI.
4. Yeti 400 Warnings:
Battery Fail: Replace internal battery
Blown Fuse: Contact Goal Zero Solutions Center
Low Battery: Plug into power source immediately
Temperature Warning; Too Hot: Unplug YETI and allow it to cool down
Inverter Fail: Device is pulling too much power. Unplug device and
turn AC inverter off and on. Contact Goal Zero Solutions Center
Pure-Sine Wave Inverter
Your YETI has a built-in pure-sine wave inverter, which means it provides the
cleanest power for your devices. For more information about pure-sine wave
power,
see page 11.
Storage and Downtime Maintenance:
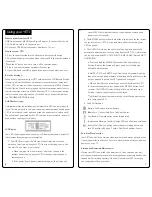
Having your YETI connected to a power source, like a solar panel or wall
outlet, between adventures or while in storage keeps its battery healthy and
topped off. This prolongs battery life and will ensure your YETI is charged
and ready to go all day, every day.
What to power from your YETI:
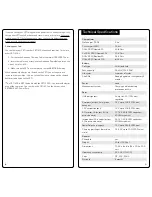
USB: Smartphones, MP3 Players, Digital Cameras, E-readers, Tablets, etc.
12V: Goal Zero Lights, Car adapters, etc.
AC: Laptops, CPAP, Display Monitors, Appliances, TVs, etc.
How to use your YETI:
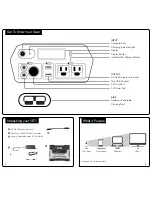
1. Press the power button located above each port you will be using.
2. You’ll know the port is turned on when the green LED light on the button is
illuminated.
**When the AC port is not in use, turn it off to conserve power.
3. Plug in your gear for power anywhere life takes you.
4. If possible, keep your YETI plugged into a power source when not in use.
Best-Use Strategy:
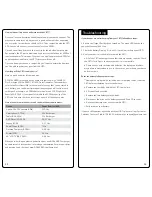
When recharging gear with your YETI, take note of the LCD Battery Display.
If you plug in devices that have a high power requirement, the charge level
of your YETI can drop quickly and you may not get exactly 400Wh of power.
On the flipside, if you’re recharging devices that draw power more slowly (a
tablet), you will get closer to 400Wh from your YETI. If you’re experiencing
shorter runtimes, you may want to check the device’s power requirements,
see TROUBLESHOOTING for help
Cold Weather Usage:
Cold temperatures (below freezing) can impact the YETI’s battery capacity.
If you’ll be living off-grid in sub-zero conditions, we recommend keeping your
YETI in an insulated cooler, and connected to a power source (solar panels).
The natural heat generated by the YETI contained in an insulated cooler will
keep battery capacity at its highest.
LCD Display:
Your YETI is equipped with an advanced LCD display that shows insightful
information about your power consumption.
1. The INPUT section on the left side of the display indicates the
amount of watts going into your YETI from your charging source, like
the wall, 12V charger, or solar panel.
a. When charging from a solar panel, notice the change in the
number of watts going into your YETI when you angle the panel
toward the sun.
b. If the power flow is below a measurable point, the display will
Using your YETI
Содержание Yeti 400
Страница 1: ......


