―
INSTRUCTIONS
Operation and
Service Manual
July 2011
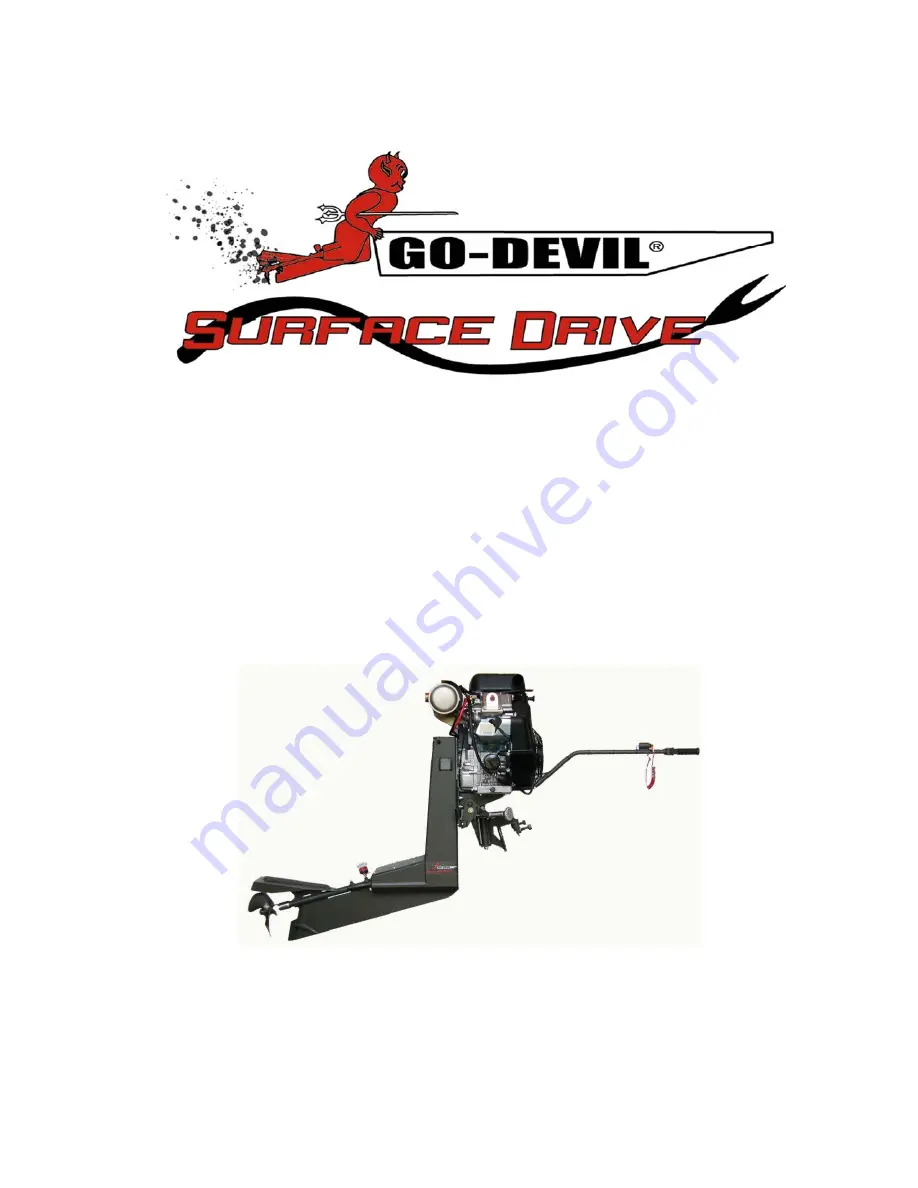
GO-DEVIL® Manufacturers of Louisiana, INC.
(225) 752-0167 • Toll Free 1-888-490-3254 • Fax (225) 752-0175
18649 Womack Road • Baton Rouge, LA 70817
Please visit our website at www.godevil.com
Страница 1: ...peration and Service Manual July 2011 GO DEVIL Manufacturers of Louisiana INC 225 752 0167 Toll Free 1 888 490 3254 Fax 225 752 0175 18649 Womack Road Baton Rouge LA 70817 Please visit our website at...
Страница 2: ...while underway the engine may tilt violently and cause injury NEVER TOUCH ENGINE COMPONENTS DURING OR IMMEDIATELY AFTER OPERATION Components can become extremely hot which could result in severe burns...
Страница 3: ...Lubrication 10 External Grease Fittings 10 Pressure Lubrication 11 Internal Drive Lubrication 12 BELT TENSION AND INSTALLATION 13 15 Tension Tester How it Works 13 Checking Belt Tension 14 Adjusting B...
Страница 4: ...d engine flat with the engine in a normal upright position 2 Remove the plywood and 2x4 s surrounding the engine 3 Locate the metal band holding down the prop end of the Surface Drive frame and cut it...
Страница 5: ...Install the washer and nut and tighten the nut firmly or until a slight amount of drag can be felt while pivoting the handle up and down from the grip Attach the safety kill switch wires to the mating...
Страница 6: ...been installed during factory assembly This spring returns the throttle linkage to idle position when the squeeze lever is released To ensure that the throttle operates smoothly periodically lubricate...
Страница 7: ...les 13 Tie a rope to the rib in your boat under the hand grip of the Surface Drive and put a loop in the rope Slip the loop over the handle to hold the engine in a neutral position while the handle is...
Страница 8: ...he trailer frame on one side of the boat even with the hand grip Bring the rope over the boat and make a wrap around the hand grip on the Surface Drive then tie a loop in the rope before the rope come...
Страница 9: ...from supplying an adequate amount of fuel to the engine When this happens the engine will starve for fuel and temporarily lose performance Ensure that the engine oil level does not exceed the full le...
Страница 10: ...should run the engine for a few minutes to ensure that it runs properly If the engine runs rough after warm up the carburetor may need adjustment Refer to the engine Manual To Stop the engine release...
Страница 11: ...te stop While the engine is idling with the prop out of the water turn the engine all the way to one side and lower the prop into the water slowly Most boats will turn in their own length when this is...
Страница 12: ...eved For the average boat and engine combination the prop should be run with approximately 1 3 of its diameter above the surface Different hull designs and horsepower to weight ratios will affect opti...
Страница 13: ...e photos below We recommend using a 1 or 2 marine grade waterproof grease such as AQUA LUBE to lubricate all fittings Grease the steering and tilt axes after every 10 20 hours of run time Any more oft...
Страница 14: ...p if over filled ATTENTION The lubricator piston will not reach the bottom of the cup When the piston is at its lowest position the visual grease column will be approximately 3 8 high When the piston...
Страница 15: ...hours of use remove the vent tube connected to the barb fitting shown below and pump grease into the grease fitting until grease starts to exit the top of the housing through the barb fitting Collect...
Страница 16: ...elow Belts that are run too loose will cause an increase in driveline vibration resulting in reduced belt life When tensioning adjust to the high end of the given tolerance to allow for belt stretch N...
Страница 17: ...not be centered on the belt width 4 Touch the tester against the center of the belt width as shown to the right To measure deflection slide the outer o ring from the belt housing Use the inch scale o...
Страница 18: ...tment nut clockwise to loosen the belt Remove all four of the 3 8 bolts securing the sprocket shaft bearing housing shown on page 12 The sprocket unit can then be lifted enough to change the belt Appl...
Страница 19: ...K PLIERS 4 TO 5 LB HAMMER 5 16 DRILL BIT 7 8 9 10 TPI DIE NUT 7 8 9 10 TPI TAP PART DESCRIPTION USED FOR PRICE PW2 3BL PROP WRENCH T BAR TO REMOVE PROP 50 SHBUPU PULLER FOR SHAFT BUSHINGS SLIDE HAMMER...
Страница 20: ...hen installing a used propeller use caution the blades may be very sharp from wear Use leather gloves to prevent injury 3 Install the rear brass washer BW 78 followed by the nylon insert nut 1A4 78 Th...
Страница 21: ...ver the shaft and leave it loose 2 Install the shaft key of the way into the yoke and slide the shaft to the yoke with a pair of channel locks Now tap the shaft in about with a 7 8 coupling nut or our...
Страница 22: ...pound hammer 5 After the bushing is installed the bore will shrink Run a 7 8 reamer or 7 8 drill bit through the bushing to make sure that the shaft will turn freely in the bushing BUSHING REMOVAL AND...
Страница 23: ...20...
Страница 24: ...21...
Страница 25: ...22...
Страница 26: ...gines on our products have a two year engine warranty that is applicable as long as the original owner owns the unit Briggs Stratton Vanguard engines have a three year warranty as of July 2010 and as...