PA G E 1 0
i n s t r u c t i o n m A n uA l
G D 9 6 0 0 s E r i E s
10
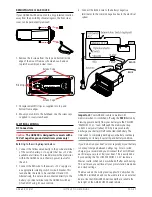
Band selector
to select the radio band (Am1, Am2, Fm1, Fm2 or Fm3)
sequentially press the
BNd
button until the required band
is selected.
11
tuning/selecting tracks/chapters
manual tuning
to tune the radio manually, momentarily press the
or
button to select the desired frequency. Each press will
step the frequency by 50 kHz.
automatic tuning (seek)
Press and hold either the
or
buttons for 3 seconds.
the GD9600 will stop seeking when a strong, clear station
is detected.
12
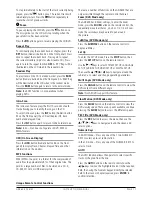
storing of stations in memory
once the desired station has been selected, press and hold
one of the six pre-set station memory locations on the front
panel for 3 seconds. the corresponding button number will
appear on the lcD indicating that the selected station is
now programmed into the GD9600 memory.
13
auto programming of radio stations (ams)
select the required band
Press and hold the
ams
button for 3 seconds; the GD9600
will now commence searching the band for radio stations.
As each station is located it is automatically stored in the
next available pre-set memory location. the new stations
will replace any stations previously stored in that band.
the scanning will continue untill all pre-set memory
locations are filled in each band.
manually selecting the pre-set station memories
Briefly press the desired station memory
1 - 6
. the GD9600
will jump immediately to that station and the memory
number will appear on the lcD.
14
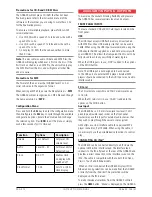
preset equaliser (p-eQ)
the GD9600 has four preset Graphic Equaliser settings to
enhance your audio listing pleasure. to select the P-EQ
mode, press the EQ
14
button sequentially to select and
display either FlAt, clAssic rocK or PoP modes.
note: the trEBlE and BAss audio settings cannot be
adjusted when the P-EQ mode is selected.
cd/mp3/dVd operatIoN
Warning:
Do not insert discs containing anything other
than cD, DVD or mP3 files into the disc slot. the cD/DVD
mechanism contains precision laser components which
could easily be damaged by inserting foreign objects.
Important:
Because of the wide dynamic range offered
by cD/DVD systems, the difference in volume level between
very soft sounds and very loud sounds can be quite high.
For this reason we recommend that you avoid turning the
volume level up to loud when listening to very soft music or
tracks with no audio level, otherwise a sudden change to
very loud music could damage your speakers.
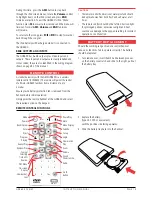
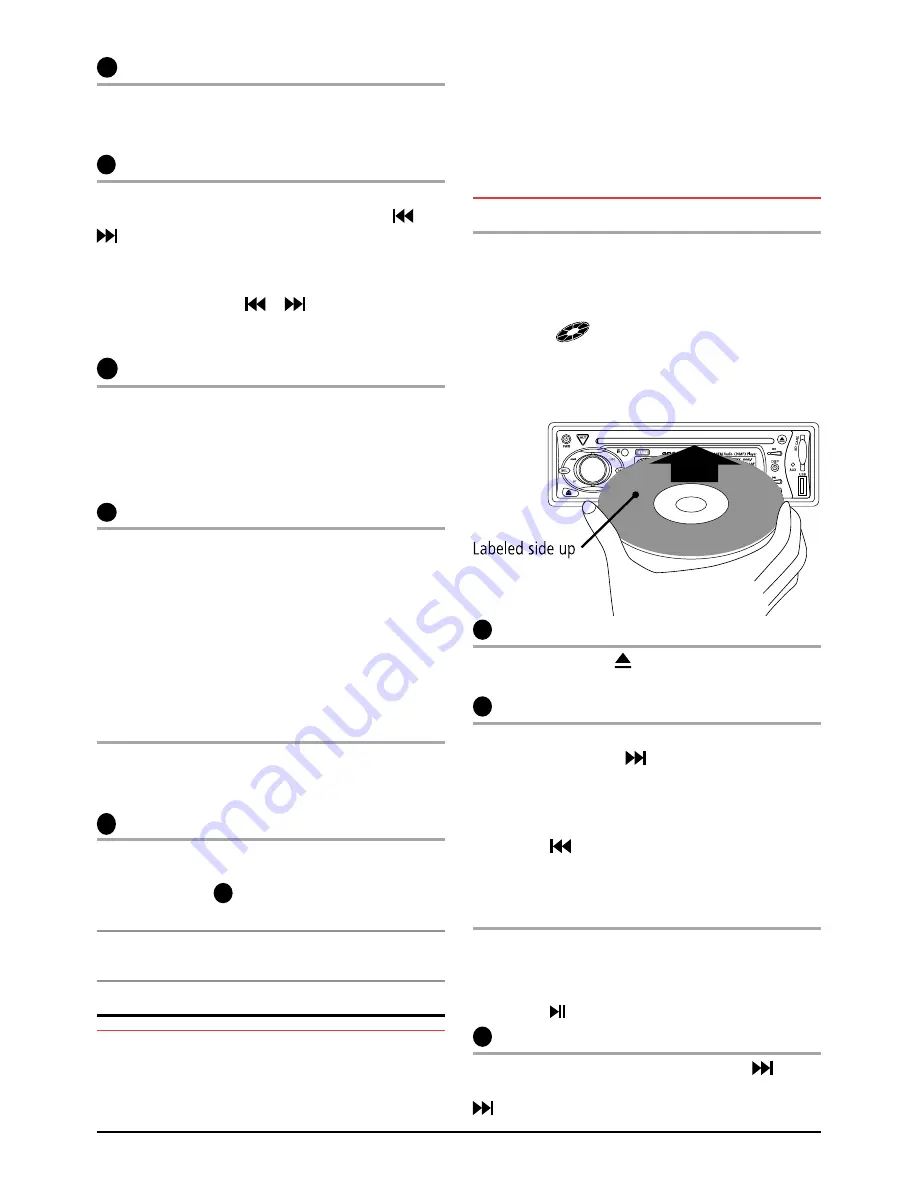
Inserting the cd/dVd
remove the cD/DVD from it’s case and insert the disc, label
up, into the front panel aperture. the cD/DVD mechanism
will automatically draw the disc into the player and start
playing track 1 or chapter 1 if it is a DVD.
A disc symbol
is displayed on the lcD whenever
there is a cD/DVD in the player. the symbol will simulate
rotation whenever the disc is playing.
12
ejecting a cd/dVd
Press the
eJect
button to stop the cD/DVD playing and
automatically eject the disc.
11
fast forward/reverse
to advance through the present track or chapter at high
speed, press and hold the
button. the elapsed playing
time will be displayed and will advance rapidly. release the
button to continue playing at the normal speed.
to reverse through the present track at high speed, press
and hold the
button. the elapsed time on the display
will decrease rapidly. release the button to continue
playing the present track at the normal speed.
stop
Press the
stop
button, (numeric button #5 on the
front panel).
to return to the normal play mode press
play
, (numeric
button #1 or on the remote control).
11
step to the Next track or dVd chapter
to step immediately to the next track, press the
button
once. the next selected track will begin playing, press the
button to advance to the start of successive tracks.

