General Motors Tech2 User Guide
89
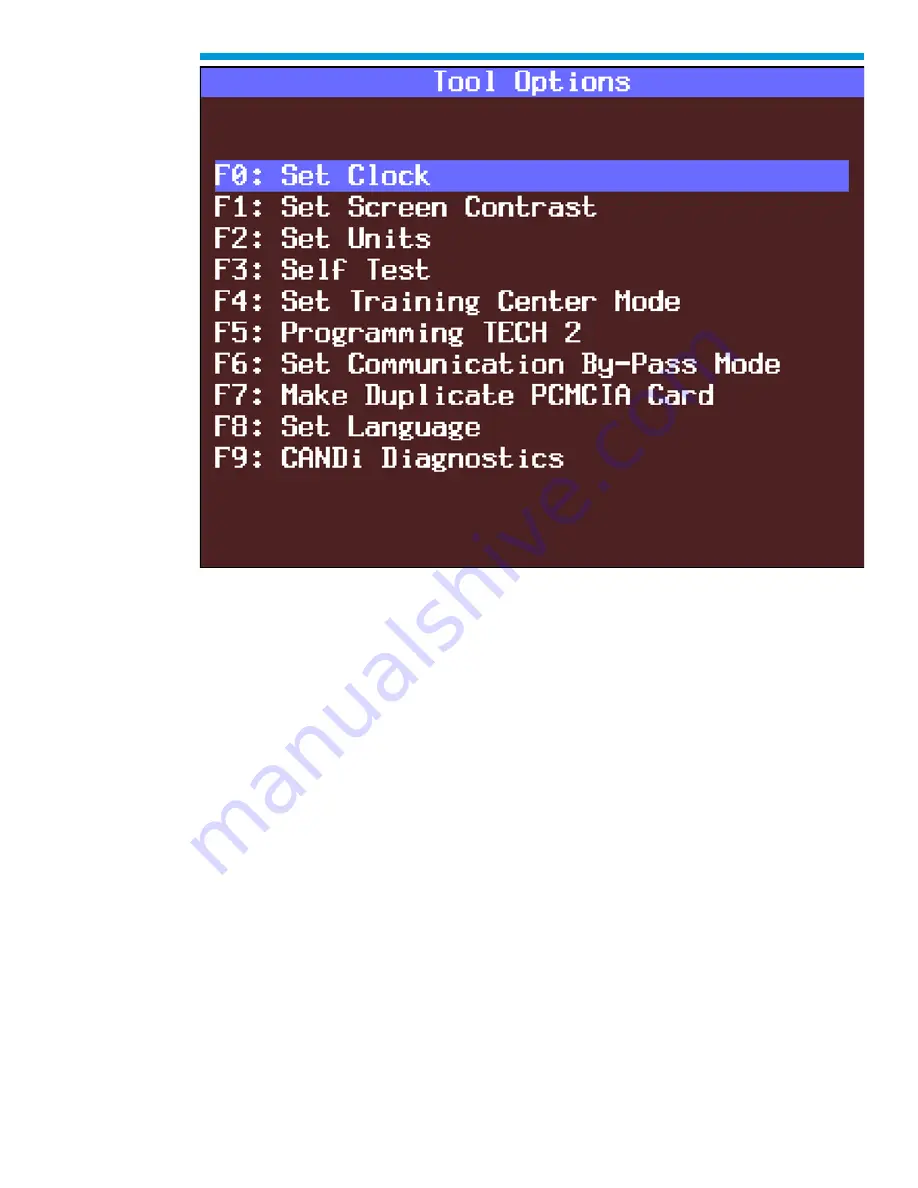
Tool Options menu
F0: Set Clock
After you select F0: Set Clock from the Tool Options menu and the Set Real-Time Clock
menu appears, you can set the internal Tech2 real-time clock in two ways:
1. Use the up and down arrow keys to move the cursor to desired selection. Press
[ENTER] to change the value. Each time [ENTER] is pressed the value will be
increased by one unit until a preset maximum unit is reached. Once all correct
values are entered, press the Set Clock soft key to save all changes.
2. Use the function key of the desired selection to change an incorrect value. Each
time the function key is pressed the value will be increased by one unit until a
preset maximum is reached. Once all correct values are entered, press the Set
Clock soft key to save all changes.
Содержание Tech2
Страница 1: ...General Motors Tech2 User Guide 1 GM Tech2 User Guide ...
Страница 17: ...General Motors Tech2 User Guide 17 2 Attach the Tech2 DLC cable P N 3000095 to the VCI connector ...
Страница 20: ...General Motors Tech2 User Guide 20 Connection of the power jack to the DLC cable ...
Страница 22: ...General Motors Tech2 User Guide 22 ...
Страница 24: ...General Motors Tech2 User Guide 24 PCMCIA card keying ...
Страница 26: ...General Motors Tech2 User Guide 26 VCI module removal ...
Страница 32: ...General Motors Tech2 User Guide 32 Attaching the Tech2 to non OBD II equipped vehicles ...
Страница 37: ...General Motors Tech2 User Guide 37 Table showing various types of power cord plugs for the Tech2 ...
Страница 40: ...General Motors Tech2 User Guide 40 RS 232 cable connections ...
Страница 46: ...General Motors Tech2 User Guide 46 Tech2 startup screen ...
Страница 47: ...General Motors Tech2 User Guide 47 Tools Options selected on Main Menu ...
Страница 50: ...General Motors Tech2 User Guide 50 Connection of DLC loopback adapter to the Tech2 VCI connector ...
Страница 51: ...General Motors Tech2 User Guide 51 Automated Main PCB and VCI test selected on Tech2 Self Test main menu ...
Страница 52: ...General Motors Tech2 User Guide 52 Test Status ...
Страница 53: ...General Motors Tech2 User Guide 53 Test Pass ...
Страница 61: ...General Motors Tech2 User Guide 61 Automated Main PCB test selected on Tech2 Self Test main menu ...
Страница 64: ...General Motors Tech2 User Guide 64 Selectable VCI test selected on Tech2 Self Test main menu ...
Страница 65: ...General Motors Tech2 User Guide 65 First selectable VCI Self Test screen ...
Страница 67: ...General Motors Tech2 User Guide 67 Power On Self Test Results selected on Tech2 Self Test main menu ...
Страница 78: ...General Motors Tech2 User Guide 78 CANdi Diagnostics selected on Tool Options menu ...
Страница 86: ...General Motors Tech2 User Guide 86 System Selection Menu ...
Страница 97: ...General Motors Tech2 User Guide 97 Tool Controls Menu ...
Страница 98: ...General Motors Tech2 User Guide 98 Hardware Menu ...
Страница 101: ...General Motors Tech2 User Guide 101 Accept soft key on data screen ...
Страница 103: ...General Motors Tech2 User Guide 103 Live Plot Screen with selectable items ...
Страница 104: ...General Motors Tech2 User Guide 104 Min Max Adjustment screen ...
Страница 105: ...General Motors Tech2 User Guide 105 Learn and Learn All soft keys on Min Max Adjustment screen ...
Страница 106: ...General Motors Tech2 User Guide 106 Live Plot Resume soft key ...
Страница 107: ...General Motors Tech2 User Guide 107 Live Plot Data List soft key ...
Страница 125: ...General Motors Tech2 User Guide 125 4 At the Model Year s screen highlight the appropriate year then select Enter ...
Страница 126: ...General Motors Tech2 User Guide 126 5 At the Vehicle Type s screen highlight the vehicle type then select Enter ...
Страница 136: ...General Motors Tech2 User Guide 136 Programming Failed Screen ...
Страница 137: ...General Motors Tech2 User Guide 137 Tech2 SPS Error No Communications with Vehicle instructional screen ...
Страница 141: ...General Motors Tech2 User Guide 141 Controller Area Network diagnostic interface CANdi module ...


