


10
Visit our website at http://xtm.globalhobby.com or for Customer Service at http://globalservices.globalhobby.com
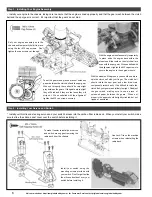
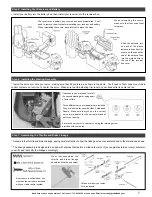
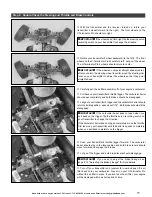
Step 12: Mounting the Body
●
Carefully cut out the clear body along the molded scribe lines, using a pair of Lexan scissors.
●
Using 220 grit sandpaper, carefully sand the edges of the body smooth and straight. Be very careful not to scratch the body during this
process.
●
Using a body reamer, cut out the holes in the top of the body for the three body posts and the receiver antenna tube to exit. These
locations are marked by molded dimples in the top of the body.
●
Carefully cut out the tuned pipe clearance notch in the left side of the body, the engine cooling hole in the front windshield and the
cylinder head clearance hole in the top of the body. Again, follow the molded scribe lines when making these cutouts.
●
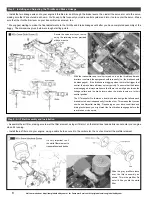
Wash the inside of the body with warm water and non-abrasive liquid detergent to remove any chemicals left from the molding
process, then completely dry the body, using a soft cloth. After drying with a soft cloth, allow the body to air dry for a while.
●
Paint the inside of the body, using your favorite materials and methods. Do not paint the outside of the body.
●
After the paint dries completely, peel back and remove the protective plastic material from the outside of the body, then apply the
decals that are included to the body.
●
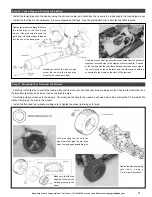
Secure the wing to the chassis, using the two nylon washers and long metal mounting clip provided.
●
Secure the body in place, using the two metal body clips provided - one long and one short.
The body comes with a thin, self-adhesive
protective covering attached to the outer
surface of the body. Leave this in place until
after painting the inside of the body, then
remove it before applying the decals.
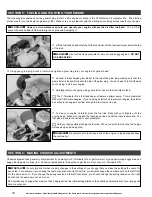
Now that you are done with the final assembly of your X-Terminator Pro, it's time to prepare your X-Terminator Pro for its first run.
Step 1: Final Assembly
SECTION 4: PREPARING TO RUN YOUR X-TERMINATOR PRO
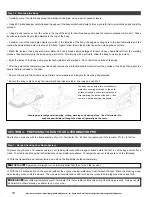
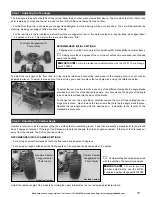
To prevent any chance of a runaway vehicle, your radio system should be range-checked before the first run of the day and/or after a
crash. Your radio control system instructions may have similar procedures. To range-check your radio system, do the following:
❑
With the transmitter and receiver turned on, extend the transmitter antenna completely.
✦
✦
✦
✦
✦
IMPORTANT
✦
✦
✦
✦
✦
Remember to always turn on the transmitter first, then turn on the receiver.
❑
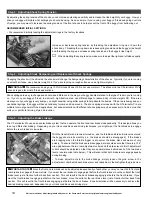
With the X-Terminator Pro on the ground (without the engine running) walk away from it about 150 feet. Move the steering wheel
while looking at the vehicle's wheels. The wheels should pivot back and forth as you rotate the steering wheel back and forth.
✦
✦
✦
✦
✦
WARNING
✦
✦
✦
✦
✦
Never attempt to operate your X-Terminator Pro if your radio control system is not functioning properly. Doing so could
be harmful to others around you and/or to you or your car.
Step 1: Range-Checking Your Radio System
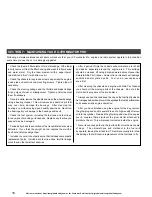
Drawings represent general trimming, cutting, washing and painting steps. The X-Terminator Pro
body shape will differ, although the steps will generally be the same.


