7"LCD 4channel H.264 DVR COMBO
Page 7 of 24
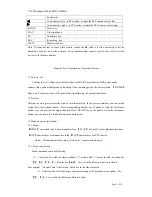
downwards
In menu mode:left
;
in PTZ mode
,
control the PTZ camera revolve left
In menu mode: right
;
in PTZ mode
,
control the PTZ camera revolve right
ENTER
Select key
PLAY
Video playback
FN
Subsidiary key
REC
Recording key
VIEW
Multi-screen key
Note: If many devices in same place,remote control should select a device according to device
number.So each device needs a unique device number,unless remote control may effect to multi
devices with the same number.
Chapter Three: Description of Operation System
3.1 Turn on / off
Confirm that AC voltage accessible matches with DVR .Ensure that the DVR power outlet
connect with a good middle ground grounding. After switching power, the device started,
【
POWER
】
light is on. Turn into system, if the panel status light flashing ,it's normal conditions.
3.2 Preview
After device start, preview interface can be seen immediately. In the preview interface you can see the
system date, time, channel name. Press corresponding number key of panel or click the left mouse
button, user can preview the single channel; Press "QUAD" key in the panel or click the left mouse
button, you can return to a multi-interface monitoring state.
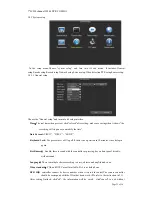
3.3 Menu operation instructions
3.3.1 Menu
【
MENU
】
,enter the device's main menu interface.
【
PLAY
】
shortcut keys for playback interface.
【
REC
】
shortcut keys for manual recording.
【
PTZ
】
shortcut keys for PTZ control.
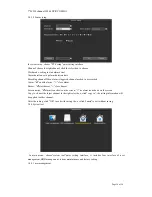
Noted: Default password is empty, click "enter" can into menu directly.
3.3.2 Menu composition
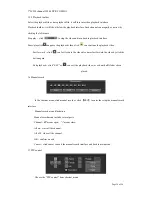
Menu component units as following:
(
1
)
Check box::two kinds of status available, "√" means valid, "□" means invalid , direction key:
【
↑
】【
↓
】【
←
】【
--->
】
,enter key
【
】
. Also, click the left mouse button to choose.
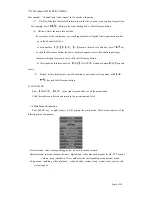
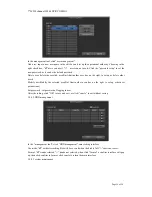
For example: "channel" and "video mode" check box in the video research.
(
2
)
Selection box: select the target content according to the drop-down box options. Use
【
↑
】
,
【
↓
】
key or click the left mouse button to select.

