- 4 -
SETUP
1. The lamp
2.
This device uses 7 pieces OSRAM brand 20 watt RGBW-in-1 High Power LEDs,
including 7 pieces red, green, blue, and white color, each 5 watt.
The LEDs in 3 Basic colors (red, green, blue) can create different color mixing.
E.g. Red + Green = Yellow, Red + Blue = Purple, Blue + Green = Cyan, Red + Green +
Blue = White.
With the adjustment of the output of each color, you will get thousands of different
color mixing during DMX operation.
The service life of the LEDs is around 50,000 to 100,000 hours. This means you do
not need to change the LEDs for many years. However, sometimes one of the LEDs
might fail for some reasons. Since the LEDs are connected every 6 of one color into
a series, when one LED fails, the whole series (six LEDs) will not be lit.
When this occurs, fix the device by qualified technicians only.
The minimum distance between the device and illuminated surface is 1 meter.There
should not be any flammable materials 10 meters around the device!
Color mixing
Rigging the device
3. Connection to mains
This device can be installed directly onto a truss, wall or stage floor in any orientation
without altering its operation characteristics.
Use proper bolts to mount the device via its brackets. The brackets should be attached
to the device with proper bolts!
Always use a secondary safety rope that can hold at least 10 times the weight of the
device through the holes on the bottom of the device. Never use the carrying handles
for secondary attachment.
Connect the device to mains with the enclosed power plug. The occupation of the
DANGER OF FIRE!
Make sure there is no inflammable material nearby during
installing. Follow the instructions stated on the bottom of
the base of this device.
!
!
!
WARNING!
Use 2 clamps to rig the fixture onto a truss. Make sure it is
fixed properly! Ensure the structure (truss) is secure.
!
Very important!
The values you selected for the Red, Green, Blue, and White colors will be a mixed
color, and it will be the customized color of the channel 6 for DMX operation! It is
strongly recommended that you select the same color for all devices that will work
together!
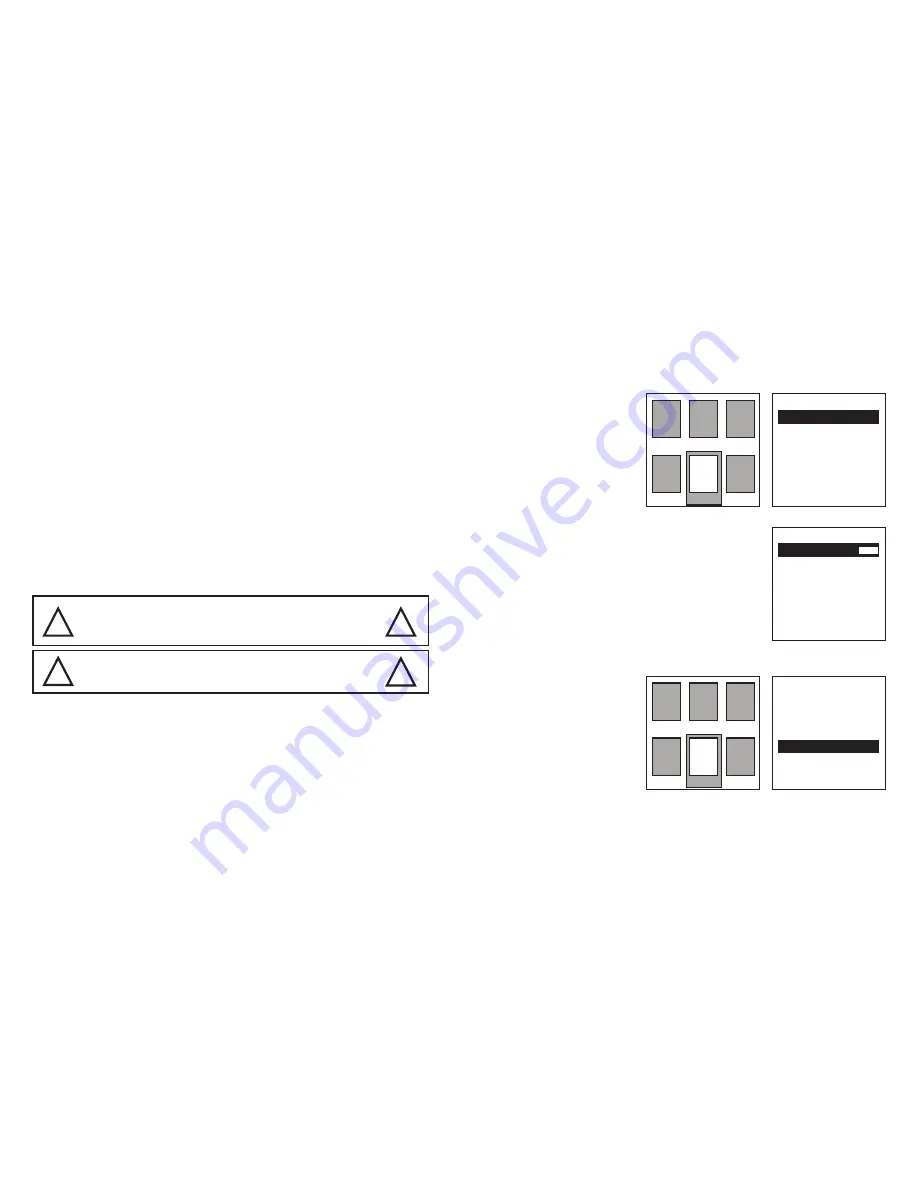
Pan/Tilt reversed direction
Display reversed direction
Press the Menu button to back
to the main menu.
Press the Menu button once
again, you will see one of the
6 icons will be highlighted.
Press Up or Down button to
select the second icon on the
second line.
Press the Enter button.
You will see the image on the
right. There are 11 selections,
PanReverse, TiltReverse, etc.
Press the Up or Down button to select the
PanReverse or TiltReverse.
Press the Enter button, you will see ON or OFF on
the right will be highlighted. This is the direction of
Pan or Tilt movement.
If you select ON, the movement direction will
be reversed.
Press the Up or Down button to select from ON or OFF.
Press the Enter button to save your setting.
Press the Menu button to exit to the main menu.
Press the Menu button to back
to the main menu.
Press the Menu button once
again, you will see one of the
6 icons will be highlighted.
Press Up or Down button to
select the second icon on the
second line.
Press the Enter button.
You will see the image on the
right. There are 11 selections,
PanReverse, TiltReverse, etc.
Press the Up or Down button to select the PanReverse or TiltReverse.
Press the Enter button, you will see ON or OFF on the right will be highlighted. This
is the direction of the Display.
If you select ON, the display direction will be reversed.
Press the Up or Down button to select from ON or OFF.
Press the Enter button to save your setting.
Press the Menu button to exit to the main menu.
- 9 -
PanReverse
PanReverse
PanReverse
OFF
OFF
SignalLink
DisplayReverse
SignalLink
ON
ON
ON
Address
Address
RunMode
RunMode
SetUp
SetUp
TestMode
TestMode
SysInfo
SysInfo
SetUp
SetUp
SetUp
Language
Language
TempSwitchSet
TempSwitchSet
TempSwitchSet
ON
ON
ON
FaderDelay
ScreenSaver
FaderDelay
ON
ON
ON
TiltReverse
TemperatureSet
TiltReverse
OFF
070
OFF
CodeWheel
FactorySet
RESET
CodeWheel
ON
ON
OFF


