Page 1
Octal/Quad T1 E1 Boards
Quick Install Guide
Normal Instructions
– Follow these precisely
DO NOT INSERT Octal/Quad PCIe T1/E1 Board into the PCIe slot on the PC.
Perform Software installation first, followed by Hardware Licenses installation, Warranty License installation and Dongle Licenses
installation (optional).
•
System Requirements
o
Windows® 10 OS.
o
Core i3 to i7 or equivalent, 4 GB Memory, USB 2.0/USB 3.0 Port, Mother board with PCIe slot.
o
Ensure that system has latest Windows® updates and service packs installed.
•
Plug-in the
USB Installation Stick
(pen drive) to the PC. This is provided with the shipment package by
GL
Communications
.
•
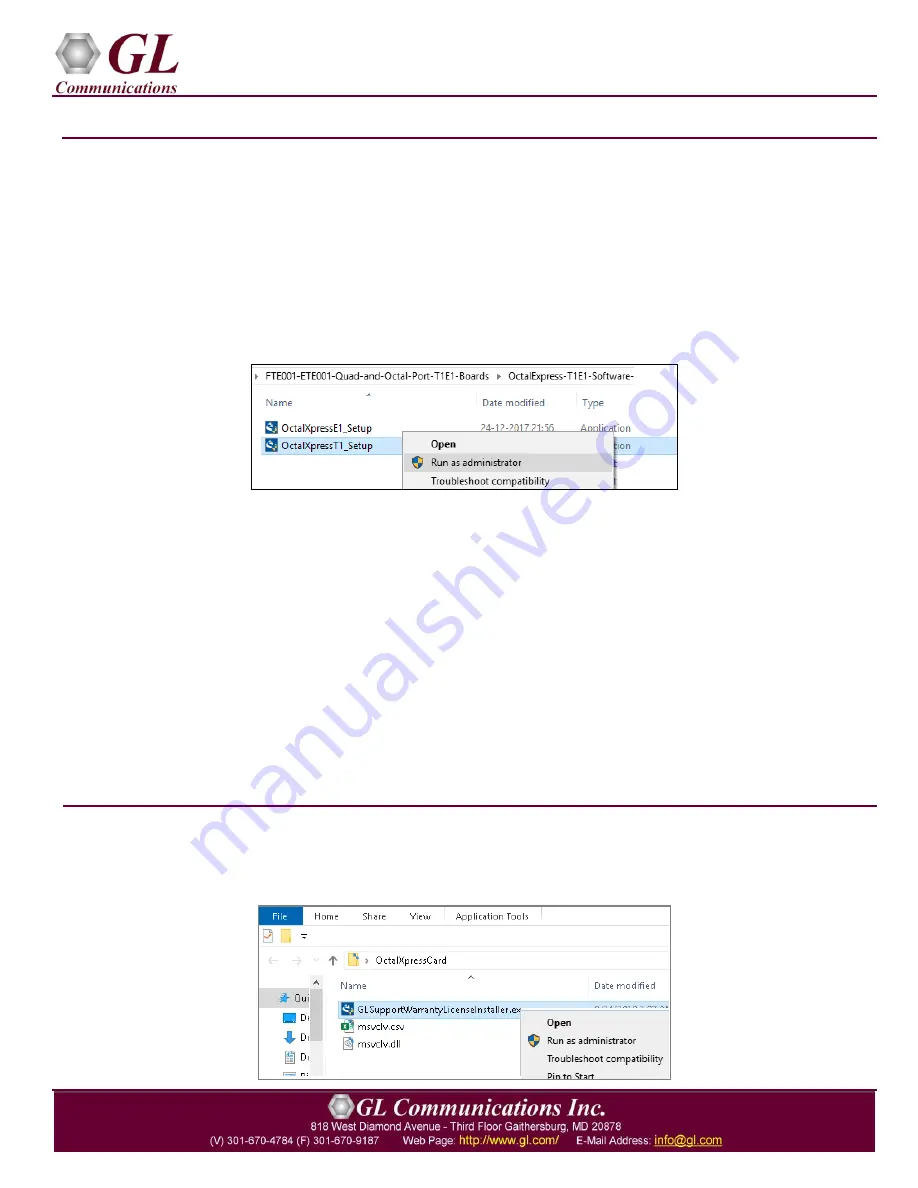
Navigate to
\FTE001-ETE001-Quad-and-Octal-Port-T1E1-Boards\OctalExpress-T1E1-Software
folder, right click on
the
OctalXpressT1(E1)_Setup.exe
and select
Run as Administrator
.
Note
: On Windows 64-bit OS, installer will prompt options to select 32-bit or 64-bit OCTAL installation. Choose appropriate option
and continue with the installation.
•
Follow onscreen instructions to complete the software installation. The device driver for the new hardware will be
automatically loaded when the Octal/Quad PCIe board is inserted to the PC.
•
Execute
GLHWLicenseInstaller.exe
from the
USB Installation Stick
to install hardware licenses.
•
(Optional Step) Execute
GLLdkDongleLicenseInstaller.exe
to install Dongle Licenses (if necessary). Connect the USB
dongle if included in your purchase.
•
With the completion of software installation, shut down the PC completely. Unplug the power cord, remove the external
casing of the PC and insert the GL’s Octal/Quad T1/E1 board in the PCIe slot.
•
Verify that the card is installed properly and switch ON the system.
•
The Octal/Quad T1/E1 board is recognized, and the hardware device driver is installed at this point.
•
For functional verification of
Octal T1/E1 Analyzer
refer to
T1E1-Quad-and-Octal-Port-Analyzer-Quick-Verification-
Guide.pdf
provided by GL Communications Inc. in the USB pen drive.
Warranty License Installer
•
Users must install the
Warranty License
for the software to run.
•
Navigate to root directory in
USB installation stick
(pen drive
) to \Warranty_LicenseInstaller
folder, execute
GLSupportWarrantyLicenseInstaller.exe.
Follow the onscreen instructions and complete the installation.


