System Hardware Installation
- 38 -
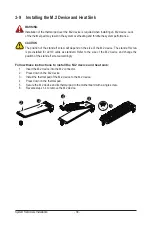
3-9 Installing the M.2 Device and Heat Sink
WARNING:
Installation of the thermal pad over the M.2 device is required when installing an M.2 device. Lack
of the thermal pad may result in the system overheating and throttle the system performance.
CAUTION
The position of the stand-off screw will depend on the size of the M.2 device. The stand-off screw
is pre-installed for 22110 cards as standard. Refer to the size of the M.2 device and change the
position of the stand-off screw accordingly.
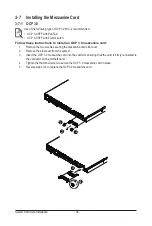
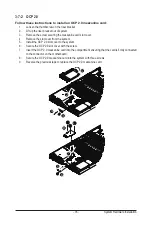
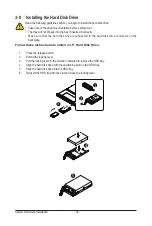
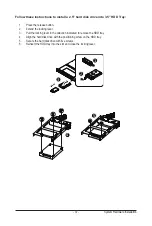
Follow these instructions to install the M.2 device and heat sink:
1. Insert the M.2 device into the M.2 connector.
2. Press down on the M.2 device.
3. Install the thermal pad of the M.2 device to the M.2 device.
4. Press down on the thermal pad.
5. Secure the M.2 device and its thermal pad to the motherboard with a single screw.
6. Reverse steps 1-4 to remove the M.2 device.
1
4
2
3
5
Содержание R182-M80
Страница 1: ...R182 M80 3rd Gen Intel Xeon Scalable DP Server System 1U 8 Bay Gen4 NVMe User Manual Rev 1 0 ...
Страница 10: ... 10 This page intentionally left blank ...
Страница 15: ...Hardware Installation 15 1 3 System Block Diagram ...
Страница 16: ...Hardware Installation 16 This page intentionally left blank ...
Страница 28: ...System Hardware Installation 28 1 2 3 4 6 5 4 ...
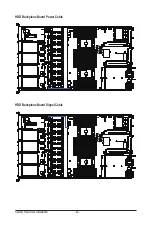
Страница 42: ...System Hardware Installation 42 HDD Backplane Board Power Cable HDD Backplane Board Signal Cable ...
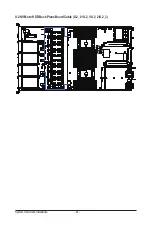
Страница 44: ...System Hardware Installation 44 U 2 NVMe to HDD Back Plane Board Cable U 2_0 U 2_1 U 2_2 U 2_3 ...
Страница 69: ... 69 BIOS Setup 5 2 12 Intel R i350 Gigabit Network Connection ...
Страница 74: ... 74 BIOS Setup 5 3 1 Processor Configuration ...

