background image

English

8

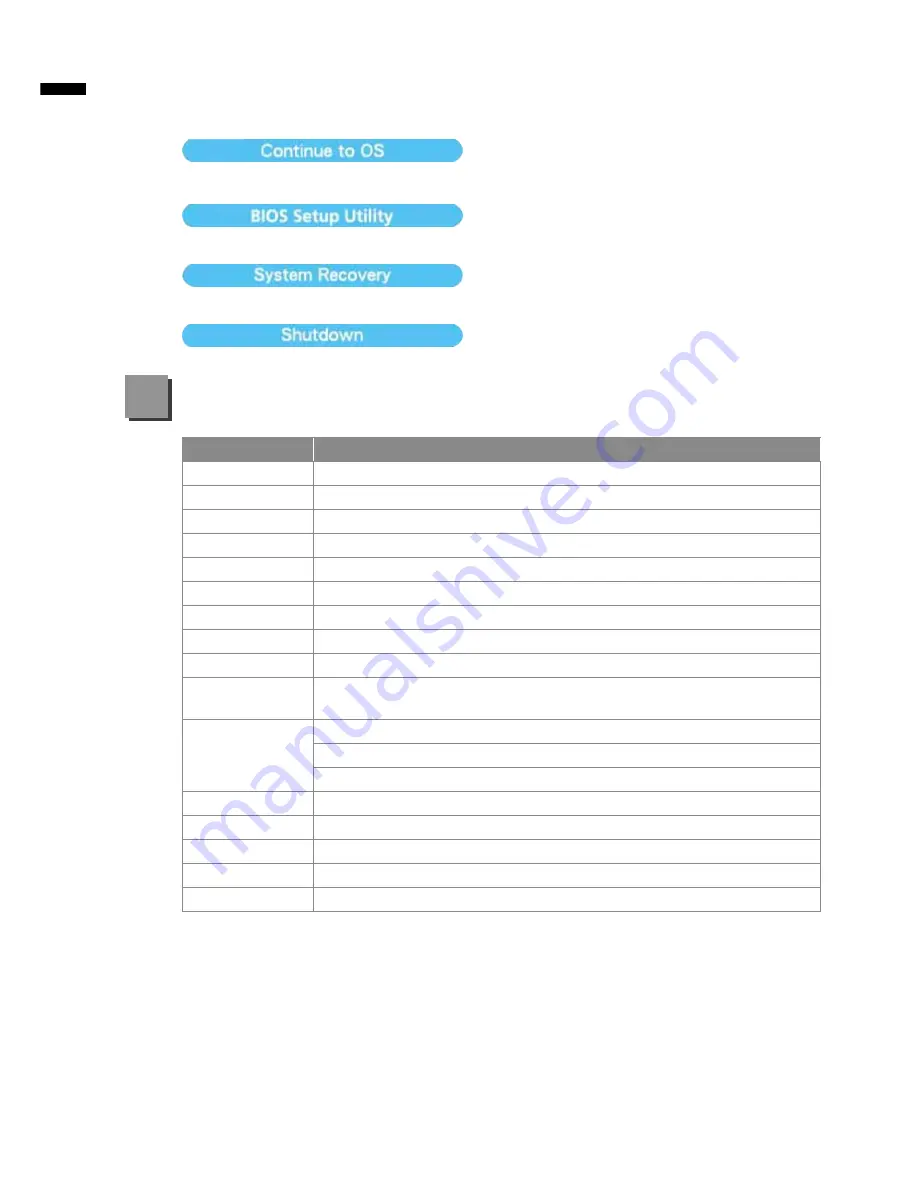
Press”Continue to OS” button to enter operating system.

Press”BIOS Setup Utility” button to enter BIOS setup utility.

Press”System Recovery” button to enter GIGABYTE Xpress Recovery.

Press”Shutdown” button to shutdown the system.

SKU Type

M2432

CPU

2

nd


Generation Intel

®

 Core™ Processor

OS

Microsoft

®

 Windows

®

 7 Compliant

Display

14" 16:9 Full HD Ready LCD Panel,1366x768, with LED back-light

System Memory

DDRIII SO-DIMM 2 slots (Max 4GBx2)

Chipset

Mobile Intel

®

 HM65 Express Chipset

Video Graphics

Intel

®

 HD Graphics

Hard Disk Drive

2.5" 9.5 mm SATA HDD 5400 rpm (Supports capacities of 500/640/750 GB)

Optical Disk Drive Slim-Body DVD- Super Multi Dual-Layer Drive
Audio

1.5 Watt Speaker*2, Internal Microphone

I/O Port

USB *2, eSATA/USB Combo*1, HDMI, D-sub, RJ45, Mic-in, Earphone-out, 

4-in-1 Card Reader (SD/MMC/MS/MS Pro), and DC-in Jack.

Communications

10/100/1000Mbps Ethernet
802.11b/g/n Wireless
Bluetooth v3.0 + HS

Webcam

1.3 MegaPixel

Security

Kensington Lock

Battery

Li-polymer, 3600mAh, 11.1V, 39.96wh

Dimensions

328.3(W) x 230(D) x 26.7(H) mm

Weight

~1.8 kg (w/ ODD and 6-cell battery)

* This specification is for users’ reference only. The final configuration depends on the users' bought.

■ Warranty & Service

Warranty and service and related information please refer to the warranty card

or GIGABYTE service website as the below link: 

http://www.gigabyte.com/support-downloads/technical-support.aspx

■ FAQ

FAQ (Frequent Asked Questions) please refer to the below link:

http://www.gigabyte.com/support-downloads/faq.aspx

Specification & Appendix

5

Содержание M2432

Страница 1: ......

Страница 2: ...ite at http www gigabyte com All specifications are subject to the manufacturer s configuration at the time of shipping and may change without prior notice written or otherwise AC Adapter Power Cord B...

Страница 3: ...M2432 for the First Time Depending on your configuration the Microsoft Windows Boot Screen will be the first screen that you will see as the notebook starts up Follow the on screen prompts and instru...

Страница 4: ...on Push Smart to enter smart setup menu in off mode You can choose BIOS Setup Utility system recovery in the setup menu Smart Manager In Windows Mode Press Smart button to initiate Smart Manager Bluet...

Страница 5: ...l Disc Drive Lock 6 Optical Disc Drive Release Latch 7 Battery Lock 8 Battery Bay 9 Battery Release Latch 2 3 4 5 1 1 USB Port 2 eSATA USB Combo Port 3 Multi Card Reader 4 HDMI Port 5 External Display...

Страница 6: ...Brightness Up Increases the screen brightness Fn F5 Display Toggle Switches display output between the display screen external monitor if connected and both Fn F6 Touchpad Toggle Turns the internal to...

Страница 7: ...TE Smart Switch bit GIGABYTE Smart Switch allows users to switch Windows 7 system to either 64 bit or 32 bit The Smart Switch can be accessed from the desktop see figure icon You can also access Smart...

Страница 8: ...ms will be restored back to factory defaults when pressing Start button 3 You can choose to restore either the 64 bit or the 32 bit system back to its factory defaults in Advanced Option select from t...

Страница 9: ...ve Audio 1 5 Watt Speaker 2 Internal Microphone I O Port USB 2 eSATA USB Combo 1 HDMI D sub RJ45 Mic in Earphone out 4 in 1 Card Reader SD MMC MS MS Pro and DC in Jack Communications 10 100 1000Mbps E...

Страница 10: ......

Отзывы: