


SATA Hard Drive Configurations ( Intel ICH5R) - 10 -
Ác
Åé
¤¤
¤å
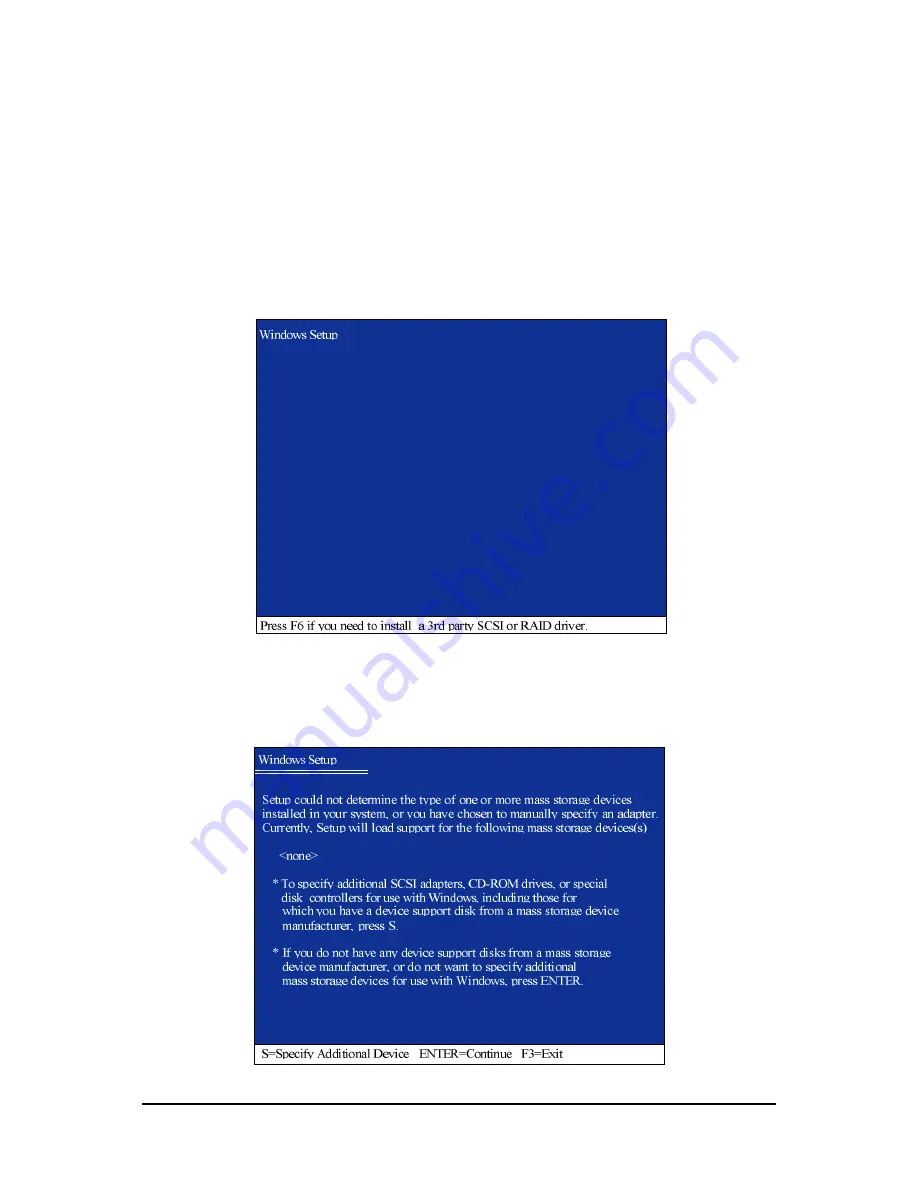
Figure 12
Figure 13
(5) Installing SATA controller driver during OS installation
Now that you have prepared a floppy disk with the SATA driver and adjusted BIOS settings, you can
begin to install Windows 2000/XP onto your SATA hard disk with the SATA driver. This procedure
assumes Windows XP installation.
Step 1: Restart your system to boot from the Windows XP Setup disk and press F6
as soon as you see a message which says "Press F6 if you need to install a 3rd party SCSI or RAID
driver." After pressing the F6 key, there will be a few moments of some files being loaded before you
see the next screen for you to specify the SATA controller on your motherboard.
Step 2:
When a screen similar to that below appears, insert the floppy disk containing the SATA driver and press
S to specify the SATA controller (Figure 13). Then you will be asked to select the SATA controller on
your motherboard.


