8
Activate your browser, and
disable the proxy
or
add the IP address of this product
into the exceptions
. Then, type this product’s IP address in the Location (for Netscape)
or Address (for IE) field and press ENTER. For example:
http://192.168.123.254
.
After the connection is established, you will see the web user interface of this product.
There are two appearances of web user interface: for general users and for system
administrator.
To log in as an administrator, enter the system password (the factory setting is ”
admin
”)
in the
System Password
field and click on the
Log in
button. If the password is correct,
the web appearance will be changed into administrator configure mode. As listed in its
main menu, there are several options for system administration.
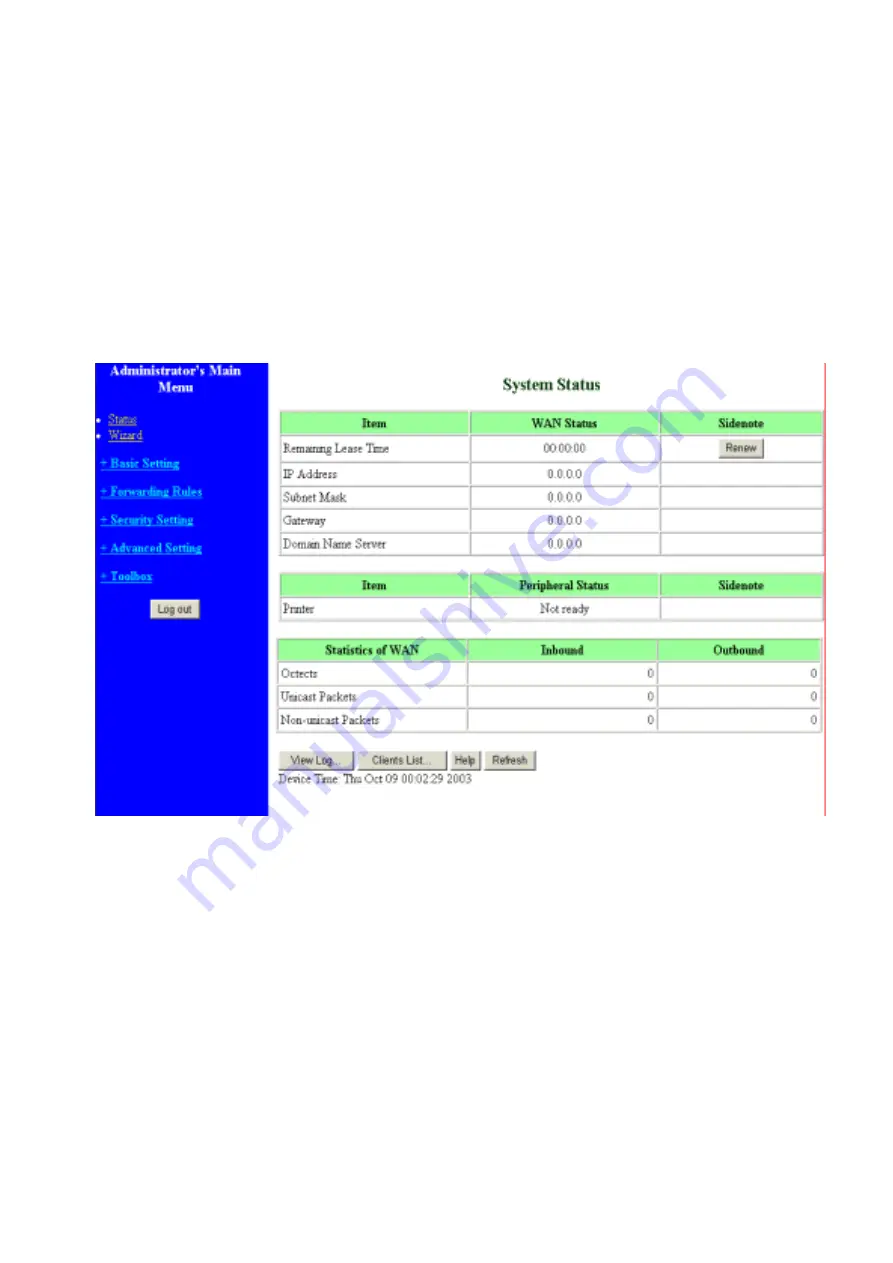
3.2. Status
This option provides the function for observing this product’s working status:
A. WAN Port Status.
If the WAN port is assigned a dynamic IP, there may appear a “
Renew
” or
“
Release
” button on the Sidenote column. You can click this button to renew or
release IP manually.
B. Statistics of WAN: enables you to monitor inbound and outbound packets
Содержание GN-B40
Страница 1: ...Cable DSL Router with 4 Port Switch GN B40 User s Manual http www gigabyte com tw Version 1 0 ...
Страница 13: ...10 3 4 Basic Setting 3 4 1 Primary Setup WAN Type Virtual Computers ...
Страница 20: ...17 3 4 4 Forwarding Rules ...
Страница 21: ...18 3 5 Forwarding Rules ...
Страница 25: ...22 3 6 Security Settings ...
Страница 38: ...35 3 7 Advanced Settings 3 7 1 System Time ...
Страница 41: ...38 Example After Dynamic DNS setting is configured click the save button 3 7 4 SNMP Setting ...
Страница 48: ...45 3 8 Toolbox ...
Страница 54: ...51 b Don t input any value in the Gateway tab c Choose Disable DNS in the DNS Configuration tab ...


