


AirCruiser G Desktop Router
7
Chapter 3 Connections & Configuration
Making a Wired Connection
Now that you’ve installed the AirCruiser G, like any other router, you’ll need to
configure it with your ISP internet connection. This section will help you
through the process, which is made easier by SmartSetup 3.
The AirCruiser G has one WAN (Internet) port and one LAN (network) port.
(The WAN port being the one closest to the antenna connector). You can
configure the AirCruiser both wirelessly or wired, however we strongly
recommend using the wired connection for initial setup, as it will make the
procedure less error prone.
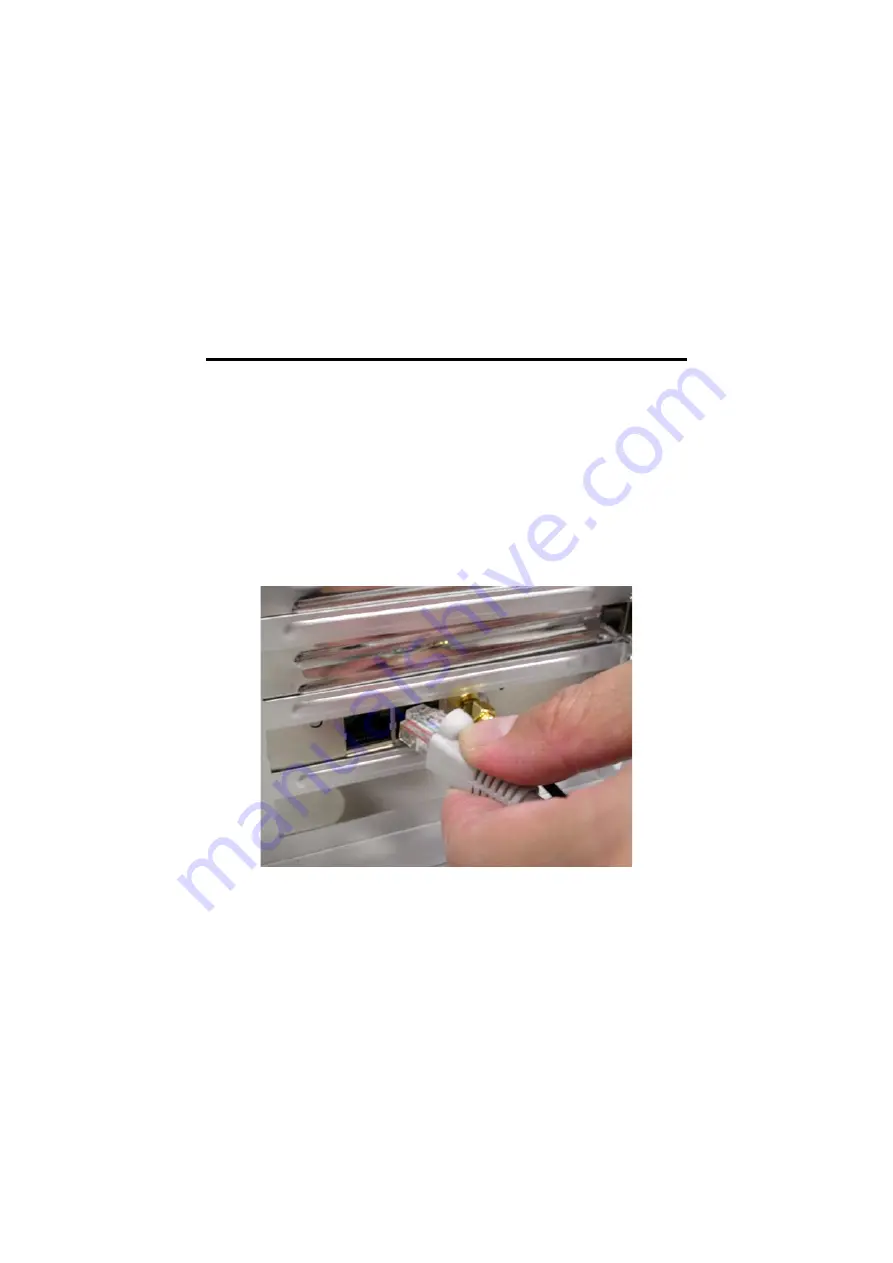
Step 1
Screw in the antenna, and then connect the Internet cable coming
from your ADSL/Cable modem into the WAN port of the AirCruiser
Wireless PCI Router. (See figure 3-1 below)
Figure 3-1 – WAN (Internet) cable
Step 2
Using the RJ45 patch cable provided, plug one end into the LAN port
of the AirCruiser G, and the OTHER END into the LAN port of your
Desktop NIC or your LAN port of a Notebook PC. (See figure 3-2
below)


