Giga-tronics 2500B Series Microwave Signal Generators
Ramp Operation
Operation Manual, Part Number 34737, Rev C, June 30, 2011
Page 35
RAMP
Softkey
Softkey
Softkey
Softkey
Softkey
Softkey
Softkey
4.3
Generate a Power-Swept Signal
This procedure describes how to set up the 2500B to generate a signal at a constant frequency that sweeps linearly from
a set start power level to a set stop power level over a set amount of time, and repeats the sweep. The signal will be
setup with the following characteristics:
Start power: 0.00 dBm
Stop power: 5.00 dBm
Frequency: 1.00 GHz
Sweep time: 5.00 second
Step size: 0.10 dB
NOTE:
The example procedure in this section uses specific parameters to illustrate how to set up the 2500B. You can
use this procedure for real-life situations by simply changing the parameters to fit your needs.
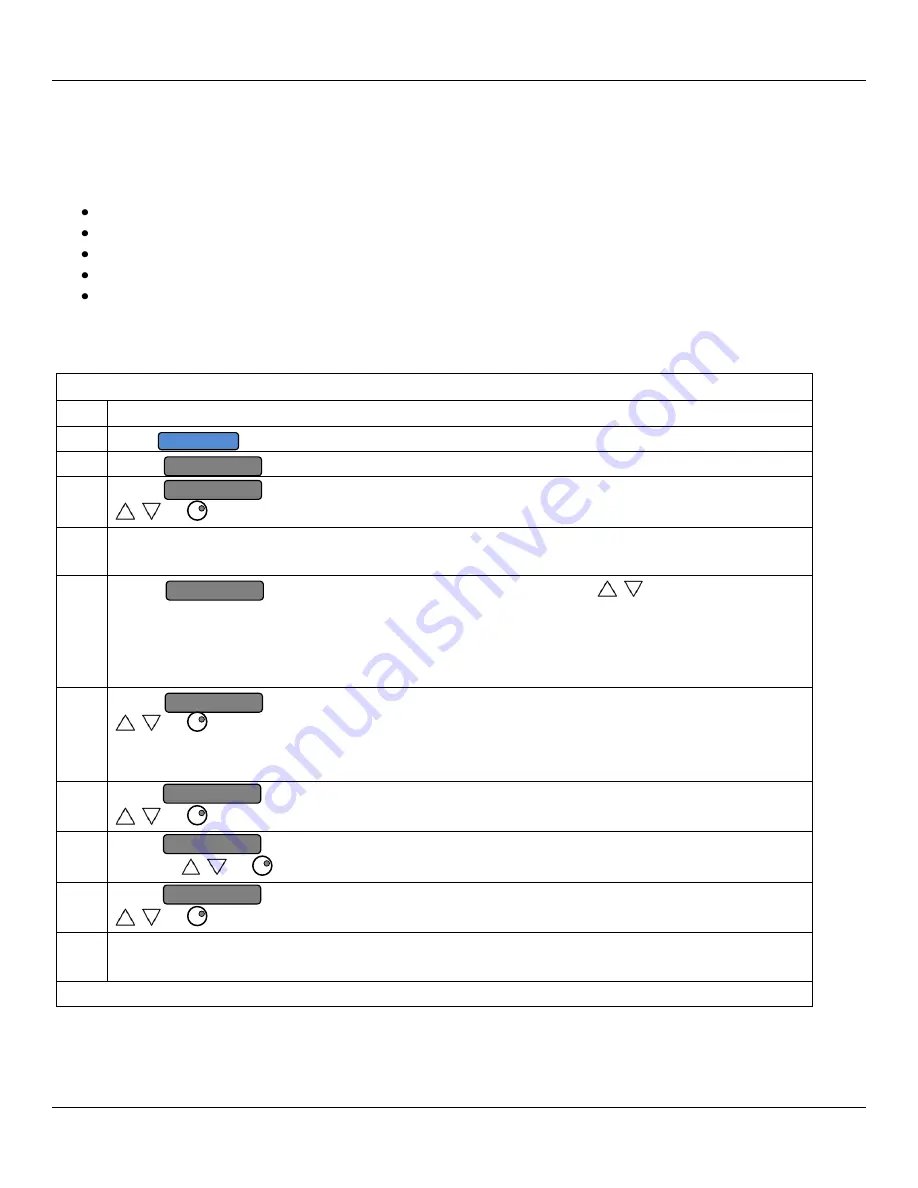
Table 17: Generate a Power Swept Signal
Generate a Power-Swept Signal
Step
Action
1.
Press
to display the Sweep Main menu.
2.
Select
Ramp Power Sweep Menu.
3.
Select
Start Power, and enter 0.00 dBm using the numeric keypad (and Units buttons),
, or
.
4.
If the step attenuator option IS INSTALLED in the unit
; Go to Step 5.
If the step attenuator option IS NOT installed in the unit
; Go to Step 6.
5.
Attenuation in the RAMP POWER menu, and use
to select the desired
S
elect
step attenuator level.
NOTE:
The step attenuator cannot be set to auto-switch while in power sweep mode. Choose a step
attenuator level so that the range of the power sweep will be within 25 dB above and 20 dB below the
step attenuator level chosen.
6.
Select
Stop Power, and enter 5.00 dBm using the numeric keypad (and Units buttons) ,
, or
.
NOTE:
The ramp stop power level can be set equal to, greater than, or less than the ramp start power
level.
7.
Select
Frequency, and enter 1.00 GHz using the numeric keypad (and Units buttons) ,
, or
.
8.
Select
Sweep Time, and enter 5.00 seconds using the numeric keypad (and Units
buttons),
, or
.
9.
Select
Step Size, and enter 0.10 dB using the numeric keypad (and Units buttons),
, or
.
10.
If the RF ON indicator is not lit, press the RF ON button to enable the RF output.
When the RF output is enabled, the RF ON indicator is illuminated blue.
End of Procedure


