P.21
P.20
Installation Instructions
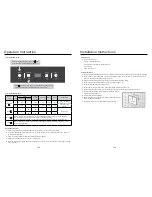
Installation Procedures
●
Install the Sterilizer in a dry place without exposure to direct sunlight.
●
Place the Sterilizer on a flat and level surface with strong support.
●
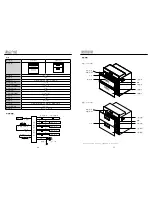
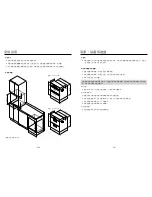
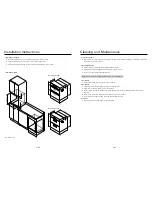
Follow the diagram below and use the screws to fix the Sterilizer into a cabinet.
Installation Diagram
Dimensions: mm
Use for the first time
●
After installation, clean the interior and exterior of the Sterilizer before plugging in, and operate following the
instructions of this user manual.
Cleaning Precautions
●
Before cleaning and maintenance, unplug the power supply.
●
Wear gloves during cleaning and maintenance to prevent injuries.
●
Do not rinse the Sterilizer directly with water.
Please clean the Sterilizer regularly and perform proper maintenance.
Inner surface
●
Clean regularly with soft cloth. Do not use scrubbers.
Steel surface
●
Use only mild household detergent to clean the steel surface.
●
Use mild, non-sanding cleaner to clean the surface.
●
Do not clean with abrasive sponge or any cleaning agent that contains sanding element, soda, acid or
chloride.
●
Do not scrub the surface with heavy duty cleaners (e.g. steel scrubbers).
●
Do not use cleaning agents commonly used for bathroom cleaning.
Door glass
●
Use soft cloth with mild detergent to clean the glass.
Cleaning and Maintenance
≥20
≥45
0
585±3
560±
3
≥15
585±3
≥45
0
560±
3
595
51
0
330
545
50
595
435
26
595
51
0
330
545
50
595
435
20
Model: DSR-409BK
Model: DSR-409SV
Содержание DSR-409BK
Страница 3: ...P 5 P 4 4 20...


