9
8
Tips for Telescope Use
Exploring the night sky with a telescope is exciting—and challenging!
Learning to use a telescope takes practice and patience. Here are some
tips to better viewing:
1. To locate objects, you must learn how the sky is laid out. Check books
about astronomy to learn your way around the night sky. Consult one
of the web sites on page 14 to check the location of interesting
celestial sights. Local astronomy clubs are a good source of
information, too.
2. No matter how much light surrounds you, more is always worse. Turn
off any lights. Allow 15 minutes or more for your eyes to adapt to
the darkness.
3. Cool your telescope to the outside temperature for about 30 minutes
before observing. Cooling the telescope reduces air currents inside
the tube that could produce fuzzy, blurry images.
4. Planetary viewing requires good “seeing” conditions—steady, dry
atmosphere with little or no clouds. A good way to judge seeing
conditions is to check the stars. If the stars appear to be twinkling, a
phenomenon caused by a turbulent atmosphere, then conditions are
poor for planet gazing.
5. Use slow, steady hand movements when using your telescope. This
will minimize vibrations and make it easier to get a steady view.
Using Your Telescope for Terrestrial Viewing
To view terrestrial (land) subjects, your telescope comes with an
erecting eyepiece, or image erector. This special component orients
objects so that you can view them as you would with your naked eye.
Follow these directions to use the image erector:
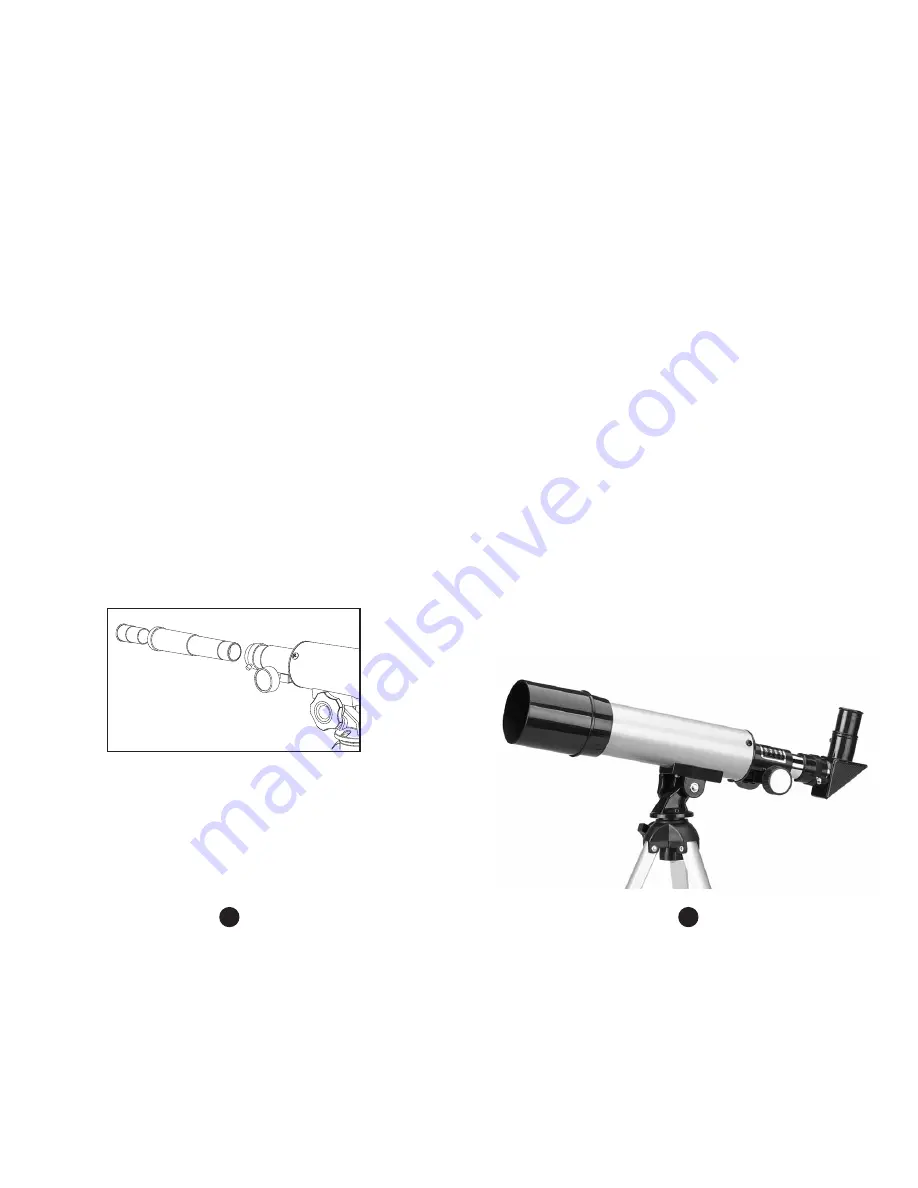
1. Remove the diagonal mirror and eyepiece from the focusing tube.
2. Loosen the small screw in the focusing tube. Insert the image erector
directly into the focusing tube. Tighten the screw to keep it in place.
(See Figure 5.)
3. Loosen the small screw in the image erector and insert your chosen
eyepiece into it. Tighten the screw to keep this eyepiece in place.
(See Figure 5.)
The image erector provides a 2x magnification, which means that the
9mm eyepiece will magnify objects 80x when used with it.
Choosing an Eyepiece for Viewing
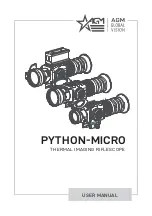
Your Vega 360 comes with two different eyepieces—a 20mm eyepiece
and a 9mm eyepiece. The eyepieces offer you a range of viewing
powers or magnifications. Eyepieces are measured and labeled in
“mm” (millimeters). The low power eyepiece is the one with the higher
number in mm (20mm). The high power eyepiece is the one with the
lower number in mm (9mm).
As a rule, always start with the low power eyepiece, gradually switching
to the high power eyepiece only after you have located an object.
Figure 5


