background image


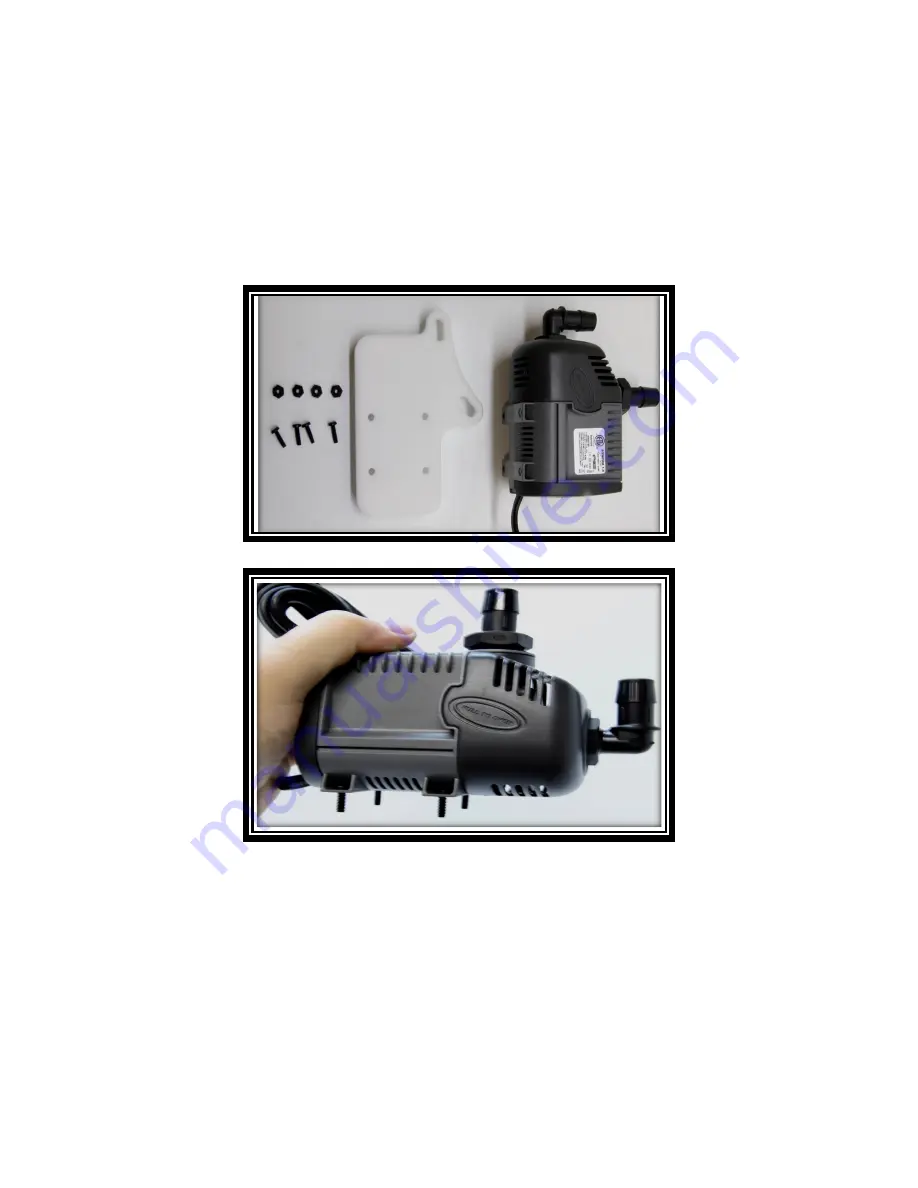
Step 3. 

Attach pump to base plate:  Remove screws and nuts from base plate.  Feed screws through 

holes at base of pump and guide through base plate holes.  Turn over the pump and plate and 

screw on the four nuts.  Use a 8mm nut driver/socket or your fingers to tighten.  


Содержание Sicce Syncra 1.5

Страница 1: ...a Sicce Syncra pump to your GEO calcium reactor 1 Sicce pump supplied with reactor 2 Pump install kit supplied with reactor 3 Scissors or tube cutters 4 Flat head screw driver 5 8 mm nut driver socket 6 Thread sealing tape or paste 7 Pliers or strong finger ...

Страница 2: ... of pump and straight adaptor fitting into output of pump Make sure thread or sealing paste is applied if not already some models come with tape applied Remember if applying tape wrap on clockwise CAUTION do not over tighten fittings you will damage pump A maximum of 4 5 full turns is all that is needed Geo s Reef is not responsible for damage to pump during installation ...

Страница 3: ...ate Remove screws and nuts from base plate Feed screws through holes at base of pump and guide through base plate holes Turn over the pump and plate and screw on the four nuts Use a 8mm nut driver socket or your fingers to tighten ...

Страница 4: ...Step 4 Now that the pump is mounted to its base plate position the pump base plate next to the base of reactor and attach with the two flat head screws provided Use a flathead screw driver to tighten ...

Страница 5: ...Tube is generally shipped to be cut to fit to ensure proper alignment Tip apply a little silicone grease to the barb on the pump intake and then cut it to length The balance of the tubing will be used to connect the pump output to the barb located at the base of the reactor chamber ...

Страница 6: ...Step 6 Once everything is connected the snap grip tube clamps can be installed Strong fingers will do the job here pliers can be used if needed You are done installing the Sicce Syncra pump ...

Отзывы: