11
5.3 Cutting julienne strips
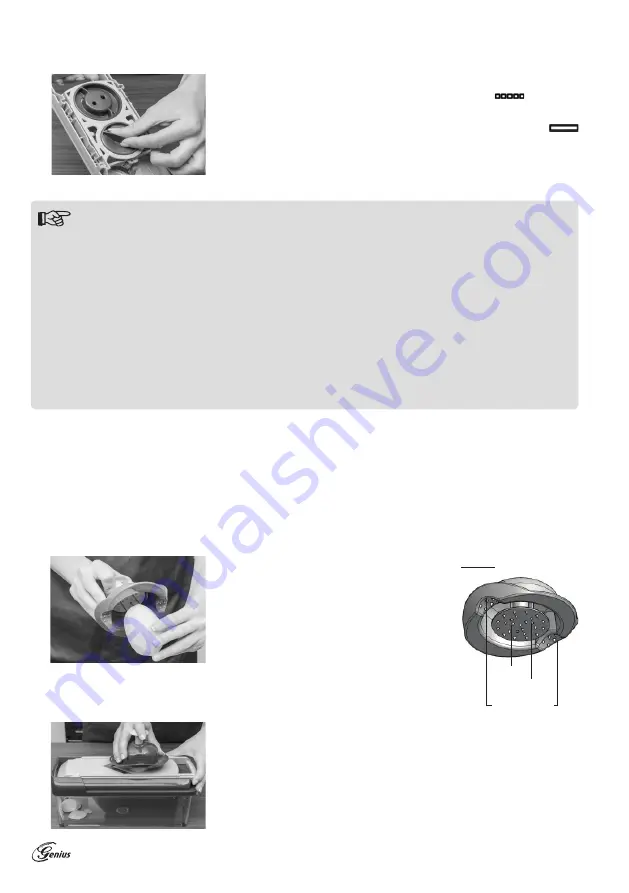
Set the required cutting thickness as described above. Now turn the ju-
lienne controller on the bottom of the machine to the
symbol to
extend the 18 extra blades for cutting the julienne strips. This gives a
cutting width of 2-3 mm. If the julienne controller is pointing to the
symbol, the julienne blades remain concealed under the feed plate and
slices will be cut.
The best cutting results for julienne strips can be achieved with a medium thickness of approx.
2 to 3 mm (set to the 2 or 3 mark on the thickness scale).
If the thickness controller is in the “lock” position, the extra blades for cutting julienne strips are safely
concealed. They can then be extended only when a thickness greater than “0” is selected.
To protect against injury to persons and damage to the blades, always replace the blade protector after
each use! Take hold of the grip extension and pull it over the stainless steel V-blade. Take care to ensu-
re that the 3 clips on the underside of the blade protector click into place under the stainless steel V-
blade. Positioning of the blade protector can be made easier by pressing your thumb in the middle.
The Nicer Slicer smart can also be used freehand, so that food can be shaved over finished dishes or onto
the work surface. With its non-slip feet, “freehand” slicing is simple and safe.
Tips
5.4 Use of the food holder
The food holder is guided with your stronger hand (your right hand if you are right-handed, your left hand if
you are left-handed). Hold the Nicer Slicer smart firmly by the handle with your other, free hand. With the food
holder, smaller varieties of fruit and vegetables and remnants of larger ingredients can be cut into clean, even
slices down to the last piece without endangering your fingers or fingernails.
Place the ingredients on the feed plate (if alrea-
dy cut, with the cut surface down) and position
the food holder in the centre so that the holding
prongs on the stamp or the three integrated
metal pins can penetrate the food (see Figure
2). This stops the food from slipping while it is
being sliced and makes it clean, safe and easy
to work with.
Figure 2:
Metal pin
Stamp
Convex surface
The food that is being held in place pushes the stamp out against the
upper surface of the food holder. During cutting, the palm of the hand or
fingers push the stamp down and thus ensure that the ingredient is being
pushed through automatically until it has been processed almost entirely.


