ENGLISH
3
4. Driver Installation
For Microsoft Windows 7, Vista, and XP:
1. Insert the CD into the CD-ROM drive, and wait for the main installation screen to appear.
2. The main installation screen should appear automatically, or you can manually start the
installation by opening
【
【
【
【
My Computer
】
】
】
】
►
【
【
【
【
CD/DVD Rom
】
】
】
】
►
then click on the
【
【
【
【
Setup
】
】
】
】
program.
When installing the driver, follow the installation instructions on screen and press the “Enter” key.
After the installation has been completed, reboot the computer.
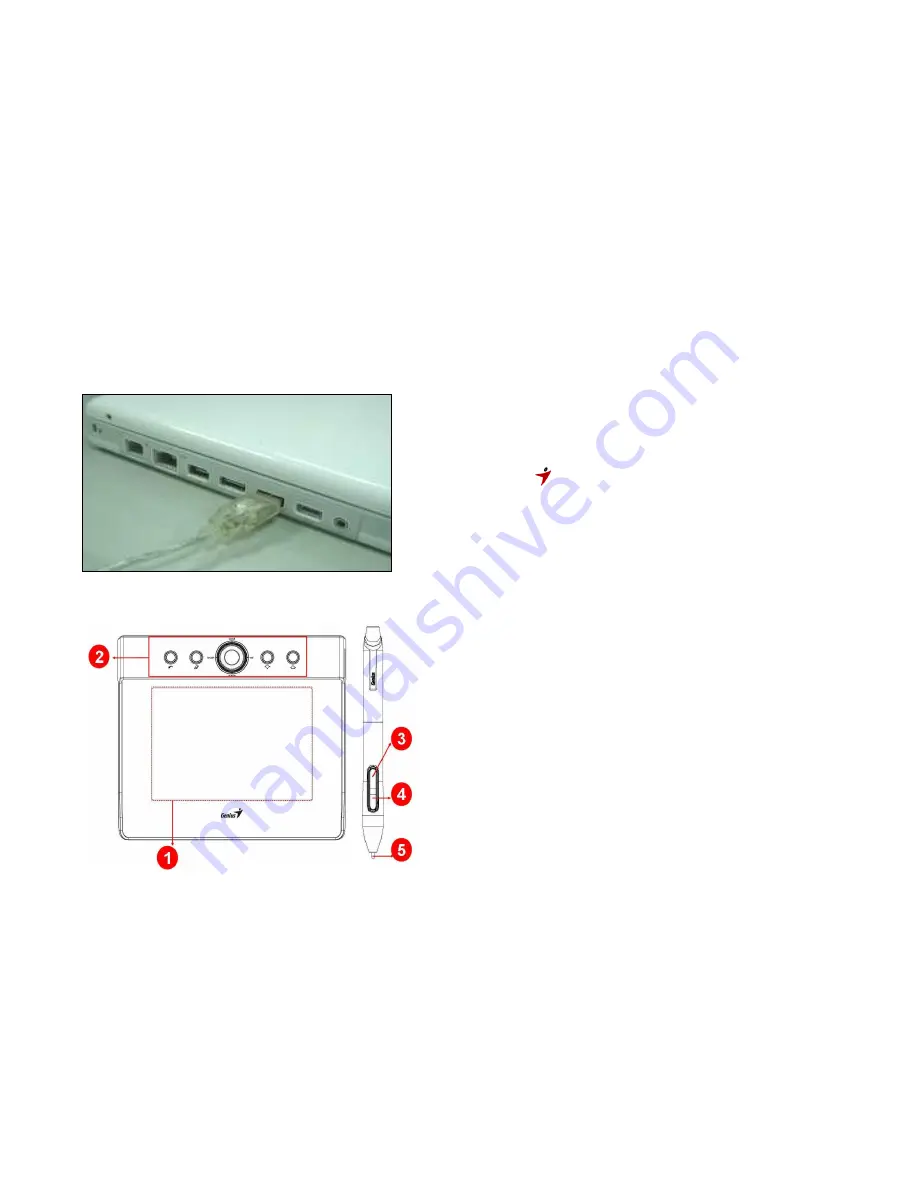
5. Hardware Installation
Connect the tablet to the USB interface of the PC after
the driver installation is finished and you have restarted
Windows:
After you connect a pen tablet into the PC, you will see a
small tablet icon (
)
appear in the system tray, which is
normally at the lower right corner of the screen.
★
Install the driver first before you plug the tablet
into your PC.
6. Verifying Hardware and Driver Functions
Follow these steps to verify the tablet is installed properly:
1. After you reboot your computer, move the cordless pen to make sure the cursor shown on
the screen is moving.
2. The LED indicator shown on the rolling pad indicates the function (mode). You may edit
and setup according to your design needs.
1. Working area
2. Express Keys
3. Button 2
4. Button 1
5. Pen tip


