5. To exit record storage mode and advance to the View/Delete Mem screen, press the
MODE
button—directly under
Exit
.
To store one or more records in automatic mode:
1. Make a measurement and view it on any of the four display screens.
2. If necessary, press the
MODE
button until you see the Moisture-Hygrometer Screen.
3. Press the
MODE
button once to display the Store Mem. Screen.
4. Assuming that you have enabled automatic storage, press the
(
MR MC
) button
once. Doing so begins storing complete moisture measurement records at the
sampling rate you selected during the Advanced Setup procedure. Note that the
record number at upper right will continue to increment automatically at the selected
sampling rate. Also note that the word
Stop
will appear at the lower left of the display,
directly above the
(
MR MC
) button.
5. To stop automatic recording, press the
(
MR MC
) button again.
In manual or automatic storage mode, when the space allocated for records has been used up
the Store Mem. Screen will advise the following:
MEM. FULL!
RECALLING AND DELETING RECORDS
To recall one or more stored moisture measurement records:
1. Use the
MODE
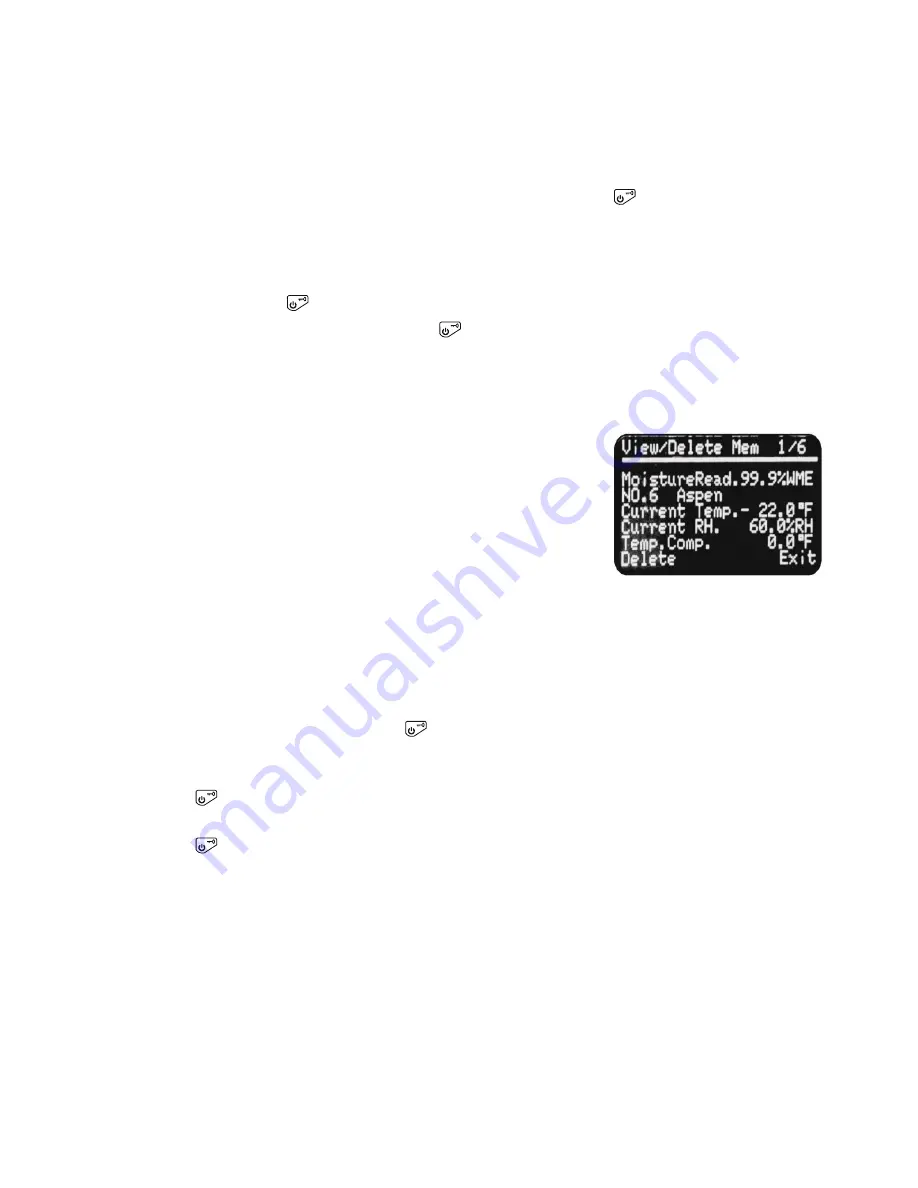
button to navigate to the View/Delete Mem
Screen (see photo at right). The terms
Delete
and
Exit
will
flash on the bottom line.
2. Use the
and/or
pads to navigate to the record of
interest. The record number appears at the upper right of the
OLED. In the example at right, the record displayed is No. 1
of a total of six stored (indicated by 1/6 on the display).
To recall additional records
, use the
and/or
pads. Unlike in
Setup mode, you cannot use the
or
pads to fast-forward or
fast-rewind through record numbers. However, as in Setup mode,
you
can
use the
and
pads to “wrap around” the low and high
ends of the range of stored record numbers.
To delete an individual record
, press the
(
MR MC
) button (which is directly below
Delete
on
the View/Delete Mem Screen) with the record on-screen. The next screen will ask “Are You Sure
To Delete?”, with the options
Yes
and
Exit
, flashing, on the bottom line.
Pressing the
(
MR MC
) button to answer “Yes” takes you to another screen that asks “All
Delete?” and the options
No
and
Yes
, flashing, on the bottom line.
Pressing the
(
MR MC
) button to answer “No” deletes only the selected record. Note that
doing so decrements (decreases by one) the number of stored records—the number following
the slash at upper right. Deleting a single record does not change the number before the slash.
However, that number now represents a different record—the one you saved just before the
record that you just deleted.
Pressing the
MODE
button to answer “Yes” to “All Delete?” deletes all stored records and calls up
a special View/Delete Mem Screen with: 1) no Record No./Record Count display in the upper right
corner; 2) only the term
Exit
, flashing, in the lower right corner; and 3) the message
File not
found!
in the middle of the screen.
Pressing the
MODE
button to Exit the View/Delete Mem Screen opens the Temperature
Compensation Adjustment Screen (see next section).
9
A typical moisture
measurement record
during recall


