


anyone who has used an Automated Teller Machine (ATM). The only constraint on using
the menu is your own response speed. If no selection is made within 2-1/2 minutes
following entry into Menu mode, the console will automatically revert to Preview mode.
The same time constraint applies to selections within submenus. If you do not respond
to a prompt (indicated by a flashing word or line of text) within 2-1/2 minutes, the
console will switch back to Preview mode—its default operating state.
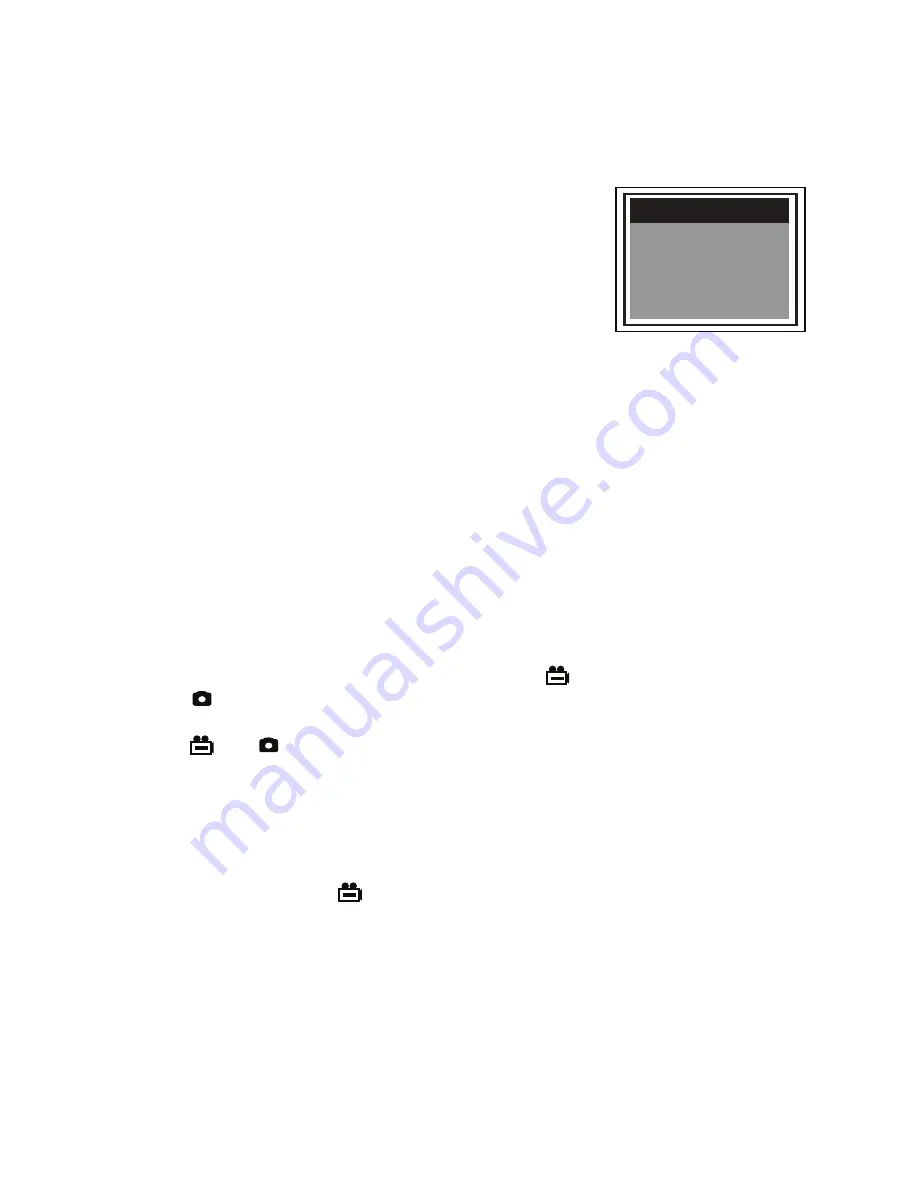
To access the main menu, press the
OK/Menu
button to enter
Menu mode. Doing so brings up the screen shown at right.
To navigate the main menu, use the
▲
and
▼
buttons to move
up and down until the parameter you wish to change is
highlighted and flashing in green. Then press the
OK/Menu
button to select it and call up its submenu.
The
DELETE ALL FILES
line gives you two options (yes and no) that can be selected
using the
▲
and
▼
buttons. The sequence is similar to the previously described
procedure for deleting an individual photo or video.
The
AV OUTPUT
line allows you to send live video, or saved video clips and photos, out
through the unit’s A/V out jack to an NTSC or PAL TV monitor. Before selecting this
option, make the physical connection described in the “Viewing Live Video on a TV
Monitor” section. Once you have connected to an external display, the console’s LCD will
go black and remain that way until you unplug the A/V cable from the console's A/V Out
jack. If you attempt to activate A/V output mode without having plugged in an A/V cable,
the LCD will display the following advisory:
NO AVOUT CABLE
.
The
DATE/TIME SETUP
line allows you to set the console's calendar and clock. Doing so
is necessary only if you wish to keep track of your photo and video files by date and time.
When
DATE/TIME SETUP
is selected, the first screen to appear will have the year
highlighted in orange. To decrease the value, press the
button. To increase the value,
press the
button. Once you have set the year, save the setting and advance to the
next field—the month—by pressing the
▼
button. Set the month as you did the year, by
using the
and
buttons to increase or decrease the value by one unit per button
press, and pressing the
▼
button to save the change (if any) and move on to the next
field. Repeat this process until all six date and time components have been set. To back
up from any field to the previous field, press the
▲
button.
The
DISPLAY
line below the date and time fields allows you to choose whether or not to
superimpose the date and time on the display in Preview mode. To always superimpose
the date and time, press the
button until
YES
appears at the right of
DISPLAY
. To
never superimpose the date and time, use the same button to select
NO
. To save your
selection, press the
OK/Menu
button. Finally, press the
OK/Menu
button again to save
all of your settings.
The
LANGUAGE
line of the main menu allows you to view the main menu, as well as the
DELETE
screens for individual photos and videos, in any of 28 languages (see the
Specifications section on page 16 for the full list). Use the
▲
and
▼
buttons to navigate
to the language you wish to use and then press the
OK/Menu
button to save your
selection.
14
DELETE ALL FILES
AV OUTPUT
DATE/TIME
LANGUAGE
TV SYSTEM
AUTO POWER OFF
MAIN MENU


