Geeetech prusaI3 pro C Скачать руководство пользователя страница 8

www.geeetech.com

ShenZhen GETECH CO.,LTD

6

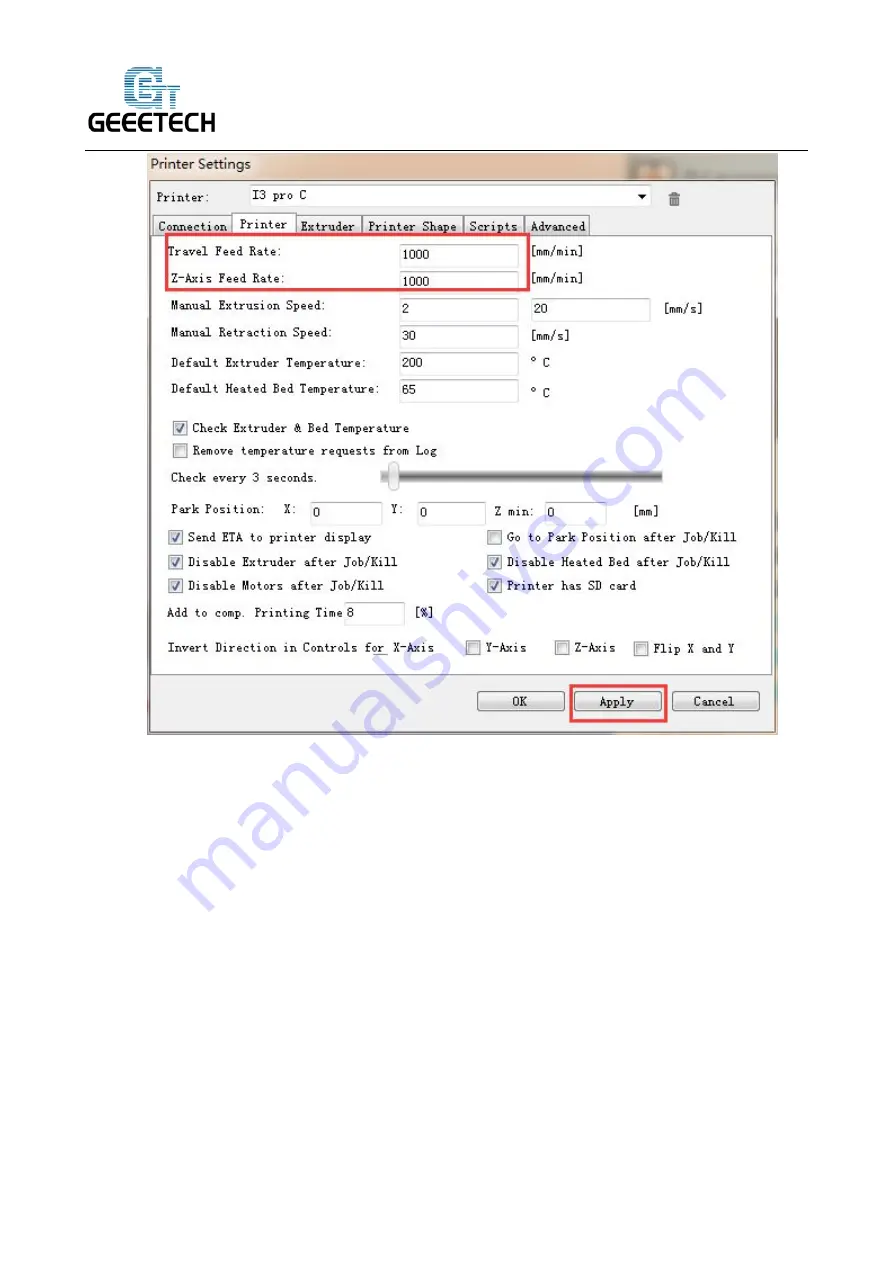
3.2 Number of Extruder and Nozzle Diameter

The number of extruder is set as 1. The diameter of print head is set according to the actual size,

here is 0.4mm.

The distance between two extruders on X direction is 32mm, then set offset X -16 and 16mm. (You

can also set it depending on actual measurement)

Содержание prusaI3 pro C

Страница 1: ...Geeetech prusaI3 pro C User Manual...

Страница 2: ...certified power supply so you shouldn t ever have to get involved with anything over 12V but bear in mind there can still be high currents involved and even at 12V they shouldn t be taken lightly Chec...

Страница 3: ...download http www geeetech com wiki index php Repetier Host Download After downloading and installation it can be used 1 2 Driver Connect the printer to computer with USB cable the motherboard driver...

Страница 4: ...rinter you may need to re upload the firmware and the software you need to use is Arduino About how to upload firmware please refer to FAQ 2 Connect the Printer After the above software is installed w...

Страница 5: ...www geeetech com ShenZhen GETECH CO LTD 3 Select corresponding COM port of the printer and baud rate as 250 000 in the drop down menu Click Apply after the setting Shown as below...

Страница 6: ...www geeetech com ShenZhen GETECH CO LTD 4 After setting click the button in the top left corner of Home Page When the button turns green and changes into the printer connection is successful...

Страница 7: ...printer as 1000 in the printer settings in order to avoid collision because of high speed during the test After follow up tests are completed it can be changed back to the original value Recommend spe...

Страница 8: ...Nozzle Diameter The number of extruder is set as 1 The diameter of print head is set according to the actual size here is 0 4mm The distance between two extruders on X direction is 32mm then set offs...

Страница 9: ...www geeetech com ShenZhen GETECH CO LTD 7...

Страница 10: ...eetech com ShenZhen GETECH CO LTD 8 3 3 Printer Shape Here the printer shape of I3 pro C is Classic Printer For home position choose Min The printer s maximum printing volume 200 200 180 length width...

Страница 11: ...ShenZhen GETECH CO LTD 9 If the object which is being printed is not in the center of the hot bed you can adjust the following two values to compensate for the distance deviation of X Y direction Bed...

Страница 12: ...www geeetech com ShenZhen GETECH CO LTD 10 After setting click Apply OK The interface after setting is as following...

Страница 13: ...etier Host to Test 4 1 1 Motor Direction Test Before the test manually set the motors of X Y Z axis at the intermediate position of each axis to avoid accidental collision occurring during the test Th...

Страница 14: ...op the movement The origin location should be in the right front corner of the printer platform If the moving direction is reversed you can change the motor direction in firmware please refer to FAQ 4...

Страница 15: ...www geeetech com ShenZhen GETECH CO LTD 13 Meanwhile you can see the temperature changing at the bottom of Repetier If the hot bed or extruder can not be heated please refer to FAQ...

Страница 16: ...temperature reaches above 170 Heat the extruder to 200 and then insert the filament into hotend via push in fitting When you are pushing the filament press the handle with one hand and push the filame...

Страница 17: ...www geeetech com ShenZhen GETECH CO LTD 15...

Страница 18: ...ding If the nozzle can extrude filament fluently the extruder is working well If not please refer to FAQ Note If the moving direction of the motor is reversed which means you found the filament going...

Страница 19: ...rol Panel to Test 4 2 1 Motor Direction Test Functions of the knob on LCD 1 Press the knob OK or enter the sub menu 2 Turn the knob to scroll through the options or change parameters Note Turn the kno...

Страница 20: ...After learning about the functions of the knob on the LCD press the knob to enter sub menu and choose Prepare Choose Move axis Choose Move 1mm Note the extruder can only support two options Move 1mm...

Страница 21: ...Choose the axis that you want to move by using Move X Y Z options Turning the knob can make each axis move left and right or back and forth After testing each axis you can choose Prepare Auto home in...

Страница 22: ...CH CO LTD 20 If you want to manually move the motor you can unlock the motor Unlocking method Prepare Disable steppers 4 2 2 Heating Test In the Control menu you can select temperature setting of hotb...

Страница 23: ...www geeetech com ShenZhen GETECH CO LTD 21 Choose temperature Select the temperature you want to set After setting you can choose Prepare Preheat PLA to preheat hot bed and extruder...

Страница 24: ...ng Before printing we need to do hotbed leveling Only after this step can quality of printed parts get improved Otherwise the un leveling gap between the hotbed and extrusion head will affect the fila...

Страница 25: ...ed loosen the M3x50mm screw to extend the bottom part Then the printer will home at a relatively lower place the distance between the nozzle and the hotbed will be decreased If the nozzle is too close...

Страница 26: ...the extruder to the four corners of the hot bed and fine tuning the wing nut at each corner to level the distances between the extrusion head and four corners During adjustment you can put a piece of...

Страница 27: ...are doing the adjustment Loosen the nut clockwise to increase or decrease the height of hotend 1 You can refer to this video https www youtube com watch v XGpcueIfUn8 7 Slice Settings With one more s...

Страница 28: ...www geeetech com ShenZhen GETECH CO LTD 26 You will be presented with the following interface...

Страница 29: ...Setting Set layer height and the first layer height in the Print setting tab Generally speaking layer height can be set as 0 1 0 3mm Considering of accuracy and speed 0 2mm is the most appropriate la...

Страница 30: ...t Setting Set filament diameter and print temperature in the Filament setting tab Filament we use here is 1 75mm PLA Usually the temperature of the extrusion head is 195 210 and the temperature of hot...

Страница 31: ...n GETECH CO LTD 29 7 3 Printer Setting Set printer s hardware parameters in the Printer setting General tab Shape of hotbed Rectangular Size 200 200 Number of extruders 2 Offset on X direction Extrude...

Страница 32: ...www geeetech com ShenZhen GETECH CO LTD 30...

Страница 33: ...www geeetech com ShenZhen GETECH CO LTD 31 Meanwhile set the extrusion head diameter as 0 4mm input the actual diameter of your own printer...

Страница 34: ...www geeetech com ShenZhen GETECH CO LTD 32...

Страница 35: ...like the speed of the printer are also very important to print quality It requires user s long term using experience and exploration Here we d like to give you a setting for reference click to downlo...

Страница 36: ...www geeetech com ShenZhen GETECH CO LTD 34 Find I3C PLA config ini file in the dialog box and open it...

Страница 37: ...www geeetech com ShenZhen GETECH CO LTD 35 Then you can successfully import the config ini file Click the Save button to rename and save it...

Страница 38: ...for slicing and printing For 3D printer the file format of the model is generally stl file We can download for free and print those models which are shared online and you can also design your own crea...

Страница 39: ...th the whole process you can try to use dual extruder Here we print a simple plate You can download the model file here plate stl 8 1 1 Load Print Model In the main interface of Repetier host click th...

Страница 40: ...www geeetech com ShenZhen GETECH CO LTD 38 8 1 2 Model Slicing After the file is loaded you can use the following buttons to enlarge shrink or rotate it choose the extruder...

Страница 41: ...www geeetech com ShenZhen GETECH CO LTD 39 After the size setting choose the slicing parameters which were imported previously in the drop down menu and click slice with slic3r...

Страница 42: ...www geeetech com ShenZhen GETECH CO LTD 40 In this way gcode file which can be recognized by the printer is generated Last step click button to print...

Страница 43: ...r print is to load two separate objects and then separately print them with the assigned extruder Thus you can print objects with two colors Click here to download stl files which are used for dual ex...

Страница 44: ...w geeetech com ShenZhen GETECH CO LTD 42 The two models loaded are separate First we adjust their locations to combine them together Click Object Group 1 choose object 1 and then click centering butto...

Страница 45: ...www geeetech com ShenZhen GETECH CO LTD 43 The object is now in the center of the hotbed Put object 2 in the center of hotbed in the same way After the setting what you will see is shown as below...

Страница 46: ...www geeetech com ShenZhen GETECH CO LTD 44 Then assign extruder for each object...

Страница 47: ...www geeetech com ShenZhen GETECH CO LTD 45 Then click Slice with Slic3r...

Страница 48: ...www geeetech com ShenZhen GETECH CO LTD 46 If there is a warning you can neglect it and choose no...

Страница 49: ...m ShenZhen GETECH CO LTD 47 Click to begin printing The finished object is shown as bellow 7 3 8 3 Stand alone print with SD Card If you want to print Stand alone you can save the gcode file in SD car...

Страница 50: ...de file in the SD card and the file can not be placed in any folder Steps are as follows 8 3 1 Save Click Save for SD Print and select the save button in the dialog box 8 3 2 Generate file Choose a sa...

Страница 51: ...t the SD card into the SD card slot at the back of the LCD control panel and choose the corresponding gcode to print Press the knob on LCD rotate the knob to enter the main menu and choose Print from...

Страница 52: ...www geeetech com ShenZhen GETECH CO LTD 50 Heating When heating is completed it begins printing automatically...

Страница 53: ...m Common problems are as follows 9 1 How to upload firmware The motherboard of the printer is already burned with firmware when it leaves the factory If you have firmware problem when you are using th...

Страница 54: ...om forum viewtopic php f 13 t 17194 9 2 How to change the motor direction in firmware In the configuration h tab of firmware find the following codes Change the true of corresponding axis into false o...

Страница 55: ...user manual of Repetier Host please refer to Wiki http www geeetech com wiki index php Repetier Host 9 4 Possible causes for motor s non action http www geeetech com forum viewtopic php f 13 t 17038 9...

Страница 56: ...topic php f 13 t 17039 9 7 LCD error MAX MIN TEMP error http www geeetech com forum viewtopic php f 13 t 17030 9 8 No information or displaying black square on LCD http www geeetech com forum viewtopi...

Отзывы: