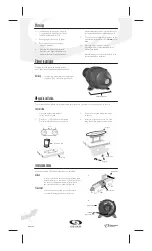
Blower installation
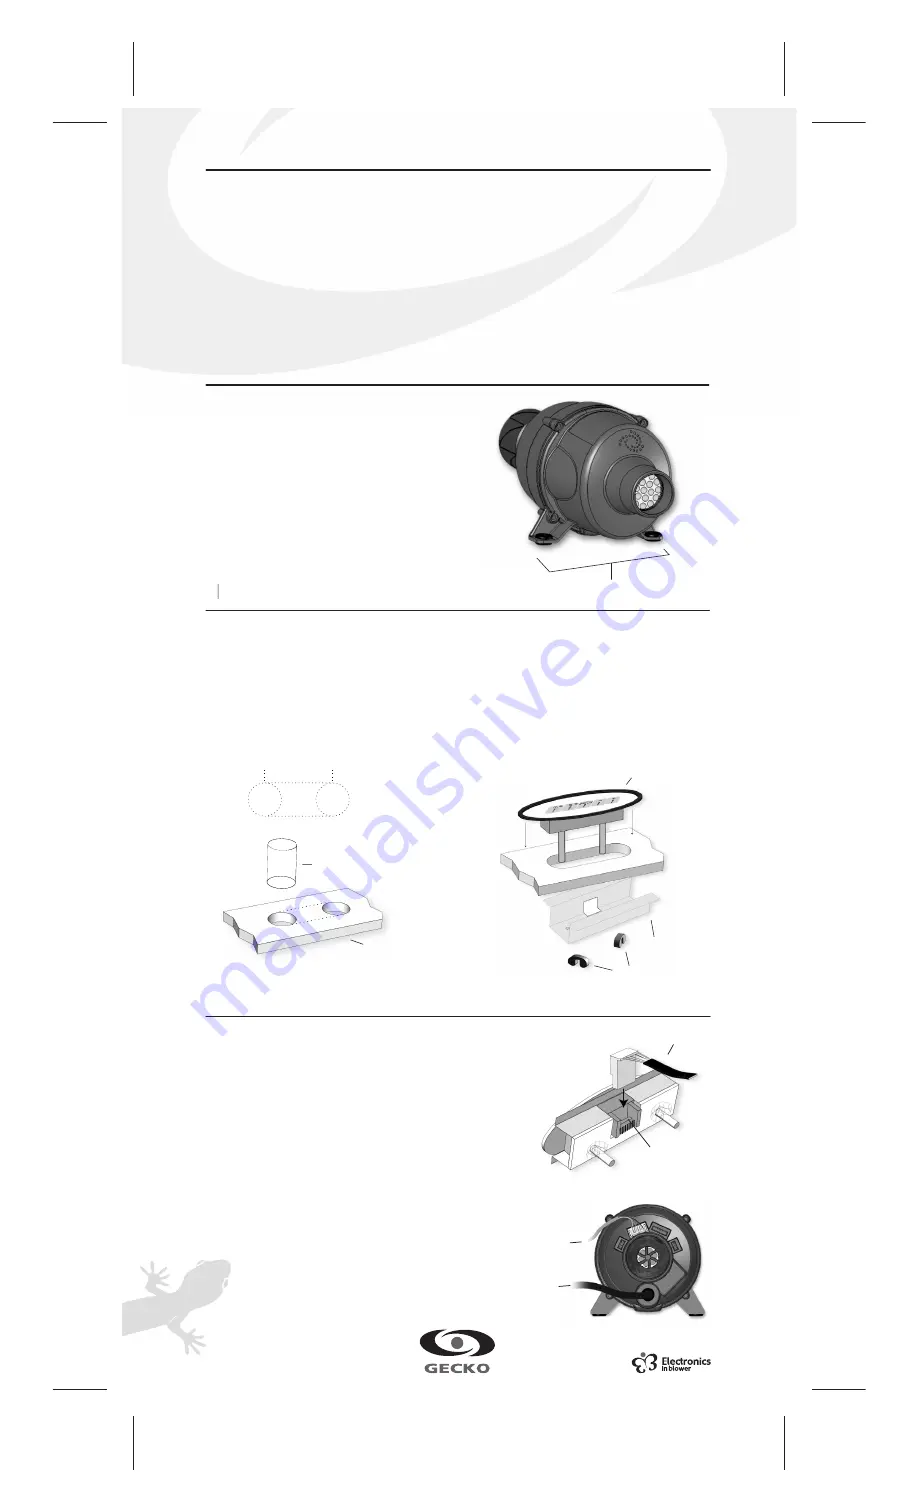
The blower is equipped with fastening brackets.
Use 2-#8 screws of appropriate length to affix unit.
Warning:
The blower must be fastened at a minimum
height of 6" (152 mm) above ground level!
Power must remain OFF until all connections are completed!
Keypad:
A cable is provided to connect the keypad to the 8-pin
keypad connector on the blower. Connect one end of
the cable to the keypad as shown in Figure A, and
the other to the blower as shown in Figure B.
Power input:
Connect power input cable to the power source
or control following your local electrical code.
Warnings
1- Select the appropriate location
for the control keypad.
2- Drill two 1” (25 mm) holes as illustrated.
Cut the material between the two holes.
3- Connect the keypad before securing it
to the tub.
4- Insert the keypad and secure it in place
using the holder plate as shown below.
Keypad installation
Interconnections
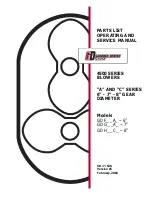
9919-100668
1" dia
25 mm
1" dia
25 mm
2
1/4
"
57 mm
Wing nuts
Holder plate
Keypad
Bath edge
1" (25 mm) dia. drill
The keypad should be installed directly onto the tub (or very close to it) in order to be easily accessible to the user.
Steps to follow:
120 VAC
power input cable
Keypad cable
Keypad cable
Connection port
A-
B-
1- It is mandatory to connect the control to
a circuit protected with a Class A Ground
Fault Circuit Interrupter (GFCI).
2- Do not put glue close to the air heater.
3- Do not install blower close to highly
flammable materials.
4- If the blower is not physically located
1foot above the highest possible level of
tub water, the blower shall be provided-
with two independent levels of protection to pre-
vent water backflow from contacting live parts.
5- To ensure a good air flow for the blower, an air
intake surface area of at least 8" x 8"
must
be pro-
vided.
6- There are no serviceable parts inside.
Opening the blower will void manufacturer's
warranty and liability.
7- Install the blower out of the bather's reach, in an
area serviceable by a technician.
Fastening brackets


