7
14” FLOOR TOM DRUM ASSEMBLY
ITEMS REQUIRED:
1x Batter Head for 14” Floor Tom Drum
(with Gear4music logo)
1x Resonant Head for 14” Floor Tom Drum
(no logo)
2x Floor Tom Hoops (14”, attached to drum)
10x Tom Tension Rods and Washers
(note – 2x already attached to the drum)
1x Drum Key
1.
Repeat the steps for the 10” tom tom
drum assembly.
2.
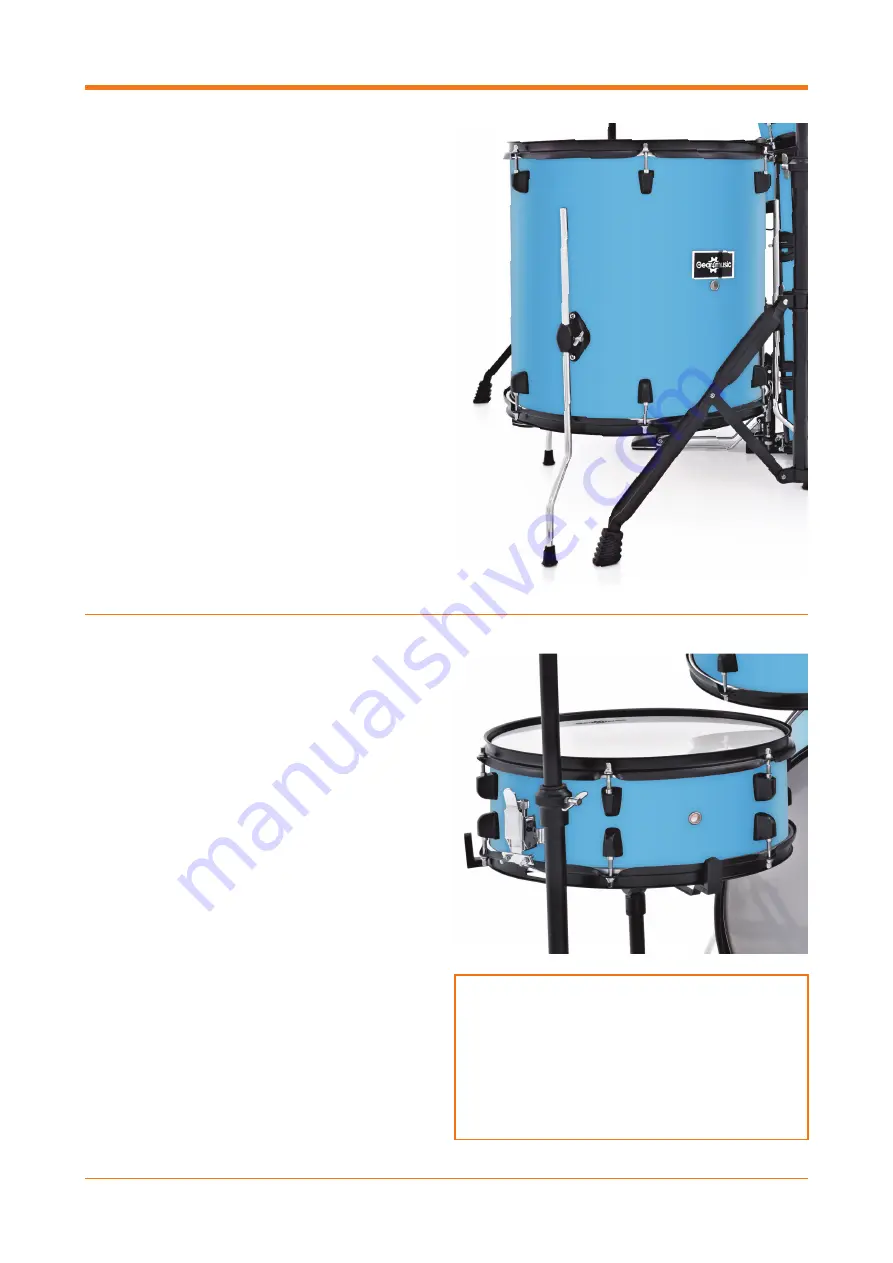
Take the 3x fl oor tom legs and insert them into
the 3x holes on the side of the fl oor tom drum.
Tighten the wing nuts to secure the legs in
place. When you put the drum upright on to the
legs, the Gear4music badge on the side of the
drum should be straight.
SNARE DRUM ASSEMBLY
ITEMS REQUIRED:
1x Snare Drum (14” x 5.5”)
1x Snare Drum Stand (two parts)
1.
The snare drum is already assembled but needs
to be installed on its stand. Take the tripod base
of the snare drum stand, then unscrew the wing
nut slightly to release the three arms. Tighten the
wing nut once the arms are splayed.
2.
Take the second part of the stand and place the
pole into the top of the tripod base. Tighten the
wing nut between both parts to secure in place.
At the top of the snare drum stand are three
arms with rubber stops. Evenly space these arms
and simply set the snare drum on top, with the
Gear4music logo pointing upwards.
3.
Push the arms inwards then secure them around
the drum. Tighten the wing nut on the stand
(now below the snare drum stand) to secure
everything into place.
NOTE
– There is a lever on the side of the
snare drum. Before beginning to play this
drum, make sure to push the lever to its
tensioned position, as this activates the snare
wire underneath. If you press this lever and
get no snare sound, you adjust this using the
knob next to the lever when the tension lever
is released.
Содержание BDK-1
Страница 1: ...FUSIONDRUMKIT SETUPGUIDE...
Страница 2: ...FUSION DRUM KIT...


