Chapter 11: Image Viewer
5495975-1EN Rev.9
11-13
© 2013-2017 General Electric Company. All rights reserved.
– N (Normal: default setting)
– +1
– +2
– +3 (largest)
Note:
GE Service personnel can change the default Font Size at your request.
5. Click [OK].
[CANCEL] closes the screen and leaves the selections unchanged.
Add Image Annotations
Note:
All image annotations initially appear in the same place (center of image) and are the same
shape, size, or angle. It is possible to have multiple annotations of the same kind stacked on top of
each other.
Follow this process to add image annotations.
1. Select the image to annotate, if necessary.
2. Click the button of the annotation to insert.
Note:
Selected image annotations are yellow with red handles. Unselected image annotations are aqua
without handles.
3. Move, re-size, or change the angle of the annotation as described in
Table 11-5
Image annotation instructions
Tool
Instructions
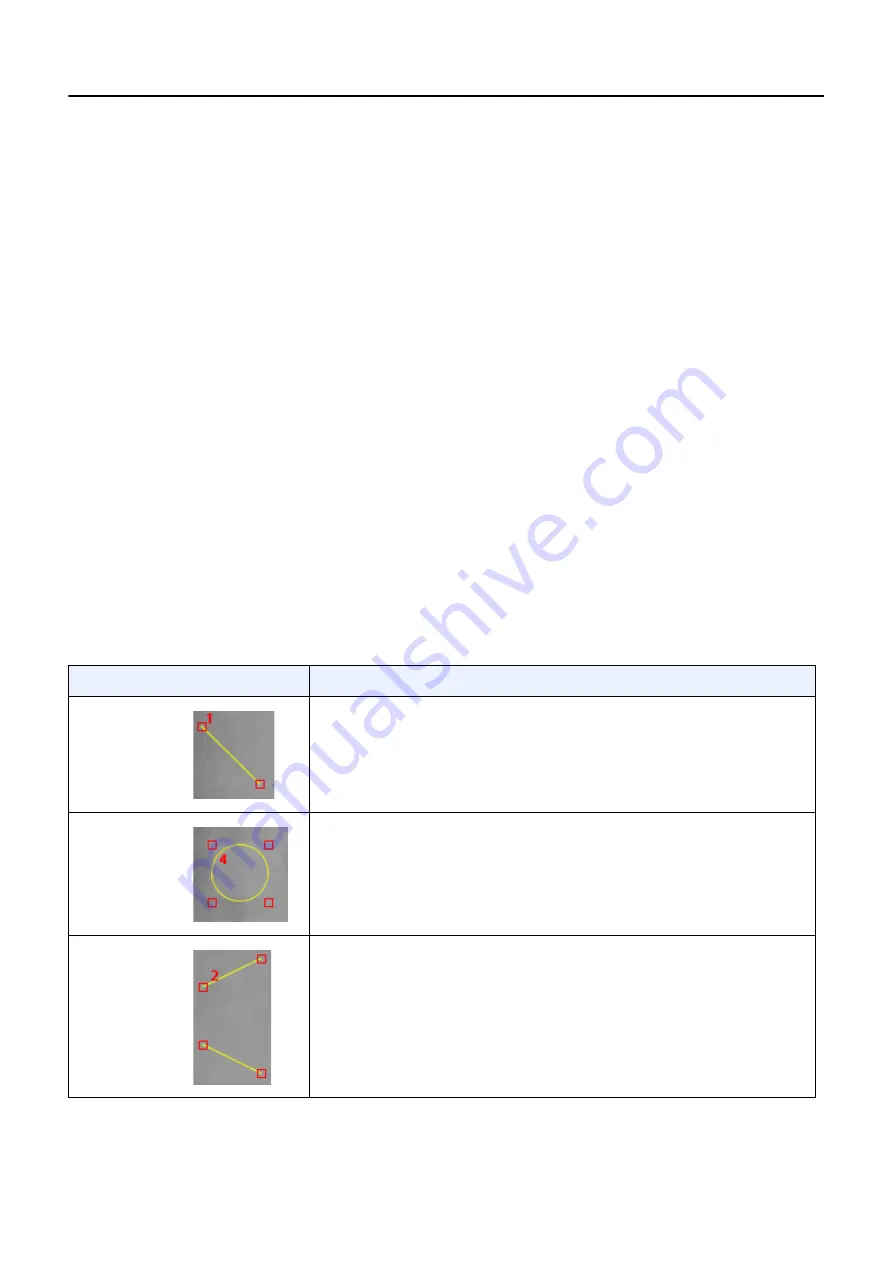
Line
Select the line.
To move: Click and drag the middle of the line.
To change the angle or re-size: Click and drag one of the square
handles at the ends of the line.
Ellipse
Select the ellipse.
To move: Click and drag the ellipse by its edge (not on a handle).
To change shape or re-size: Click and drag a square handle.
Cobb
Select the Cobb.
To move: Click and drag the middle of a line.
To change the angle or re-size: Click and drag one of the square
handles at the ends of the line.


