


– 11 –
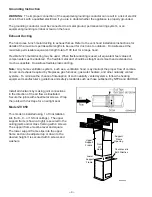
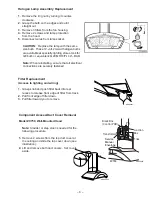
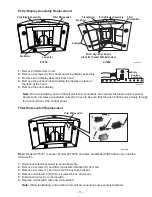
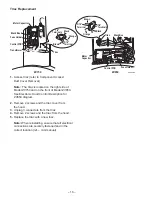
Entry/Display Assembly Replacement
1. Remove 3 filters from hood.
2. Remove 2 screws (A) from hood and entry/display assembly.
3. Remove entry/display assembly from hood.
4. Remove the pusher bracket holding the display in place on
the face of the hood.
5. Remove the entire display.
Note: When reinstalling, ensure that all electrical connections are securely fastened, and the pusher
bracket and 2 screws are installed correctly. Check to be sure that the push buttons move freely through
the front surface of the control panel.
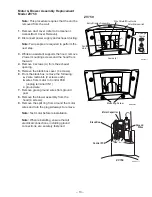
Filter Microswitch Replacement
Note: Model ZV750Y1 is shown; Model ZV750Y2 and later, and Model ZV850 have only one filter
microswitch.
1. Disconnect electrical power to hood assembly.
2. Remove 2 screws (A) and filter microswitch bracket (B) from fan.
3. Remove 2 screws (C) and microswitch box from bracket.
4. Remove microswitch (D) from microswitch box and cover.
5. Disconnect wires from microswitch.
6. Replace microswitch with new microswitch.
Note: When reinstalling, ensure that all electrical connections are securely fastened.
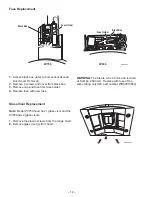
Transformer
4 Lamps
Fan Motor
Motor mtg.-4 Hex Screws
(Use 9/32" Socket With Extension)
Entry/Display Assembly
Filter
Microswitch
Lamps (4)
Fan Motor
Entry/Display Assembly
Filter Microswitch
A
A
GEA00017
ZV750
ZV850
A
A
GEA00029
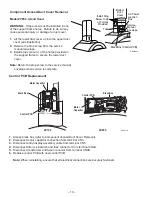
Filter Microswitch
A
B
D
C
GEA00015
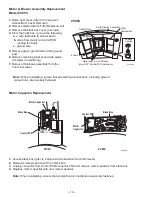
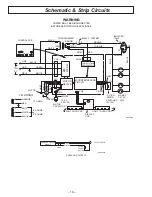
Entry
Control
Enclosure
Содержание Monogram ZV750
Страница 23: ...21 Notes...
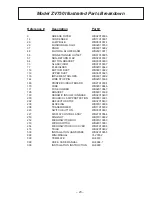
Страница 24: ...22 Model ZV750 Illustrated Parts Breakdown...
Страница 26: ...24 Model ZV850 Illustrated Parts Breakdown...
Страница 28: ...26 Notes...