


Maintenance
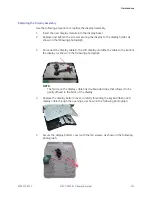
5.
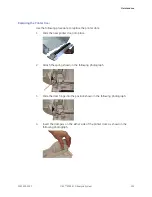
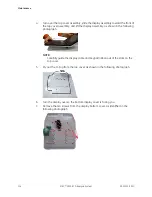
Turn the bottom cover over and replace and tighten the four screws securing
the printer door to the bottom cover, as shown in the following photograph.
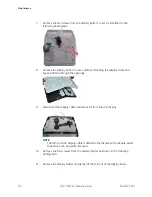
6.
Reattach the printer module assembly.
See step
through step
in
“Replacing the Printer Module Assembly” on page
for instructions.
7.
Reattach the chassis.
See step
through step
in
“Attaching the Chassis” on page 85
for instructions.
8.
Reattach the top cover assembly.
See
“Reattaching the Top Cover Assembly to the Device” on page 81
for
instructions.
9.
Reinsert the battery.
See step
through step
in
“Replacing the Battery” on page 74
for instructions.
10.
Continue with the appropriate functional checkout procedure for this FRU.
See
“Functional Checkout” on page 129
for more information.
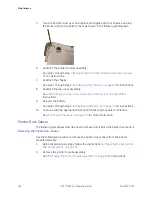
Printer Door Sensor
The following procedures describe how to remove and replace the printer door sensor.
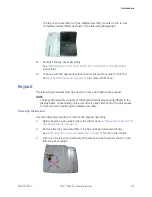
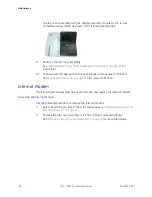
Removing the Printer Door Sensor
Use the following procedure to remove the printer door sensor from the printer
module assembly.
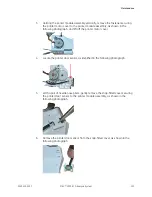
1.
Before beginning any steps, follow the instructions in
FRU Replacement” on page 73
2.
Remove the printer module assembly.
See
“Removing the Printer Module Assembly” on page 94
for instructions.
106
MAC™ 2000 ECG Analysis System
2053535-003C
Содержание MAC 2000
Страница 41: ...Product Overview 2053535 003C MAC 2000 ECG Analysis System 41 ...
Страница 134: ...Maintenance 134 MAC 2000 ECG Analysis System 2053535 003C ...
Страница 160: ...Parts List 160 MAC 2000 ECG Analysis System 2053535 003C ...
Страница 182: ...182 MAC 2000 ECG Analysis System 2053535 003C ...
Страница 183: ......


