background image

33

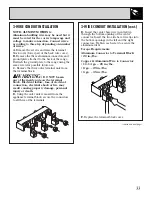
3-WIRE CONDUIT INSTALLATION

NOTE: ALUMINUM WIRING:
Aluminum building wire may be used but it
must be rated for the correct amperage and
voltage to make connection. Connect wires
according to this step depending on number
of wires.
A.

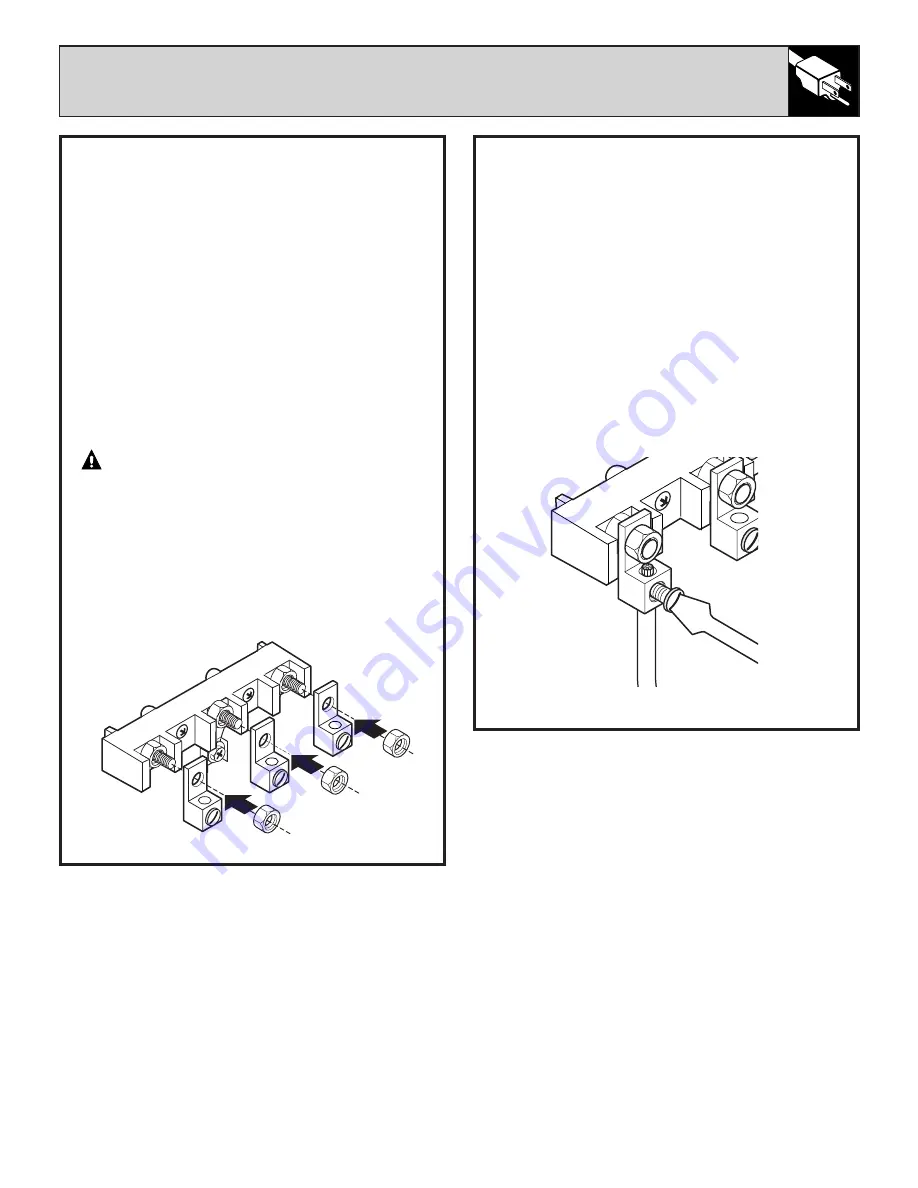
Remove the screws and raise the terminal

block cover (lower part of the back wire cover).

B.

Remove the three aluminum connectors and

ground plate attached to the back of the range.
Reattach the ground plate to the range using the
same screw for possible future use.

C. 

Remove the three outer terminal nuts from

the terminal block.

WARNING:

DO NOT loosen 

any of the inside nuts on the terminal
block. Electrical failure, loss of electrical
connection, electrical shock or fire may
result causing property damage, personal
injur y or death.
D.

Using the outer nuts removed from the

appliance terminal block, secure the connectors
to all three of the terminals.

3-WIRE CONDUIT INSTALLATION (cont.)

E. 

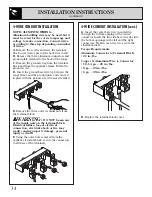
Insert the center bare wire (neutral) tip

through the bottom opening of the center
connector. Insert the two side bare wire tips into
the bottom openings in the left and the right
connectors. Tighten each screw to secure the
aluminum wires.

Torque Requirements
Aluminum Connector to Terminal Block:

• 

20 in./lbs.

Copper & Aluminum Wire to Connector:

• 

10–14 ga. – 20 in./lbs.

• 

8 ga. – 25 in./lbs.

• 

6 ga. – 35 in./lbs.

F.

Replace the terminal block cover.

(continued next page)

Содержание JSC57

Страница 1: ...oking 8 9 Control Settings 8 Cookware Tips 9 Care and Cleaning Door Removal 29 Lift Up Cooktop 27 Oven Light 28 Porcelain Interior 29 Surface Units and Drip Pans 26 Installation Instructions Anti Tip...

Страница 2: ...nor operating problems that you can correct yourself IF YOU NEED SERVICE To obtain service see the Consumer Services page in the back of this manual We re proud of our service and want you to be pleas...

Страница 3: ...it over causing severe personal injury Keep the hood and grease filters clean to maintain good venting and to avoid grease fires WARNING All ranges can tip and injury could result To prevent accidenta...

Страница 4: ...d position while the oven is cool If racks must be handled when hot do not let pot holder contact the heating elements in the oven Pulling out the rack to the rack stop is a convenience in lifting hea...

Страница 5: ...cause hot fat to bubble up and over the sides of the pan Use little fat for effective shallow or deep fat frying Filling the pan too full of fat can cause spillovers when food is added If a combinati...

Страница 6: ...6 FEATURES OF YOUR RANGE Features and appearance may vary JCS57 JCP67 13 12 14 16 17 8 9 7 6 5 4 3 2 1 15 20 11 21 19 7 12 6 5 4 2 1 13 12 16 17 15 22 18 17 10 10 11 10 10 8 4 14...

Страница 7: ...face unit model JCS57 Located under the right and left rear surface units model JCP67 13 Lift Up Cooktop 27 14 Oven Interior Light 11 28 Comes on automatically when the door is opened 15 Oven Rack Sup...

Страница 8: ...u turn control to OFF when you finish cooking The surface unit indicator light will glow when ANY heat on any surface unit is on Cooking Guide for Using Heat Settings HI Quick start for cooking bring...

Страница 9: ...over 1 inch Over 1 inch WRONG Deep Fat Frying Do not overfill cookware with fat that may spill over when adding food Frosty foods bubble vigorously Watch food frying at high temperatures Keep the ran...

Страница 10: ...F Pad Press this pad to cancel ALL oven operations except the clock and timer 6 CLOCK Press this pad before setting the clock To set the clock first press the CLOCK pad Then press the INCREASE and DEC...

Страница 11: ...temperature by small amounts Press and hold the pad to decrease the time or temperature by larger amounts 10 DOOR LOCKED Light Glows when the oven is in the self clean cycle After the self clean cycl...

Страница 12: ...the time in 10 minute increments The timer will start automatically within a few seconds of releasing the pad NOTE If you press the DECREASE pad first the timer will advance to 11 hours and 59 minutes...

Страница 13: ...ht is flashing Allow about 15 seconds for the oven door to lock Once the oven door is locked the current time of day will appear in the display 2 To cancel the lockout feature press the CLEAR OFF pad...

Страница 14: ...he oven and will not tilt when you are removing food from them or when placing food on them To remove a rack from the oven pull the rack forward until it stops Lift the front and slide it out Be certa...

Страница 15: ...her rack position 2 or 3 See the chart for suggested rack positions Two will be used more than 3 continued next page Type of Food Rack Position Angel food cake 1 Biscuits or muffins 2 or 3 Cookies or...

Страница 16: ...ks stagger the pans so one is not directly above the other Baking Pans Use the proper baking pan The type of finish on the pan determines the amount of browning that will occur Dark rough or dull pans...

Страница 17: ...ng time and do not open the door to look at your food Most recipes provide minimum and maximum baking times such as bake 30 40 minutes DO NOT open the door to check until the minimum time Opening the...

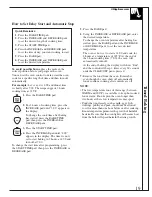
Страница 18: ...he BAKE TIME pad then press the INCREASE or DECREASE pads 3 Press the BAKE pad 4 Using the INCREASE or DECREASE pad enter the desired temperature To change the oven temperature after baking has starte...

Страница 19: ...he new desired temperature The oven is now set to start at 4 00 and cook for 3 hours at a temperature of 325 F At the end of the 3 hour cooking time 7 00 the oven will automatically turn off At the en...

Страница 20: ...ess and hold the BAKE pad for about 5 seconds The time display will change to the oven adjustment display 4 The oven temperature can be adjusted up to 35 F hotter or 35 F cooler Use the INCREASE or DE...

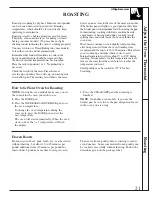
Страница 21: ...e to cook slightly while standing after being removed from the oven Standing time recommended for roasts is 10 to 20 minutes This allows roasts to firm up and makes them easier to carve Internal tempe...

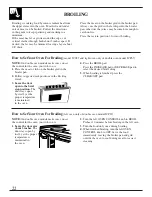
Страница 22: ...ce the meat or fish on the broiler grid in the broiler pan 2 Follow suggested rack positions in the Broiling Guide 3 Leave the door open to the broil stop position The door stays open by itself yet th...

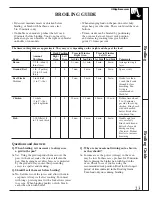
Страница 23: ...d Slash fat Chicken 1 whole 1 2 35 min 15 min 35 min 15 min Reduce time about 2 to 21 2 lbs 5 to 10 minutes split lengthwise per side for cut up chicken Brush each side with melted butter Broil skin s...

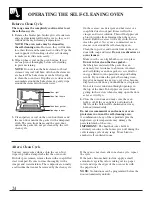
Страница 24: ...e Do not rub or clean the door gasket the fiberglass material of the gasket has an extremely low resistance to abrasion An intact and well fitting oven door gasket is essential for energy efficient ov...

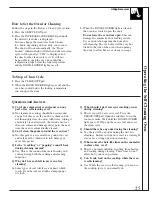
Страница 25: ...o use them and do not thoroughly rinse the oven with water wiping it absolutely clean afterwards the residue can scar the oven surface and damage metal parts the next time the oven is automatically cl...

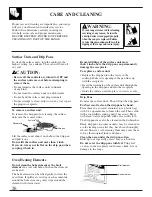
Страница 26: ...he surface unit more than 1 inch above the drip pan can permanently damage the receptacle To replace a surface unit Replace the drip pan into the recess in the cooktop Make sure opening in the pan lin...

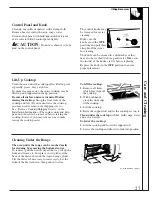
Страница 27: ...e front sides of the cooktop and lift If you cannot raise the cooktop you may need to remove the shipping screws See Remove Cooktop Shipping Screws in the Installation Instructions The surface units a...

Страница 28: ...emove burned on foods The broiler pan may be cleaned with a commercial oven cleaner Do not use an oven cleaner on the grid Both the broiler pan and grid can also be cleaned in a dishwasher Do not stor...

Страница 29: ...sauces and basting materials containing acids may cause discoloration and should be wiped up immediately When the surface is cool clean and rinse Do not use oven cleaners cleansing powders or harsh ab...

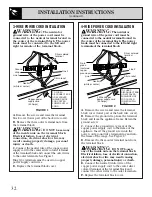
Страница 30: ...the knockout hole to keep the edge from damaging the cable Because range terminals are not accessible after range is in position flexible service conduit or cord must be used NOTE If conduit is being...

Страница 31: ...50 volts minimum 40 amps and investigated for use with ranges shall be used Terminals on end of wires must be either closed loop or open end spade lugs with upturned ends REMOVE COOKTOP SHIPPING SCREW...

Страница 32: ...block cover 3 WIRE POWER CORD INSTALLATION WARNING The neutral or ground wire of the power cord must be connected to the neutral terminal located in the center of the terminal block The power leads mu...

Страница 33: ...en any of the inside nuts on the terminal block Electrical failure loss of electrical connection electrical shock or fire may result causing property damage personal injury or death D Using the outer...

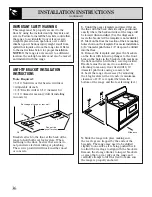
Страница 34: ...und screw removed earlier E Remove the three outer terminal nuts from the terminal block WARNING DO NOT loosen any of the inside nuts on the terminal block Electrical failure loss of electrical connec...

Страница 35: ...rojects horizontally a minimum of 5 beyond the bottom of the cabinets NOTE There is a minimum 5 clearance required from the left side of the range to a wall This clearance is needed to open the left s...

Страница 36: ...is being pushed back to allow the rear legs to align with the brackets Remove the storage drawer to inspect brackets or grasp the top rear edge of the range and carefully attempt to tilt it forward to...

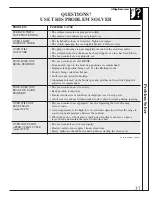
Страница 37: ...roiling Aluminum foil used on the broiler pan and grid has not been fitted properly and slit as recommended FOOD DOES NOT The oven control not set correctly ROAST OR BAKE Rack position is incorrect PR...

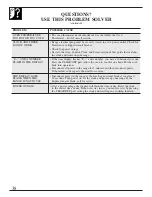
Страница 38: ...ave a function error code FLASH IN THE DISPLAY Press the CLEAR OFF pad Allow the oven to cool for one hour Put the oven back into operation Disconnect all power to the range for 5 minutes and then rec...

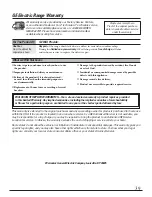
Страница 39: ...warranty gives you specific legal rights and you may also have other rights which vary from state to state To know what your legal rights are consult your local or state consumer affairs office or yo...

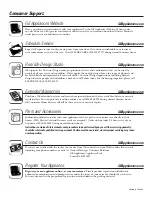
Страница 40: ...that are available while your warranty is still in effect You can purchase it on line anytime or call 800 626 2224 during normal business hours GE Consumer Home Services will still be there after your...

Отзывы: