


Apoyo al consumidor
Solucionar problemas
Operación
Seguridad
Cuidado y limpieza
36
Antes de llamar para solicitar servicio…
Solucionar problemas
Problema
Causas posibles
Qué hacer
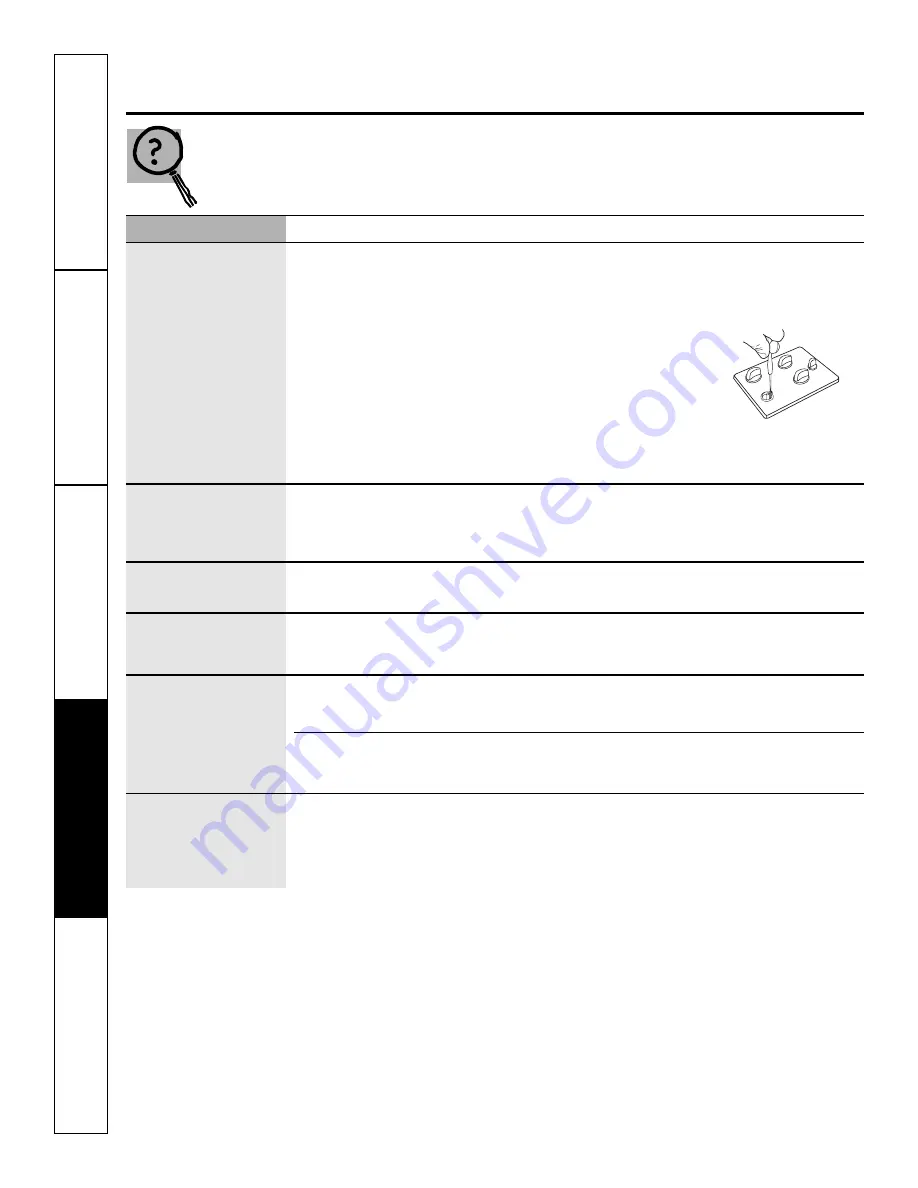
Las llamas son
Ajuste el nivel de la
1
Encienda los quemadores
demasiado altas o bajas
llama baja.
superiores y continúe
en el nivel LOW (bajo)
girando todas las perillas
NOTA:
Las llamas bajas
(LOW)
de la superficie a
LOW
(bajo).
del lado derecho deberían ser
2
Retire las cuatro perillas.
más pequeñas que las del lado
3
Con un destornillador plano,
izquierdo, porque el lado
gire los tornillos de la válvula
izquierdo puede acomodar
en la dirección de las agujas
el quemador del asador. No
del reloj para reducir el tamaño
ajuste el lado izquierdo a no
de la llama, en la dirección opuesta
ser que usted tenga un
a las agujas del reloj para aumentar
módulo de asador.
el tamaño de la llama. Ajuste hasta que la llama esté
casi a la misma altura que la parte superior del quemador.
4
Reemplace las perillas.
El sonido de chispa
Cerciórese de que la perilla
•
Retire la perilla halándola en línea recta fuera del
persiste después de
esté en la posición
OFF
.
vástago y revise la parte de abajo de la perilla en
haber apagado el
busca de cualquier acumulación de suciedad.
quemador
Sonido ocasional de
Cambio de la velocidad del
•
Este es un ruido eléctrico normal. Esto es normal.
chispa
calefactor.
Las llamas de los
Las partes del quemador no se
•
Consulte la sección
Cuidado y limpieza
.
quemadores son muy
reemplazaron correctamente.
grandes o amarillas
Las llamas son
Los puertos de los
•
Consulte la sección
Cuidado y limpieza
.
desiguales
quemadores pueden
estar obstruidos.
El nivel de la llama
•
Consulte la sección
Las llamas son demasiado altas
necesita ajuste.
o bajas en el nivel LOW
en esta sección
Solucionar
problemas
.
Las perillas de control
Los controles se instalaron
•
Para girar de la posición
OFF
, empuje la perilla
no giran
incorrectamente.
y luego gire. La perilla sólo se puede girar
en
la dirección opuesta a las agujas del reloj
. Cuando
la perilla esté en otra posición, se puede girar
en cualquier dirección sin necesidad de empujarla.
En la dirección
de las agujas
del reloj
para reducir
el tamaño
de la llama
En la dirección
opuesta a
las agujas
del reloj
para aumentar
el tamaño de
la llama


