background image

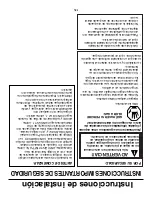
La estufa se envía de fábrica para funcionar sólo con Gas Natural.

Si desea utilizar su estufa con Gas de Petróleo Licuado, debe seguir las instrucciones de

conversión a gas LP incluidas en su estufa.

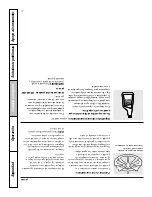
Mantenga los plásticos alejados de todos

los quemadores.

Si huele a gas, cierre la llave de paso del

gas de la estufa y llame a un técnico de

servicio especializado. Nunca utilice una

llama para localizar una fuga.

Para evitar la posibilidad de una quemadura,

siempre asegúrese de que los controles para

todos los quemadores estén apagados y que

todas las parrillas de los quemadores estén

frías antes de tratar de quitarlas.

Nunca limpie la estufa cuando está

caliente. Ciertos limpiadores producen

humos nocivos y un paño húmedo podría

causar quemaduras de vapor si se 

usa en una superficie caliente.

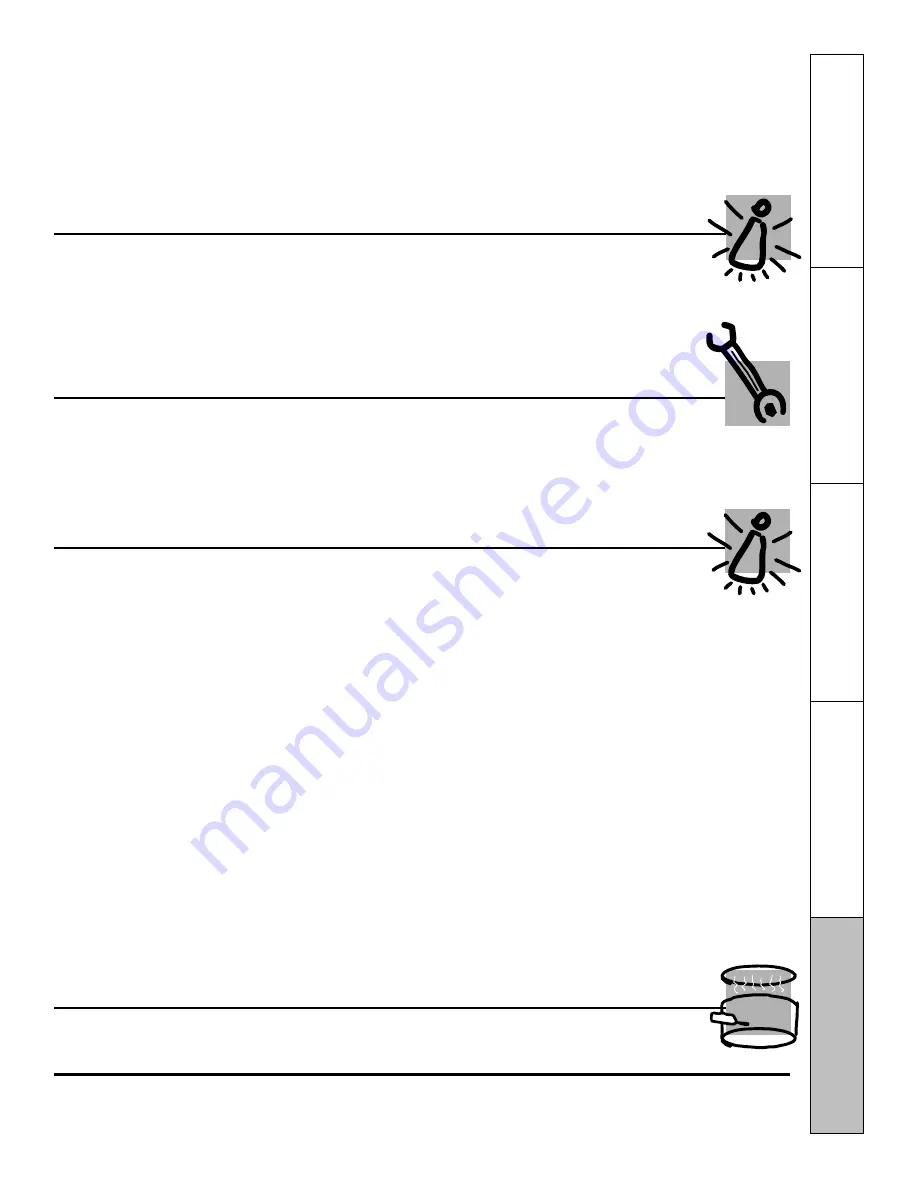
Nunca deje frascos o latas de grasa

goteando en la estufa o cerca de ésta.

No use papel aluminio debajo de las

parrillas de los quemadores. Un mal uso

podría resultar en un peligro de incendio

o daños a la estufa.

No cubra ni obstruya el área alrededor 

de las perillas de la estufa. Esta área debe

mantenerse libre para que haya un

funcionamiento adecuado de los

quemadores y una ventilación apropiada.

Limpie únicamente las partes que

aparecen señaladas en este manual del

propietario.

No levante la estufa. Levantar la estufa

podría causar daños y operación impropia.

KIT DECONVERSIÓN A

GASLP

INFORMACIÓN DESEGURIDAD

IMPORTA

NTE.

LEATODAS

LASINSTRUCCIONES

ANTESDE

SUUSO.

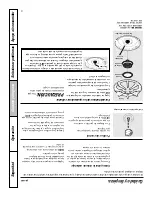
Ajuste el tamaño de la llama de los quemadores de la superficie para que no supere los límites de los

recipientes de cocción. Una llama excesiva puede resultar peligrosa.

QUEMADORESDE

LASUPERFICIE

Cocine muy bien todas las carnes, incluyendo las carnes de aves; las carnes de res, por ejemplo,

deben cocinarse a una temperatura INTERNAde por lo menos 160°F y las carnes de aves deben

cocinarse a una temperatura INTERNAde por lo menos 180°F

. Por lo general, cocinar a estas

temperaturas protege contra las enfermedades que se transmiten a través de los alimentos.

COCINEMUY

BIENTODAS

LASCARNES Y

AVES…

LEA ESTAS INSTRUCCIONES DE SEGURIDAD CUIDADOSAMENTE.

GUARDEEST

ASINSTRUCCIONES

6

Seguridad

Operación

Cuidado y limpieza

Solucionar problemas

Apoyo al consumidor

Содержание JGP337SEJSS

Страница 1: ...10 Burner Grates 11 Control Knobs 9 Glass Cooktop 12 13 Stainless Steel Surfaces 11 Installation Instructions 14 26 Troubleshooting Tips 27 Consumer Support Canada Warranty 33 Consumer Support 34 Prod...

Страница 2: ...r WARNING If the information in this manual is not followed exactly a fire or explosion may result causing property damage personal injury or death IMPORTANT SAFETY NOTICE The California Safe Drinking...

Страница 3: ...e round grounding prong from the plug If in doubt about the grounding of the home electrical system it is your personal responsibility and obligation to have an ungrounded outlet replaced with a prope...

Страница 4: ...w do not hang long curtains that could blow over the top burners and create a fire hazard Do not store or use combustible materials gasoline or other flammable vapors and liquids in the vicinity of th...

Страница 5: ...handles toward the side or back of the cooktop without extending over adjacent burners Always turn the surface burner controls off before removing cookware Carefully watch foods being fried at a high...

Страница 6: ...o line burner bowls Misuse could result in a fire hazard or damage to the cooktop Do not cover or block the area around the cooktop knobs This area must be kept clear for proper ventilation and burner...

Страница 7: ...o operate normally Do not operate the burner for an extended period of time without cookware on the grate The finish on the grate may chip without cookware to absorb the heat Check to be sure the burn...

Страница 8: ...ons Operating Instructions Care and Cleaning Troubleshooting Tips Consumer Support Home Canning Tips Be sure the canner is centered over the burner Make sure the canner is flat on the bottom To preven...

Страница 9: ...them straight off the stems for cleaning The knobs can be cleaned in a dishwasher or they may also be washed with soap and water Make sure the insides of the knobs are dry before replacing Replace th...

Страница 10: ...heads Lift off when cool To remove burned on food soak the burner heads in a solution of mild liquid detergent and hot water for 20 30 minutes For more stubborn stains use a toothbrush After cleaning...

Страница 11: ...sooner with lighter color grates NOTE Do not clean the grates in a self cleaning oven When replacing the grates be sure they re positioned securely over the burners 11 Safety Instructions Operating I...

Страница 12: ...s been removed polish the entire surface with CERAMA BRYTE Ceramic Cooktop Cleaner and a paper towel The CERAMA BRYTE Ceramic Cooktop Scraper and all recommended supplies are available through our Par...

Страница 13: ...rea on the cooktop b Remove the spill with paper towels Any remaining spillover should be left until the surface of the cooktop has cooled Don t use the surface units again until all of the residue ha...

Страница 14: ...requires basic mechanical skills Proper installation is the responsibility of the installer Product failure due to improper installation is not covered under the Warranty PARTS INCLUDED 1 8 Drill Bit...

Страница 15: ...phone Follow the gas supplier s instructions If you cannot reach your gas supplier call the fire department Installation and service must be performed by a qualified installer service agency or the g...

Страница 16: ...ve a cooktop children climbing on the cooktop to reach items could be seriously injured Installation Instructions IMPORTANT SAFETY INSTRUCTIONS WARNING INSTALLATION SAFETY INSTRUCTIONS cont 16 This Ap...

Страница 17: ...n your home make sure all local codes and ordinances are followed exactly as stated Pre Installation Checklist 17 Installation Instructions Remove packaging tape To assure no damage is done to the fin...

Страница 18: ...tertop must withstand heat up to 200 F COOKTOP 30 21 19 1 2 28 3 8 3 2 1 4 Min Between cutout and the wall behind the cooktop 19 5 8 width of cut 28 1 2 length of cut 2 1 2 Min from front edge of cuto...

Страница 19: ...ckage B4 Insert Cooktop Into Cutout Insert the cooktop centered into the cutout opening Make sure the front edge of the countertop is parallel to the cooktop The unit must rest on the metal flange aro...

Страница 20: ...flexible connectors can cause gas leaks and personal injury Always use new flexible connectors when installing a gas appliance Screw a section of pipe onto each end of the pressure regulator C4 Insta...

Страница 21: ...onnect this cooktop and its individual shutoff valve from the gas supply piping system during any pressure testing of that system at test pressures greater than 1 2 psig Isolate the cooktop from the g...

Страница 22: ...rm connection before use L N D3 Where a standard two prong wall receptacle is encountered it is the personal responsibility and obligation of the customer to have it replaced with a properly grounded...

Страница 23: ...less the screw is metal and not insulated and the wall receptacle is grounded through the house wiring The customer should have the circuit checked by a qualified electrician to make sure the receptac...

Страница 24: ...he location of the spark igniter matches up with the opening in the burner head b Position the burner cap on the burner head Make sure all burner heads and burner caps are placed onto the correct base...

Страница 25: ...op burner may be lit with a match by following the steps below WARNING Lighting gas burners with a match is dangerous You should match light the cooktop burners only in an emergency Burner Ignition a...

Страница 26: ...adjusted for when it left the factory Recheck Steps Double check to make sure everything in this manual has been completed Rechecking steps will ensure safe use of the cooktop When ordering parts alw...

Страница 27: ...supply not connected See the Installation Instructions section or turned on A fuse in your home may be Replace the fuse or reset the circuit breaker blown or the circuit breaker tripped Igniter orifi...

Страница 28: ...Safety Instructions Operating Instructions Care and Cleaning Troubleshooting Tips Consumer Support Notes 28...

Страница 29: ...protection or you may request your money back on the remaining value of your contract No questions asked It s that simple Protect your refrigerator dishwasher washer and dryer range TV VCR and much mo...

Страница 30: ...e of mind of knowing we can contact you in the unlikely event of a safety modification After mailing the registration below store this document in a safe place It contains information you will need sh...

Страница 31: ...31 Notes Safety Instructions Operating Instructions Care and Cleaning Troubleshooting Tips Consumer Support...

Страница 32: ...ce What GE Will Not Cover This warranty is extended to the original purchaser and any succeeding owner for products purchased for home use within the USA If the product is located in an area where ser...

Страница 33: ...installation delivery or maintenance Failure of the product if it is abused misused or used for other than the intended purpose or used commercially Replacement of house fuses or resetting of circuit...

Страница 34: ...with disabilities check out our Website today For the hearing impaired please call 800 TDD GEAC 800 833 4322 In Canada contact Manager Consumer Relations Camco Inc Suite 310 1 Factory Lane Moncton N B...

Страница 35: ...alles sobre descuentos especiales disponibles mientras su garant a est a n activa Puede comprarla en l nea en cualquier momento o llamar al 800 626 2224 durante horas normales de oficina GE Consumer H...

Страница 36: ...s limitaciones de da os incidentales o consecuenciales Esta garant a da derechos legales espec ficos y usted podr a tener otros derechos que variar n de estado a estado Para saber cu les son sus derec...

Страница 37: ...Seguridad Operaci n Cuidado y limpieza Solucionar problemas Apoyo al consumidor Notas 32...

Страница 38: ...31 Apoyo al consumidor Solucionar problemas Operaci n Seguridad Cuidado y limpieza Notas...

Страница 39: ...Seguridad Operaci n Cuidado y limpieza Solucionar problemas Apoyo al consumidor Notas 30...

Страница 40: ...29 Apoyo al consumidor Solucionar problemas Operaci n Seguridad Cuidado y limpieza Notas...

Страница 41: ...Seguridad Operaci n Cuidado y limpieza Solucionar problemas Apoyo al consumidor Notas 28...

Страница 42: ...ciones de instalaci n conectado o encendido Es posible que un fusible o el Reemplace el fusible o vuelva a establecer el interruptor interruptor de circuitos se de circuitos haya saltado en su casa Es...

Страница 43: ...ustada cuando sali de la factor a Reinspecci n de los pasos Inspeccione otra vez que todo lo contenido en esta gu a se haya completado Repasar los pasos garantizar el uso seguro de la estufa Cuando se...

Страница 44: ...emergencia los quemadores pueden encenderse con cerillas siguiendo los pasos abajo ADVERTENCIA Encender un quemador de gas con cerillas es peligroso Solamente encienda los quemadores de esta manera en...

Страница 45: ...endedor a chispa quede en l nea con la abertura en la cabeza del quemador b Coloque la tapa del quemador en la cabeza del quemador Aseg rese de que todas las cabezas y tapas de los quemadores est n co...

Страница 46: ...el electrodom stico a tierra a no ser que el tornillo sea met lico y no est aislado y el tomacorriente de pared est conectado a tierra a trav s del cableado de la casa El cliente debe solicitar que e...

Страница 47: ...nsabilidad personal y obligaci n del cliente hacer los arreglos para que el mismo sea cambiado por uno de tres puntas y apropiadamente conectado a tierra Bajo ninguna circunstancia corte o remueva la...

Страница 48: ...Desconecte esta estufa y su v lvula de desconexi n individual del sistema de tuber a de suministro de gas durante cualquier prueba de presi n del sistema a presiones de prueba superiores a los 1 2 ps...

Страница 49: ...y lesiones personales Siempre use conectores flexibles nuevos cuando se disponga a instalar un electrodom stico de gas Atornille una secci n de la tuber a en cada uno de los extremos del regulador de...

Страница 50: ...ecortada Inserte la estufa centrada en la abertura que ha sido recortada Cerci rese de que el extremo frontal de la encimera est paralelo con la estufa La unidad debe descansar sobre un reborde de met...

Страница 51: ...stufa 19 5 8 ancho del corte 28 1 2 largo del corte 2 1 2 m n del extremo frontal del corte y del extremo frontal de la encimera 14 1 4 13 1 4 a partir de la l nea central del corte 1 m n a partir de...

Страница 52: ...rese de que todos los c digos y ordenamientos locales se cumplan con precisi n Lista de control antes de la instalaci n 17 Instrucciones de instalaci n Retire la cinta de embalaje Para asegurarse de...

Страница 53: ...a la estufa para alcanzar objetos pueden resultar gravemente heridos Instrucciones de instalaci n INSTRUCCIONES IMPORTANTES DE SEGURIDAD ADVERTENCIA INSTRUCCIONES DE SEGURIDAD PARA LA INSTALACI N cont...

Страница 54: ...el tel fono de su vecino Siga las instrucciones del abastecedor del gas Si no logra ponerse en contacto con su abastecedor de gas llama al cuerpo de bomberos La instalaci n y el servicio deben ser ll...

Страница 55: ...iere de destrezas mec nicas b sicas La instalaci n apropiada es la responsabilidad del instalador La falla del producto debido a una instalaci n inadecuada no est cubierta por la garant a PARTES INCLU...

Страница 56: ...uite el derrame con una toalla de papel Los derrames que queden deben dejarse hasta que la superficie cer mica se haya enfriado No vuelva a utilizar los quemadores hasta que se haya removido por compl...

Страница 57: ...ie con CERAMA BRYTE Ceramic Cooktop Cleaner y una toalla de papel El CERAMA BRYTE Ceramic Cooktop Scraper y todos los elementos recomendados se encuentran disponibles a trav s de nuestro Centro de Rep...

Страница 58: ...Se dar cuenta de esto con parrillas de color m s claro NOTA No coloque las parrillas en un horno de auto limpieza Cuando reemplace las parrillas aseg rese de colocarlas firmemente sobre los quemadores...

Страница 59: ...pielas cuando est n fr a Para remover comida que se haya quemado y que se encuentre encima sumerja las cabezas de los quemadores en una soluci n de agua con un detergente suave y agua caliente por 20...

Страница 60: ...e que los interiores de las perillas est n secos Cuando reemplace las perillas revise que est n en la posici n de apagado OFF para garantizar la colocaci n correcta Hale la perilla hacia fuera del v s...

Страница 61: ...raci n Cuidado y limpieza Solucionar problemas Apoyo al consumidor Consejos para realizar conservas caseras Aseg rese de que el recipiente para conservas se encuentre centrado sobre el quemador Cerci...

Страница 62: ...re un quemador durante per odos de tiempo prolongados sin que haya un recipiente para cocinar sobre la parrilla del quemador El acabado de la parrilla del quemador puede desportillarse si no hay una o...

Страница 63: ...ra ni obstruya el rea alrededor de las perillas de la estufa Esta rea debe mantenerse libre para que haya un funcionamiento adecuado de los quemadores y una ventilaci n apropiada Limpie nicamente las...

Страница 64: ...extenderlos sobre los quemadores al lado Siempre apague los quemadores antes de quitar una cacerola Vigile con atenci n los alimentos que se fr en en llama alta Siempre caliente la grasa lentamente y...

Страница 65: ...a de la estufa Si la estufa est ubicada cerca de una ventana no coloque cortinas largas que podr an rozar los quemadores y provocar un incendio No guarde o utilice gasolina u otros vapores o l quidos...

Страница 66: ...i tiene alguna duda sobre el sistema el ctrico redondeada de conexi n a tierra de su casa es su responsabilidad y obligaci n personal cambiar la toma de corriente que no est conectada a tierra por una...

Страница 67: ...ci n de este manual puede ocurrir un incendio o una explosi n que cause da os a la propiedad lesiones personales o la muerte AVISO IMPORTANTE DE SEGURIDAD La ley de T xicos y Agua Potable Segura de Ca...

Страница 68: ...de cocci n de vidrio 12 13 Superficies de acero inoxidable 11 Tapas y cabezas de los quemadores 10 Instrucciones de instalaci n 14 26 Solucionar problemas 27 Apoyo al consumidor Apoyo al consumidor 34...

Отзывы: