background image

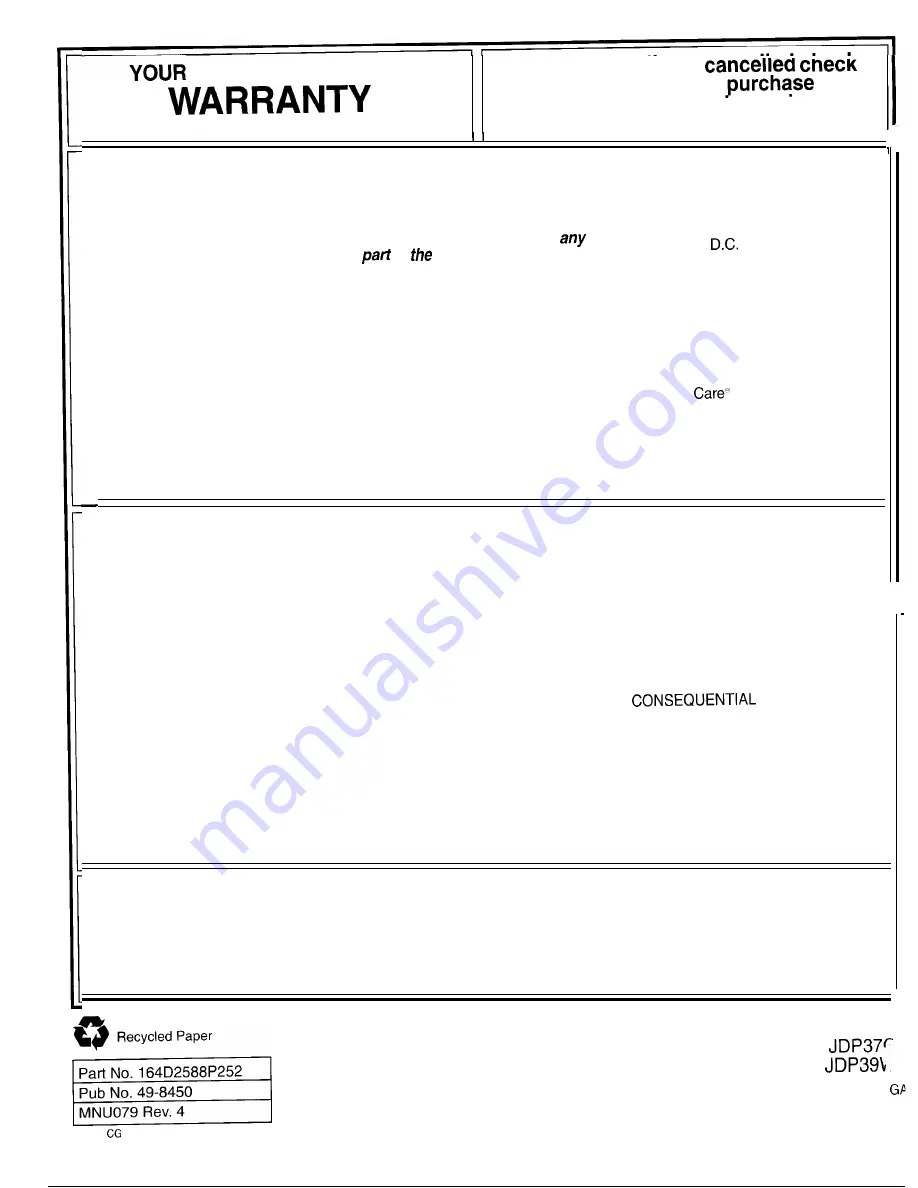
 GE ELECTRIC RANGE

Staple sales slip or 


here. Proof of original 

 date

is needed to obtain service

under warranty.

WHAT IS COVERED

FULL ONE-YEAR WARRANTY

For one year from date of original
purchase, we will provide, free of
charge, parts and service labor in
your home to repair or replace 

 of 

 range that fails because

of a manufacturing defect.

This warranty is extended to
the original purchaser and any

succeeding owner for products
purchased for ordinary home use in
the 48 mainland states, Hawaii and
Washington, 

 In Alaska the

warranty is the same except that it is

LIMITED because you must pay to
ship the product to the service shop
or for the service technician’s travel
costs to your home.

All warranty service will be

provided by our Factory Service
Centers or by our authorized
Customer 

 servicers during

normal working hours.

Should your appliance need
service, during warranty period
or beyond, call 800-GE-CARES

(800-432-2737).

WHAT IS NOT COVERED

Service trips to your home to

teach you how to use the product.

Read 

your Use and Care material.

If you then have any questions
about operating the product,
please contact your dealer or our
Consumer Affairs office at the
address below, or call, toll free:

GE Answer Center”
600.626.2000
consumer reformation service

● 

Replacement of house fuses or

resetting of circuit breakers.

● 

Failure of the product if it is used

for other than its intended

purpose or used commercially.

● 

Damage to product caused by

accident, fire, floods or acts
of God.

WARRANTOR IS  NOT

RESPONSIBLE FOR

 DAMAGES.

● 

Improper installation.

If you have an installation
problem, contact your dealer or
installer. You are responsible for
providing adequate electrical, gas,
exhausting and other connecting
facilities as described in the

Installation Instructions provided

with the product.

Some states do not allow the exclusion or limitation of incidental or consequential damages,

so the above limitation or exclusion

may not apply to you. This warranty gives you specific legal rights, and you may also have other rights which vary from state to state.

To know what your legal rights are in your state, consult your local or state consumer affairs office or your state’s Attorney General.

Warrantor: General Electric Company

If further help is needed concerning this warranty, write:

Manager—ConSUmer Affairs, GE Appliances, Louisville, KY 40225

Recycled Paper

JDP36GF

Part No. 164 D2588P252
Pub No. 49-8450

Printed in LaFayette, 

MNU079 Rev. 4

5-93 

Содержание JDP36GP

Страница 1: ...g Instructions Tips Aluminum Foil 5 17 21 Iiia Care and C eaning 25 28 Cooktop 26 EJi i Problem Solver 29 30 Thermostat Adjustment iiill Consumer Services 31 Appliance Registration 2 Models JDP36GP JDP37GP GE Appliances JDP39WR MNU079 Re 4 ...

Страница 2: ...nge Immediately contact the dealer or builder that sold you the range Save time and money Before you request service Check the Problem Solver in the back of this book It lists causes of minor operating problems that you can correct yourself IF YOU NEED SERVICE To obtain service see the Consumer Services page in the back of this book We re proud of our service and want you to be pleased If for some...

Страница 3: ...e on a hot surface unit industrial use Always keep dish towels dish cloths pot Be sure your appliance is properly installed and holders and other linens a safe distance from grounded by a qualified technician in accordance your range with the provided installation instructions Always keep wooden and plastic utensils Do not attempt to repair or replace any part of and canned food a safe distance aw...

Страница 4: ...d in the oven when not in use Potentially hot surfaces include the cooktop areas Never leave jars or cans of fat drippings on or facing the cooktop oven vent opening surfaces near your range near the opening crevices around the oven door the edges of the door window and metal trim parts above the door Self Cleaning Oven Remember The inside surface of the oven maybe Do not clean the door gasket The...

Страница 5: ... Only certain types of glass glass ceramic ...

Страница 6: ...FEATURES OF YOUR RANGE Models JDP36GP JDP37GP JDP39WR 6 ...

Страница 7: ...simplify cleaning underneath 10 Oven Vent Duct Located under the right rear surface unit 11 Display Panel 12 Oven Controls Oven Thermostat Adjustment Timed Baking Clock Timer 13 Oven Light Switch Lets you turn interior oven light on and off 14 Surface Unit Controls 15 Oven Shelves with stop locks 16 Oven Shelf Supports curved extensions Shelf positions for cooking are suggested on the Baking Roast...

Страница 8: ...ll glow hen ANY heat on any surface unit is on Cooking Guide for Using Heat Settings HI Bring water to boil NOTE MEDIUM HIGH Fast fry pan broil maintain fast 1 At HI or MEDIUM HIGH never leave food boil on large amount of food unattended Boilovers cause smoking greasy MED Saute and brown maintain slow boil on large spillovers may catch fire amount of food 2 At LO or MEDIUM LOW melt chocolate butte...

Страница 9: ...uce mixtures and all types of frying cook at temperatures much higher than boiling water Such temperatures could eventually harm cooktop surfaces surrounding surface units Observe the Following Points in Canning 1 Be sure the canner fits over the center of the surface unit If your range or its location does not allow the canner to be centered on the surface unit use smaller diameter pots for good ...

Страница 10: ...oven operations The timer can time up to 9 hours and 55 minutes To set the timer first press the TIMER pad Then press the INCREASE or DECREASE pad to change the time To cancel the timer press and hold the TIMER pad 6 b 6 10 CLEAIUOFF Press this pad to cancel all oven operations except the clock and timer 11 PROGRAM STATUS Words light up in the display to indicate what is in the time display 12 13 ...

Страница 11: ...s showing press the INCREASE or Press the TIMER pad while the word TIMER DECREASE pad until the desired time is reached is displayed If TIMER is not showing press the TIMER pad first then follow the instructions above to set the timer End of Cycle Tones The end of cycle tone is 3short beeps followed by To return the end of cycle tone to the repeating beeps I beep that repeats every 6 seconds until...

Страница 12: ... shelves are designed with stop locks so that when placed correctly on the shelf supports they will stop before coming completely out of the oven and will not tilt when removing food from or placing food on them When placing cookware on a shelf pull the shelf out to the stop position Place the cookware on the shelf then slide the shelf back into the oven This will eliminate reaching into the hot o...

Страница 13: ...REASE or DECREASE pad to select the desired change in the red display z5 When you have made the adjustment CLEAR press the CLEAIUOFF pad to go back to OFF the time of day display Use your oven as you would normally NOTE This adjustment will not affect the Broil or Clean temperatures It will be retained in memory after a power failure BAKING Your oven temperature is controlled very accurately using...

Страница 14: ...he INCREASE pad until the A desired length of baking time appears in the display c1 3 Press the BAKE pad BAKE 4 Press the INCREASE or DECREASE pad until desired temperature is displayed An attention tone will occur if step 3 is not done When the oven starts to heat the word ON and the changing temperature starting at 100 F will be displayed When the oven reaches the temperature you set a tone will...

Страница 15: ... In this example the time of day is 2 00 and the Cook Time is 3 hours Adding 3 hours to the time of day equals 5 00 4 Change Stop Time from 5 00 to 7 00 by pressing the INCREASE pad until 7 00 appears in the display 5 pressthe BAKE pad u BAKE 6 Press the INCREASE or DECREASE pad until 325 is displayed At 4 00 the oven will turn on automatically When the oven starts to heat the word ON and the chan...

Страница 16: ... not necessary For ovens without a preheat indicator light or tone preheat 10 minutes After the oven is preheated place the food in the oven as quickly as possible to prevent heat from escaping Baking Pans Use the proper baking pan The type of finish on the pan determines the amount of browning that will occur Dark rough or dull pans absorb heat resulting in a browner crisper crust Use this type f...

Страница 17: ... baked in a pan larger than the recipe for baking since the shiny foil pan reflects heat away recommends will usually be crisper thinner and drier from the pie crust the cookie sheet helps retain it than it should be If baked in a pan smaller than recommended it may be undercooked and batter may overflow Check the recipe to make sure the pan size used is the one recommended Aluminum Foil Never ent...

Страница 18: ...s the CLEAR OFF pad when CLEAR baking is finished and then remove OFF the food from the oven Most meats continue to cook slightly while standirig after being removed from the oven Standing time recommended for roasts is 10 to 20 minutes This allows roasts to firm up and makes them easier to carve Internal temperature will rise about 5 to IO F during standing time To compensate for temperature rise...

Страница 19: ...rown the meat Type Meat Tender cuts rib high quality sirloin tip rump or top round Lamb leg or bone in shoulder Veal shoulder leg or loin Pork loin rib or shoulder Ham precooked Poultry Chicken or Duck Chicken pieces Turkey ROASTING GUIDE Oven Temperature 325 325 325 325 325 325 350 325 Doneness Rare Medium Well Done Rare Medium Well Done Well Done Well Done To Warm Well Done Well Done Well Done A...

Страница 20: ...tically turn on to cool internal parts This is normal and the fan may continue to run even after the oven is turned off Use of Aluminum Foil You can use aluminum foil to line your broiler pan and broiler rack However you must mold the foil tightly to the rack and cut slits in it just like the rack Without the slits the foil will prevent fat and meat juices from draining to the broiler pan The juic...

Страница 21: ... Medium Well Done Rare Medium Well Done 1 inch thick 1 to 1 X lbs 1X inch thick 2 to 2X Ibs c c c c c c Chicken 1 whole A 2 to 2 A lbs split lengthwise Bakery Products Bread Toast or 2 to 4 slices c Toaster Pastries 1 pkg 2 English Muffins 2 split c Lobster Tails 24 B 6 to 8 oz each 6 8 12 10 15 25 5 6 II 7 8 14 16 20 25 T 35 10 15 1 2 1 2 3 4 I 13 16 Do not turn over Fish l lb fillets 1 4 to c 5 ...

Страница 22: ...elp prevent water from getting in these slots when cleaning open the door as far as it will go Do not rub or clean the door gasket C the fiberglass material of the gasket has an extremely low resistance to abrasion An intact and well fitting oven door gasket is essential for energy efficient oven operation and good baking results If you notice the gasket becoming worn frayed or damaged in any way ...

Страница 23: ...e present time of day NOTE Before beginning make sure the oven clock shows the correct time of day For example Let s say it s 7 00 and you want the oven to begin self cleaning at 9 00 after you re finished in the kitchen Th oven is just shiled a normal amount so the normal Clean Time of 3 hours is preferred 1 Prepare the oven for cleaning 2 Close the oven door 3 pressthecLEAN II CLEAN c1 6 Press t...

Страница 24: ...rd LOCK is off in the display Wipe up the excess soil and reset the clean cycle Q Is the crackling or popping sound I hear during cleaning normal A Yes This is the sound of the metal heating and cooling during both the cooking and cleaning functions Q Should there be any odor during the cleaning A Yes there maybe an odor during the first few cleanings Failure to wipe out excessive soil might also ...

Страница 25: ...rip pans for cleaning the surface units must be removed first Make sure the surface units are completely cool before touching them Surface Unit Drip Pan Lift the surface unit about 1 inch above the drip pan and pull it out Do not lift the surface unit more than 1 inch If you do it may not lie flat on the drip pan when you plug it back in Repeated lifting of the surface unit more than 1 inch above ...

Страница 26: ...ry paper towel to wipe it up right away When the surface has cooled wash with soap and water or cleansing powders Rinse well For other spills such as fat smatterings wash with soap and water or cleansing powders after the surface has cooled Rinse well Polish with a dry cloth Oven Shelves Clean the oven shelves with a mild abrasive cleanser After cleaning rinse the shelvea with clean water and dry ...

Страница 27: ...hem back out Inside Gasket Gasket Outside Gasket I 1 1 I I I 1 m I TO CLEAN THE DOOR Inside of the door Because the area inside the gasket is cleaned during the self clean cycle you do not need to clean this by hand Any soap left on the liner causes additional stains when the oven is heated The area outside the gasket can be cleaned with a scouring pad c Do not rub or clean the door gasket the fib...

Страница 28: ...nobs in soap and water but do not soak To replace the knob locate the groove in each side of the knob stem One of the grooves contains a spring clip and the other groove is clear Locate the molded rib inside the knob Fit the molded rib of the knob into the clear groove on the knob stem Kick Panel To clean the front of the kick panel wash with soap and water Rinse well Do not use cleansing powders ...

Страница 29: ... used on the broiler pan rack has not been fhted properly and sIit as recommended FOOD DOES NOT ROAST OR BAKE PROPERLY Oven controls are not properly set Shelf position is not correct Incorrect cookware or cookware of improper size is being used A foil tent was not used when needed to slow down browning during roasting OVEN LIGHT DOES Bulb mav be loose or burned out NOT COME ON I Electrical plug m...

Страница 30: ...he range to cool to room temperature and reset the controls Oven controls not set properly Heavily soiled ovens require a 3 4 hour clean time Heavy spillovers should be cleaned up before starting the clean cycle This is normal in a new oven and will dissipate in time To speed the process set a self clean cycle see the Operating the Self Cleaning Oven section lasting a minimum of 3 hours If you nee...

Страница 31: ...ring or speech who have Braille controls for a variety of GE access to a TDD or a conventional teletypewriter may appliances and a brochure to call 800 TDD GEAC 800 833 4322 to request assist in planning a barrier free information or service kitchen for persons with limited mobility To obtain these items free of charge call 800 626 2000 Service Contracts 817 P626 2224 You can have the secure feeli...

Страница 32: ... please contact your dealer or our Consumer Affairs office at the address below or call toll free GE Answer Center 600 626 2000 consumer reformation service Replacement of house fuses or resetting of circuit breakers Failure of the product if it is used for other than its intended purpose or used commercially Damage to product caused by accident fire floods or acts of God WARRANTOR IS NOT RESPONSI...

Отзывы: