background image

24

Safety Instructions

Operating Instructions

Care and Cleaning

Troubleshooting T

ips

Customer Service

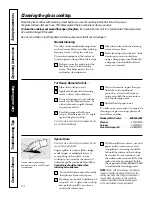
Cleaning the glass cooktop.

Clean the glass surface with cleaning cream before you use the cooktop for the first time. Also, clean 
the glass surface after each use. This helps protect the top and makes clean-up easier.

To clean the cooktop seal around the edge of the glass,

let a wet cloth rest on it for a few minutes, then wipe clean.

Use a mild detergent if needed. 

Do not use a knife or any sharp object on the seal because it will cut or damage it.

Normal Cleaning

Use only a recommended cleaning cream,
such as Cerama Brite or another cooktop
cleaning cream, on the glass cooktop.

To maintain and protect the surface of
your new glass cooktop follow these steps.

Before you use the cooktop for the
first time, clean it with cleaning
cream. This helps protect the top
and makes clean-up easier.

Clean the surface with the cleaning
cream after each use.

Rub a few drops (less is better) of the
cleaning cream onto soiled area
using a damp paper towel. Buff with
a dry paper towel until all soil and
cream are removed. 

For Heavy, Burned-On Soil…

Allow the cooktop to cool.

Apply a few drops of the cleaning
cream to the (cool) soiled area.

Using a damp paper towel, rub the
cream into the burned-on area. As
with any burned-on spill, this may
require some effort.

Carefully scrape soil with razor
scraper. Hold scraper at a 30° angle
against the glass cooktop.

Be sure to use a new sharp razor scraper. Do not
use a dull or nicked blade.

If any soil remains, repeat the steps
listed above. For additional
protection, after all soil has been
removed, polish the entire surface
with the cleaning cream.

Buff with a dry paper towel. 

To order more cream and/or scrapers for
cleaning your glass cooktop, please call
our toll-free number:

National Parts Center . . . . . . . . .800-626-2002

Cleaner 

 . . . . . . . . . . . . . . . . . . . . .# WX10X300

Scraper 

 . . . . . . . . . . . . . . . . . . . . .# WX5X1614

Cream & scraper kit 

 . . . . . . . . .# WB64X5027

Special Care

Be sure to use a new sharp razor scraper. Do not
use a dull or nicked blade.

Sugary spillovers (such as jellies, fudge,
candy syrups) or melted plastics can
cause pitting of the surface of your
cooktop (not covered by the warranty)
unless the spill is removed while still hot.

Special care should be taken when
removing hot substances.

Turn off all surface units affected by
the spillover. Remove hot pans.

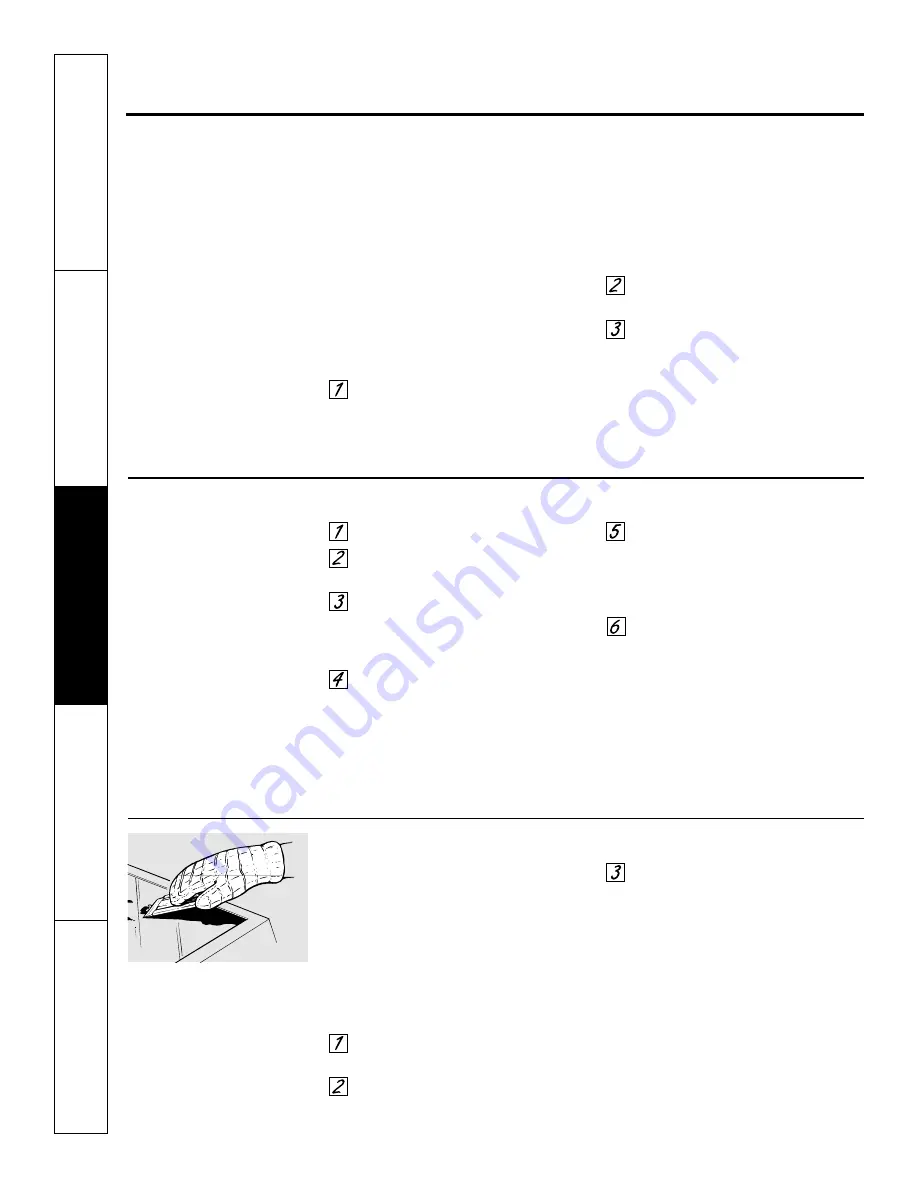
Wearing an oven mitt, hold the razor
scraper at a 30° angle to the cooktop.
Scrape the hot spill to a cool area
outside the surface unit. 

With the spill in a cool area, use a dry
paper towel to remove any excess.
Any spillover remaining should be
left until the surface of the cooktop
has cooled. Do not continue to use
the soiled surface unit until all of the
spillover has been removed. Follow
the steps under 

Heavy Burned-On Soil

to continue the cleaning process.

NOTE: 

If pots with a thin overlay of aluminum,

copper or enamel are allowed to boil dry, the
overlay may bond with the glass cooktop and
leave a black discoloration. This should be
removed immediately before heating again 
or the discoloration may be permanent.

Using a razor scraper will not
damage the surface if the 30° angle
is maintained.

Содержание JBP18

Страница 1: ...Owner s Manual Part No 164D3333P132 2 Pub No 49 8897 2 12 99 CG JR JBP18 JBP23 JBP58 JBP61 JBP62 LEB316 LEB326 LEB327 LEB356 RB754 RB755 RB756 RB757 RB787 Models Ranges Electric...

Страница 2: ...28 Customer Service Product Registration 29 Warranty 31 Service Telephone Numbers Back Cover Inside you will find many helpful hints on how to use and maintain your range properly Just a little preven...

Страница 3: ...ires businesses to warn customers of potential exposure to such substances The fiberglass insulation in self clean ovens gives off a very small amount of carbon monoxide during the cleaning cycle Expo...

Страница 4: ...food a safe distance from your range Always keep combustible wall coverings curtains or drapes a safe distance from your range Do not use water on grease fires Never pick up a flaming pan Turn the con...

Страница 5: ...ven can ignite Do not leave paper products cooking utensils or food in the oven when not in use After broiling always take the broiler pan out of the range and clean it Leftover grease in the broiler...

Страница 6: ...a burn or electric shock always be certain that the controls for all surface units are at the OFF position and all coils are cool before attempting to lift or remove a unit Clean the cooktop with cau...

Страница 7: ...surface as a cutting board Do not place or store items that can melt or catch fire on the glass cooktop even when it is not being used Be careful when placing spoons or other stirring utensils on glas...

Страница 8: ...the bottom Match the size of the saucepan to the size of the surface unit The pan should not extend over the edge of the surface unit more than 1 inch Not over 1 inch 1 Wok Cooking electric coil mode...

Страница 9: ...ts when the food is cooked Avoid placing anything on the surface unit until it has cooled completely Before you use the cooktop for the first time clean it with cleaning cream This helps protect the t...

Страница 10: ...orcelain enamel this cookware is recommended Caution is recommended for cast iron cookware that is not completely covered with smooth porcelain enamel as it may scratch the glass ceramic cooktop Glass...

Страница 11: ...ons must be reset The time of day will flash in the display when there has been a power outage HOUR and MIN Pads These pads allow you to set times up to 11 hours and 59 minutes LATCH DOOR Light Glows...

Страница 12: ...s pies Casseroles B or C Preheating and Pan Placement Preheat the oven if the recipe calls for it Preheating is necessary for good results when baking cakes cookies pastry and breads To preheat set th...

Страница 13: ...f 6 to 8 oz each turn shell Spread open over Brush with melted butter before broiling and after half of broiling time Fish Fillets 1 4 to 1 2 thick C 5 5 Handle and turn very carefully Brush with lemo...

Страница 14: ...operations The maximum setting on the timer is 11 hours and 59 minutes End of Cycle Tones Clear the tones by pressing the pad of the function you are using or To Reset the Timer If the display is stil...

Страница 15: ...g time Turn the Oven Temperature knob to the desired temperature The display will show the cooking time remaining When the oven reaches the set temperature a tone sounds When the oven automatically tu...

Страница 16: ...seconds until the display changes Before display changes back press the HOUR pads to increase or decrease the temperature in 5 degree increments The oven temperature can be increased up to 35 F hotter...

Страница 17: ...oven light is off IMPORTANT The health of some birds is extremely sensitive to the fumes given off during the self cleaning cycle of any range Move birds to another well ventilated room Wipe up heavy...

Страница 18: ...m After a Clean Cycle You may notice some white ash in the oven Wipe it up with a damp cloth after the oven cools If white spots remain remove them with a soap filled steel wool pad and rinse thorough...

Страница 19: ...Panel It s a good idea to wipe the control panel after each use Clean with mild soap and water or vinegar and water rinse with cleanwaterandpolishdrywithasoftcloth Do not use abrasive cleansers stron...

Страница 20: ...s in the bottom of the door squarely over the hinges and slowly lower it over both hinges To clean the inside of the door Because the area inside the gasket is cleaned during the self clean cycle you...

Страница 21: ...r towels or a dishcloth Soaking the pan will remove burned on foods Both the broiler pan and grid may be cleaned with a commercial oven cleaner Both the broiler pan and grid can also be cleaned in a d...

Страница 22: ...adjust or in any way repair the plug in receptacle Drip Pans electric coil models only Remove the surface units Then lift out the drip pans For best results clean the drip pans by hand Place them in a...

Страница 23: ...the floor be sure that the screws do not penetrate electrical wiring or plumbing If this cannot be determined use shorter screws that will not penetrate through flooring The bracket is packed inside...

Страница 24: ...new sharp razor scraper Do not use a dull or nicked blade If any soil remains repeat the steps listed above For additional protection after all soil has been removed polish the entire surface with the...

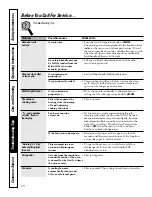
Страница 25: ...are has been slid across the cooktop surface Areas of discoloration Improper cookware Marks from aluminum and copper pans as well as on the cooktop being used mineral deposits from water or food can b...

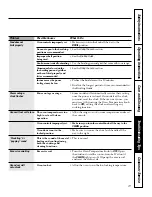
Страница 26: ...o straighten the door push down on the high corner Oven temperature too Oven thermostat See the Adjust the oven thermostat Do it yourself hot or too cold needs adjustment section Oven will not work Pl...

Страница 27: ...esume their setting clock flashes once the power is restored On models with a clock you must reset the clock If the oven was in use you must reset it by turning the Oven Temperature knob back to OFF s...

Страница 28: ...operly set setting the Oven Temperature knob to CLEAN Oven makes This is the sound of the This is normal clicking noise heating element turning off and on during cooking functions F and a number You h...

Страница 29: ...protection or you may request your money back on the remaining value of your contract No questions asked It s that simple Protect your refrigerator dishwasher washer and dryer range TV VCR and much mo...

Страница 30: ...tment Complete and mail your Consumer Product Ownership Registration today Have the peace of mind of knowing we can contact you in the unlikely event of a safety modification After mailing the registr...

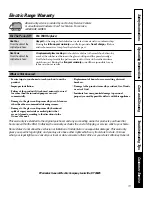
Страница 31: ...tion Failure of the product if it is abused misused or used for other than the intended purpose or used commercially Damage to the glass cooktop caused by use of cleaners other than the recommended cl...

Страница 32: ...count GE Consumer Service will still be there after your warranty expires Parts and Accessories 800 626 2002 Individuals qualified to service their own appliances can have parts or accessories sent di...

Отзывы: