81
81
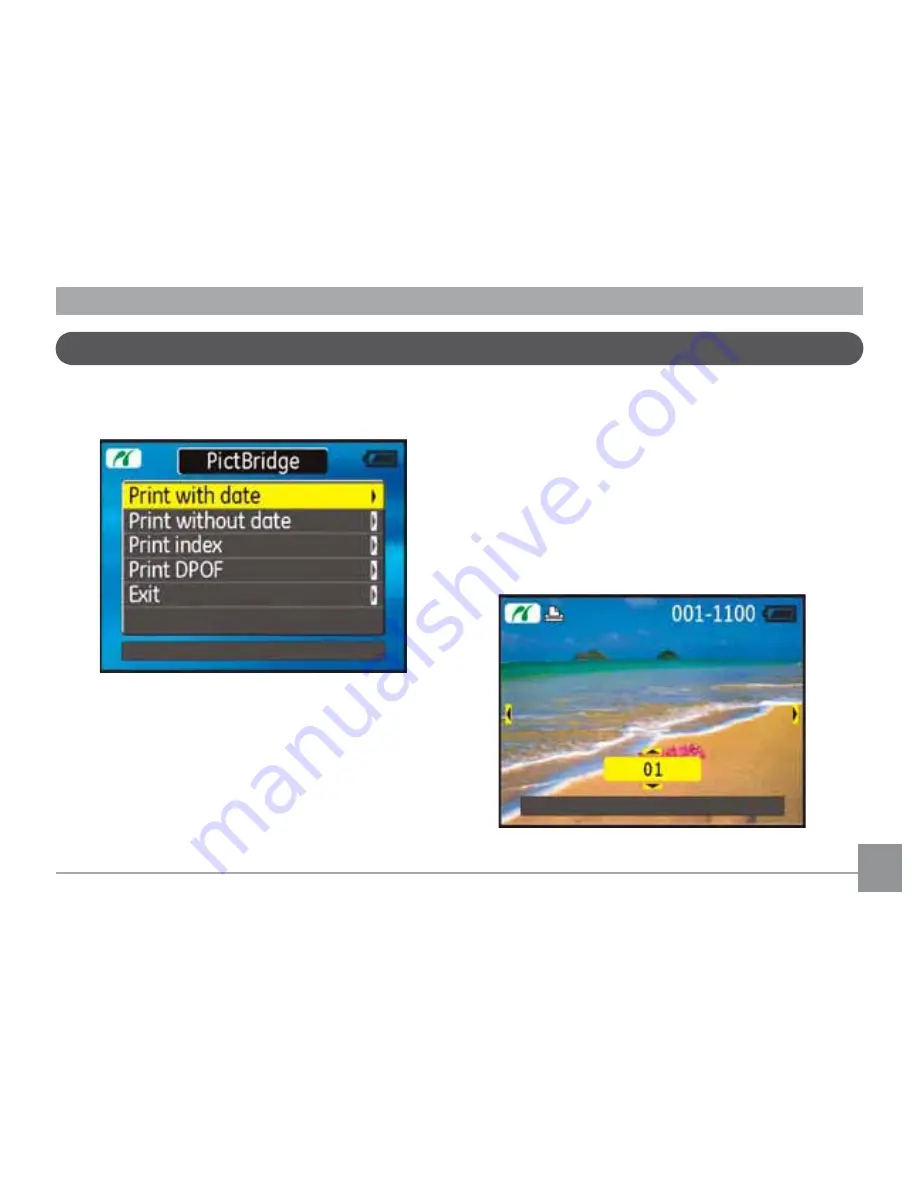
After setting the USB mode to Printer, the
PictBridge
menu appears.
Use the
Up/Down
navigation buttons to
select a menu item, and press the
Right
navigation button to enter.
Refer to the following sections for more de-
tailed information on each setting.
Print with date
If you have set the date and time of your
camera, the date record would be saved with
WKHSKRWRV\RXWDNH<RXFDQSULQWWKHSKRWRV
with date by following the steps below.
1. Select
Print with date
from
the
PictBridge
menu. The
following screen appears.
Using the PictBridge menu
Содержание A735
Страница 1: ...i USER MANUAL G Series G2 A Series A735 E Series E840s E1035 GE Digital Camera A835 E1235 ...
Страница 2: ...ii ...
Страница 12: ...8 8 Front View Camera views G2 Back View Right View 1 2 3 4 5 6 7 8 9 10 11 12 13 14 15 16 ...
Страница 14: ...10 10 Front View Camera views A735 A835 Back View Right View 1 2 3 4 5 8 7 6 9 10 11 12 13 14 15 16 ...
Страница 16: ...12 12 Front View Camera views E840s Back View Right View 1 2 3 4 5 7 6 8 9 10 11 12 13 14 15 16 ...


