Concord 4 Series Security Systems
16
4. Press
*
+
00
+
#
to exit the programming menus.
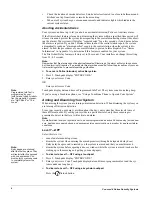
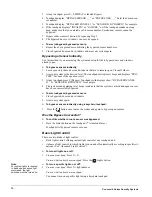
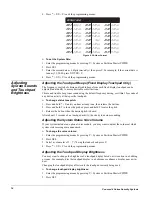
Figure 4. 24-Hour Format
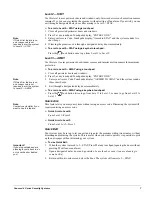
To set the System Date:
1. Enter the programming menus by pressing
9
+ System or Partition Master
CODE
.
2. Press
021
.
3. Enter the current date as 6 digits (
mm
/
dd
/
yy
) then press
#
. For example, if the current date is
January 15, 2000, press
011500
+
#
.
4. Press
*
+
00
+
#
to exit the programming menus.
Adjusting
System Sounds
and Touchpad
Brightness
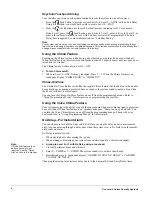
Adjusting the Touchpad Beeps (Fixed Display Touchpad Only)
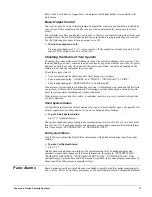
The frequency or pitch of chime and trouble beeps from each fixed display touchpad can be
adjusted individually to a more desirable or distinct tone.
Chime and trouble beep tones sound using the default frequency during, or within 15 seconds of
any button activity at that specific touchpad.
To change status tone pitch:
1. Press and hold
*
+
0
until you hear a steady tone, then release the buttons.
2. Press and hold
1
to lower the pitch or press and hold
2
to raise the pitch.
3. Release the button when the desired pitch is heard.
After about 15 seconds of no touchpad activity, the steady tone stops sounding.
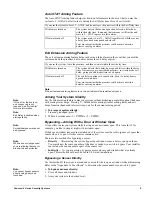
Adjusting the System Status Voice Volume
If your system includes an optional voice module, you may want to adjust the volume at which
system status messages are announced.
To change the voice volume:
1. Enter the programming menus by pressing
9
+ System or Partition Master
CODE
.
2. Press
044
.
3. Select a volume level
1
–
7
(7 being the loudest) and press
#.
4. Press
*
+
00
+
#
to exit the programming menus.
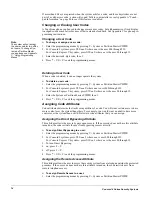
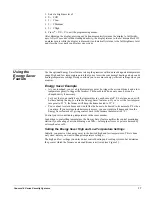
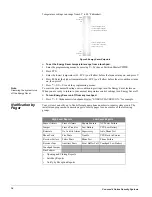
Adjusting the Touchpad Display Brightness
You may want to change the brightness of a touchpad display based on its location in a building
or room. For example, dim the touchpad display in a bedroom or enhance a display near a win-
dow.
Changing the touchpad display affects only the touchpad currently being used.
To change touchpad display brightness:
1. Enter the programming menus by pressing
9
+ System or Partition Master
CODE
.
2. Press
043
.
0 0 : 0 0
0 1 : 0 0
0 2 : 0 0
0 3 : 0 0
0 4 : 0 0
0 5 : 0 0
0 6 : 0 0
0 7 : 0 0
2 4 - H o u r F o r m a t
0 8 : 0 0
0 9 : 0 0
1 0 : 0 0
1 1 : 0 0
1 2 : 0 0
1 3 : 0 0
1 4 : 0 0
1 5 : 0 0
8 : 0 0 a m
9 : 0 0 a m
1 0 : 0 0 a m
1 1 : 0 0 a m
N o o n
1 : 0 0 p m
2 : 0 0 p m
3 : 0 0 p m
1 6 : 0 0
1 7 : 0 0
1 8 : 0 0
1 9 : 0 0
2 0 : 0 0
2 1 : 0 0
2 2 : 0 0
2 3 : 5 9
4 : 0 0 p m
5 : 0 0 p m
6 : 0 0 p m
7 : 0 0 p m
8 : 0 0 p m
9 : 0 0 p m
1 0 : 0 0 p m
1 1 : 5 9 p m
M i d n i g h t
1 : 0 0 a m
2 : 0 0 a m
3 : 0 0 a m
4 : 0 0 a m
5 : 0 0 a m
6 : 0 0 a m
7 : 0 0 a m
Содержание 4 Series
Страница 4: ...Concord 4 Series Security Systems 0 ...
Страница 10: ...Installation Instructions x ...
Страница 63: ...Concord 4 Series Security Systems 53 Floor Plan ...

