Page 2
HiTech Handheld Wireless Touchpad
2.
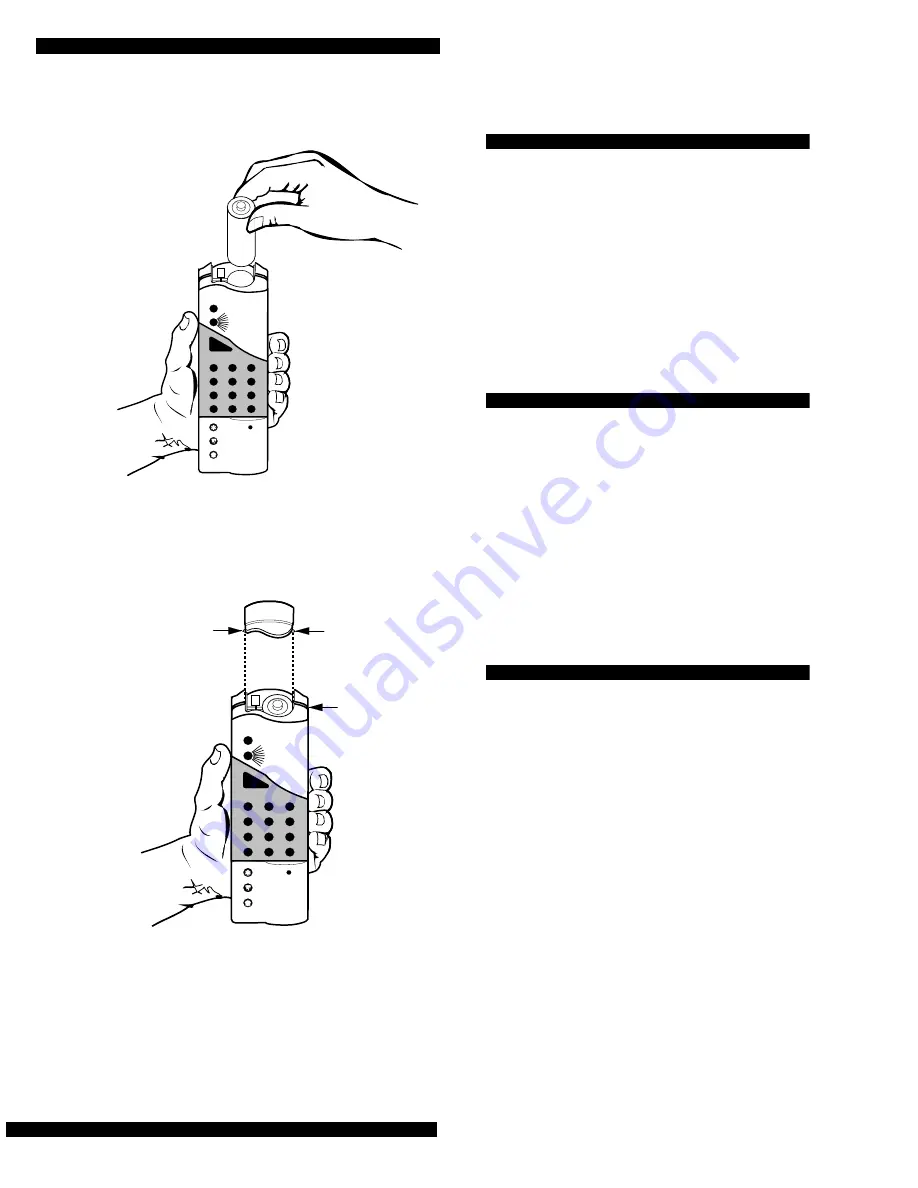
Drop the battery into the chamber with the knob
(+) end visible (see Figure 2).
Figure 2. Placing the battery in the chamber
3.
Line up the battery cover’s two exposed tabs with
the seam of the touchpad’s front and back cover
(see Figure 3).
Figure 3. Lining up the battery cover
4.
Press down on the cover and slide it into place.
5.
If the red light turns on steady (indicating a power-
up trouble condition), remove the battery and rein-
stall it. Repeat until the red indicator light remains
off when the cover is replaced.
Adding the Touchpad to a Panel
Before the touchpad can communicate with a panel, you
must add the touchpad to panel memory.
To add the Touchpad to panel memory:
1.
Refer to the appropriate panel’s installation instruc-
tions on “entering program mode” and “adding” or
“programming a wireless touchpad.”
2.
Press BYPASS when the procedure prompts for the
touchpad activation.
Mounting the Touchpad
To mount the Touchpad:
1.
Test the touchpad at the desired location before
mounting and evaluate the touchpad’s performance.
2.
Secure the mounting bracket to the desired surface,
using the two screws from the accessory pack (see
Figure 4).
3.
Place the bottom end of the touchpad into the bot-
tom of the mounting bracket and press the touchpad
into place (see Figure 5).
Testing the Touchpad
Remind the user to test their system and this touchpad
weekly. The Owner’s Manual describes how to test the
system.
To test the Touchpad after installation:
1.
To avoid an emergency response, notify the central
station that you will be testing.
2. Arm and disarm the panel from various
points to determine the touchpad’s range in
the installation site.
Note:
The green light flashes with each press of a num-
ber key or function key. The red/green light
flashes with each press of a panic button.
3. Press
STATUS
to check the current arming
level.
4. Bypass sensors using direct and indirect
bypass.
1
2
3
6
9
8
5
4
7
ST
0
BY
OFF
STAY
AWAY
NO DE
LA
Y
CHIM
E
STAT
US
BYPASS
COM
MA
ND
8341G03A.DS4
1
2
3
6
9
8
5
4
7
ST
0
BY
OFF
STAY
AWAY
NO DE
LA
Y
CHIM
E
STAT
US
BYPASS
COM
MA
ND
8341G04A.DS4
EXPOSED
TAB
TOUCHPAD
SEAM
EXPOSED
TAB


