


11 | Record Settings
Record Speed
To set the record speed for each camera:
1
Jog to Record in the Main menu and press
Enter.
2
Jog to Timelapse Record Rate and press
Enter. Camera 1 is highlighted.
In this screen you choose the record rate for
all connected cameras. The maximum rate for
one camera is 30 pictures per second (pps).
For two or more cameras the maximum rate is
24 pps, divided among all cameras. The
recording capacity of your StoreSafe shows at
the bottom right of the screen—it will
change based on the record speeds you
select.
3
Shuttle to select a rate for Camera 1, jog to
the next camera, and shuttle to select a rate
for it.
4
Continue for all cameras and then jog to OK
and press Enter.
Record Quality
To set the record quality for each camera:
1
Jog to Record in the Main menu and press
Enter.
2
Jog to Record Quality and press Enter. The
record quality level for Camera 01 is
highlighted.
3
Shuttle to change the level, and jog to
additional cameras.
4
When the settings are the way you want
them, jog to OK and press Enter.
Record Settings
Event/Timelapse Settings
To set the type of recording for each camera:
1
Jog to Record in the Main menu and press
Enter.
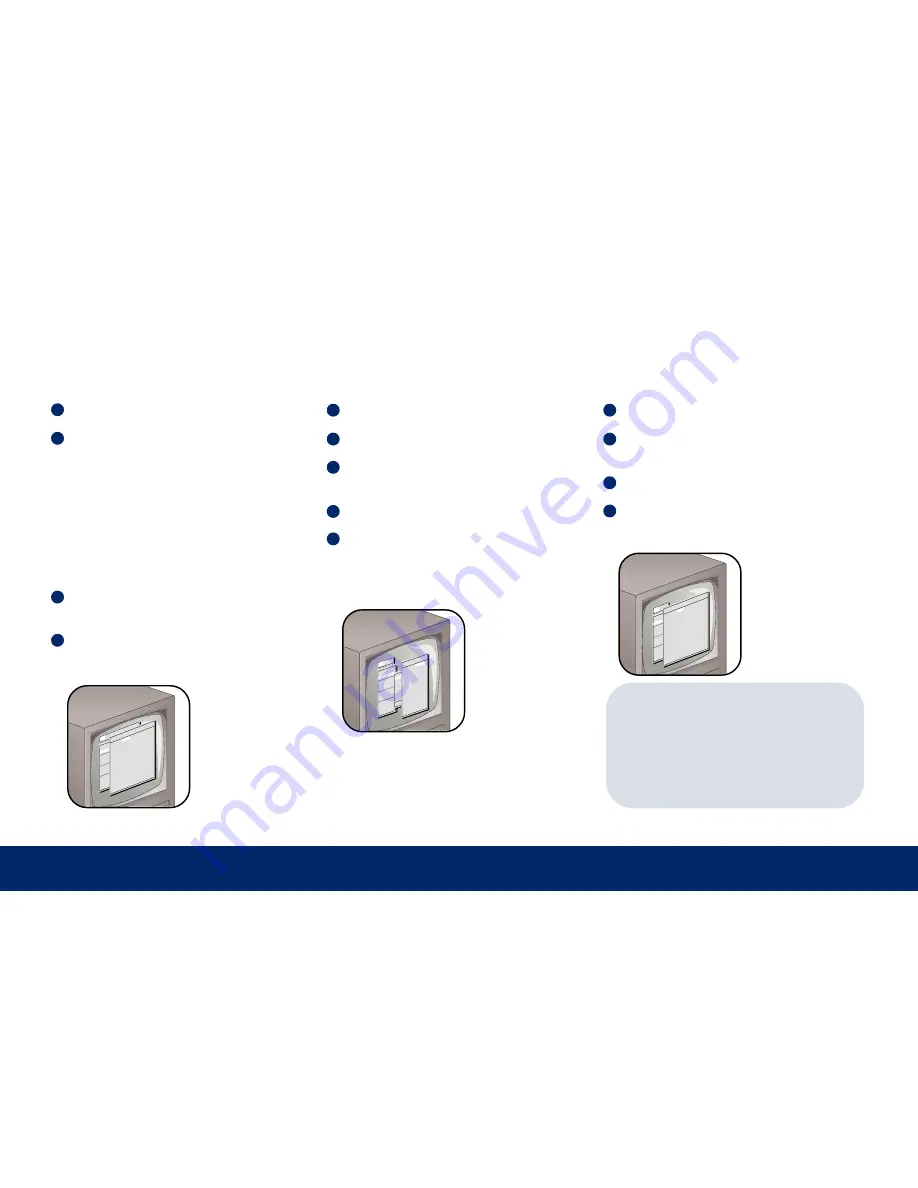
2
Jog to Event/Timelapse Settings and press
Enter. Camera 01 is highlighted.
3
Shuttle to change to TL (timelapse). This
means cameras will record at the same speed
at all times.
4
Jog to Camera 02. Using the same steps,
change all connected cameras to TL.
5
When done, jog to OK and press Enter.
TIP:
Record Lock
—To prevent anyone else from
changing record settings, jog to Record
Lock in the Record menu and press Enter.
Jog to On and press Enter. This means the
installer password is necessary to stop
recording or to change settings.
Main QuickInstall
Operator SystemView
Time/Date
Sequencing
Record
Alarms
Macro
Motion Detection
Camera Setup
Archive Setup
Audio Setup
Communications
Front Panel Lock
Factory Settings
Passwords
Record Quality
[CANCEL] [OK]
Camera 01: ----
----
Camera 02: ----
----
Camera 03: ----
----
Camera 04: ----
----
Camera 05: ----
----
Camera 06: ----
----
Camera 07: ----
----
Camera 08: ----
----
Camera 09: ----
----
Camera 10: ----
----
Camera 11: ----
----
Camera 12: ----
----
Camera 13: ----
----
Camera 14: ----
----
Camera 15: ----
----
Camera 16: ----
----
147 days 10 h (TL)
147 days 10 h (Total)
Main Operator
Time/Date
Sequencing
Record
Alarms
Macro
Motion Detection
Camera Setup
Archive Setup
Audio Setup
Communications
Front Panel Lock
Factory Settings
Passwords
Record Quality
[CANCEL] [OK]
Camera 01: ----
----
Camera 02: ----
----
Camera 03: ----
----
Camera 04: ----
----
Camera 05: ----
----
Camera 06: ----
----
Camera 07: ----
----
Camera 08: ----
----
Camera 09: ----
----
Camera 10: ----
----
Camera 11: ----
----
Camera 12: ----
----
Camera 13: ----
----
Camera 14: ----
----
Camera 15: ----
----
Camera 16: ----
----
147 days 10 h (TL)
147 days 10 h (Total)
Mai
n O
per
ato
r
Tim
e/D
ate
Seq
uen
cin
g
Rec
ord
Ala
rms
Mac
ro
Mot
ion
De
tec
tio
n
Cam
era
Se
tup
Arc
hiv
e S
etu
p
Aud
io
Set
up
Com
mun
ica
tio
ns
Fro
nt
Pan
el
Loc
k
Fac
tor
y S
ett
ing
s
Pas
swo
rds
Rec
ord
T
Rec
ord
Q
Eve
nt
Se
Tim
ela
ps
Eve
nt
Re
Act
ivi
ty
Ala
rm
Re
Rec
ord
M
Dis
k M
ai
Rec
ord
L
Aut
o D
el
Eve
nt
Cam
era
Se
tti
ngs
[CA
NCE
L]
[OK
]
Cam
era
01
: E
ven
t +
TL
Cam
era
02
: E
ven
t +
TL
Cam
era
03
: E
ven
t +
TL
Cam
era
04
: E
ven
t +
TL
Cam
era
05
: E
ven
t +
TL
Cam
era
06
: E
ven
t +
TL
Cam
era
07
: E
ven
t +
TL
Cam
era
08
: E
ven
t +
TL
Cam
era
09
: E
ven
t +
TL
Cam
era
10
: E
ven
t +
TL
Cam
era
11
: E
ven
t +
TL
Cam
era
12
: E
ven
t +
TL
Cam
era
13
: E
ven
t +
TL
Cam
era
14
: E
ven
t +
TL
Cam
era
15
: E
ven
t +
TL
Cam
era
16
: E
ven
t +
TL
Содержание StoreSafe
Страница 1: ...StoreSafe Quick Start Guide ...
Страница 19: ...18 Notes Notes ...
Страница 20: ...19 Notes Notes ...


