background image

www.GCCworld.com


32 


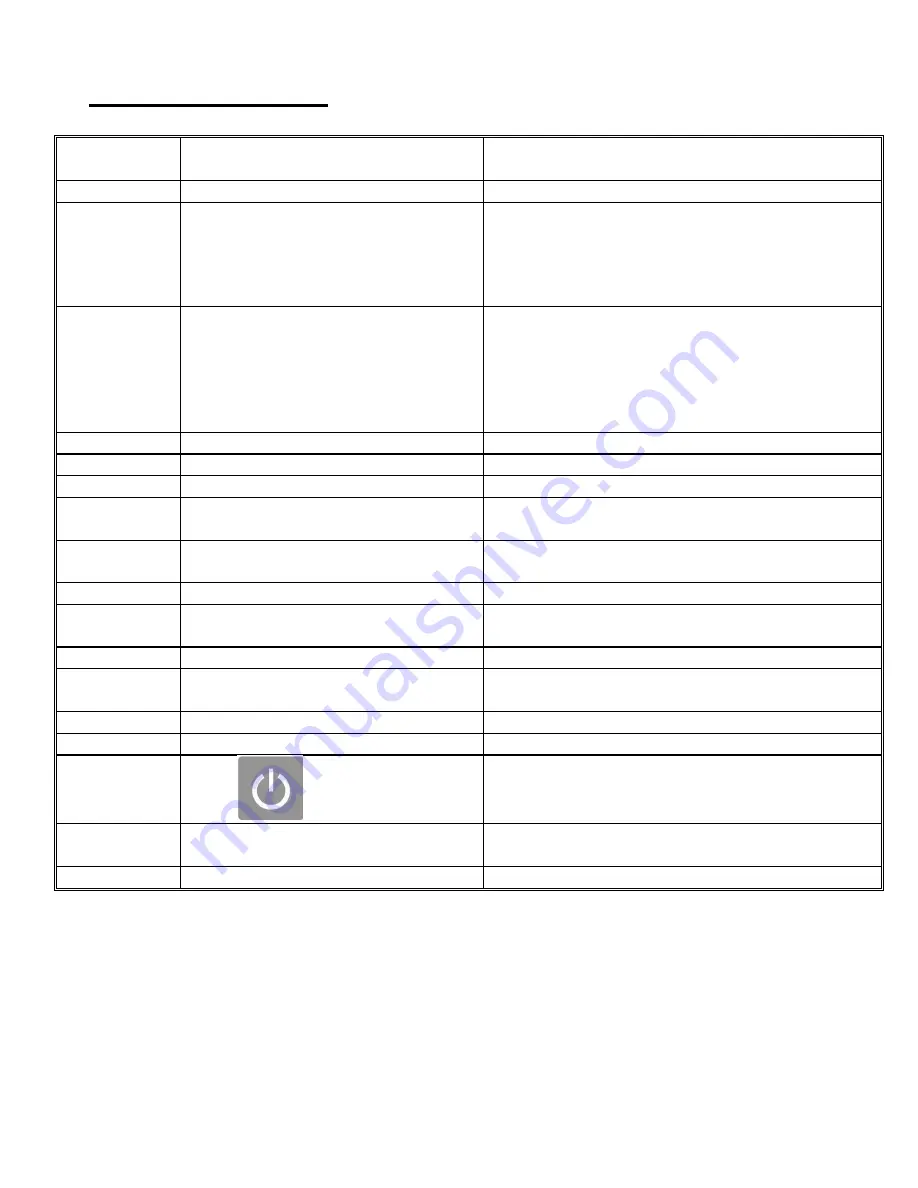
11. Trouble Shooting Guide 


Error 

Message 

Symptom and Possible Cause 

Action 

E001 

Press 

“Start” no feed 

Load paper into the hopper 

E002 


1 Paper does not reach to S2 
2 Undesired paper under S2 when 

power on the feeder 


1.1 Correct skew, readjust side guide 
1.2 Check media not flat or curled 
1.3 Sensor #2 dirty   
1.4 Adjust the Level Sensor height 

2. Remove the paper 

E003 

1 Paper does not reach S3. 
2 Sensor 3 detect infraRed 

1.1 Readjust side guide 
1.2 Check media quality 
1.3 Clean Sensor 3 if needed 
1.4 Adjust the Level Sensor height 

2 Clear paper out   
3 Block the Infra Red source 

E004 

Feed Tray keeps going down 

Level Sensor failed 

E005 

S3 seeing paper too long 

Remove jamed paper in Exit Sensor 

E006 

Suction Fan no On/Off function 

Suction Fan On/Off Index Sensor failed 

E007 

Paper cannot reach to Sure Feed 
Sensor 

1. Lever Sensor too low, adjust the senor height 
2. Sure Feed Sensor failed 

E008 

Sensor 8 keeps seeing Actuator 
 

1. Sure Feed Sensor Trigger malfunction 
2. Sure Feed Sensor failed 

Ld Er 

Cover not closed or in place 

Close the cover 

db Er 

Double feed. 

1. Adjust the level sensor lower 
2. Raise separator 

dA Er 

Test Run is not complete 

Press “Test Run” again 

tP Er 

Feed tray up to suction head then 
down without feeding 

Sensor 4 Level Sensor failed 

“- -“ 

Feed tray stop at upper limit 

Feed tray empty and reach to top mrgin switch 

“----“ 

Feed tray stop t the lowest limit 

Feeder tray reaches top margin switch 

Blinking 

“□□□□” 

Press


doesn’t feed 

1. Coater not ready 
2. Inline interface has problem, check interface 

cable pin to pin in sync 

Error can not 
reset 

1. Exit sensor sensed the Infra Red 
2. Paper path has paper 

1.Try to cover the sensor to block the Infra Red 
2. Remove the sheet in paper path   

No Power 

E-stop is ON 

Reset E-stop 


Содержание Laser Pro DFS

Страница 1: ...DFS Auto Feeder Installation Operation Manual Revision 04 08 2021 ...

Страница 2: ...www GCCworld com 2 Revision History Date Remarks Reason 01 06 20 First Version 04 07 21 Second Version Update the connection method with DFS machine ...

Страница 3: ...allation of Media Collection Tray for DFS 13 7 Control Panel and Function Key 20 8 Loading Paper 22 9 Operation Procedure 23 9 1 Level Sensor Adjustment for Feed Tray Height 23 9 2 Separator 23 9 3 Adjusting the Airflow 24 9 4 Pick up Pressure Roller Adjustment 25 9 5 Suction Air Adjustment 25 9 6 Double Detection Sensor 26 9 7 Reset Counter 26 10 Sensor Location 27 11 Operator s Trouble Shooting ...

Страница 4: ...die cutting Each set comes with the media tray which collects completed cutting sheets 2 Specification Max Speed 34M 111ft min Max Paper Width 13 9 X19 7 353mmX500mm Paper Weight 120gsm 500gsm Min Paper Size 8 1 2 216mm Power Requirement 220V 50 60HZ 4 6A 2 3A Fuse Rating 6A Time Delay Dimension 32 4 x 30 8 x 47 1 823 x 782 x 1196mm Weight 305 lbs 120Kgs ...

Страница 5: ...www GCCworld com 5 3 Accessories List Power Cord x1 Back Stop x1 Interface Cable x1 Product Manual x1 DFS Auto Feeder Product Manual ...

Страница 6: ...ts Item Key Components 1 Case 2 Stand 3 Conrol Panel 4 LED Display 5 Emergency Stop 6 Feed Tray 7 Feed Stopper 8 Side Guide 9 Suction Fan 10 Pinch Roller Asm 11 Blower Fan 12 Level Sensor 13 Separator Index 14 8 pin Interface Connector ...

Страница 7: ...www GCCworld com 7 5 Name Plate ...

Страница 8: ...www GCCworld com 8 6 Installation Procedure 6 1 Intallation of Auto Sheet Feeder for DFS a Remove the right side PC window from the conveyor b Push the auto sheet feeder to insert with the DFS machine ...

Страница 9: ...e height of the DFS to make sure the level of DFS and auto feeder are the same NOTE Clockwise Machine UP Counterclockwise Machine DOWN or Before Adjustment After Adjustment there is a height difference there is no height difference ...

Страница 10: ...www GCCworld com 10 d Align the autofeeder with the lower panel Upper Panel Lower Panel Lower Panel ...

Страница 11: ...ne and the auto feeder is in the correct position NOTE Please make sure the connected part is a little higher than the DFS auto feeder connected part need to be right above DFS conveyor This way is incorrect paper will be stuck f Put down the stopper to fix the auto feeder ...

Страница 12: ...www GCCworld com 12 g Connnect the Signal Cable h Connect the Power Cable i Open the top lid of Auto Feeder and prepare to do calibation ...

Страница 13: ...www GCCworld com 13 k Load testing paper m Turn on the feeder and press Test Run to deliver the testing paper n Make sure the top edge of paper is aligned with the alignment ruler ...

Страница 14: ...the paper alignment by losing screw of the knob Please kindly make sure that both horizontal and vertical orientaion need to be aligned well o After alignment remove the testing paper alignment ruler also pull back the top lid of auto feeder ...

Страница 15: ...www GCCworld com 15 f Put the bule PC window back g DFS Auto Sheet Feeder installation is completed ...

Страница 16: ...lection Tray for DFS Accessory Kit A Main Panel with the screw set X1set B Supporting Panel with the screw set X1set C Stopper Panel X1pc D Alignment Panel X1pc E Connecting Panel X1pc F Stand X2pcs a Remove the left sided PC window from the conveyor ...

Страница 17: ...www GCCworld com 17 b Assemble the Main Panel A with the Connecting Panel E c Assemble the Connecting Panel E with the Supporting Panel B ...

Страница 18: ...www GCCworld com 18 NOTE Please don t tighten up the screws at this stage later we will need to fix the height by these screws with DFS machine e Assemble the stands of the Media Collection Tray ...

Страница 19: ...www GCCworld com 19 d Assemble the stands on the Media Collection Tray e Loosen the screws from the bottom side of the DFS conveyor ...

Страница 20: ...m 20 f Connect the Media Collection Tray with the conveyor of DFS as the below picture g Put down the stands h Fix the Supporting Panel B and tight up with the screws which are from the bottom side of the DFS conveyor ...

Страница 21: ...www GCCworld com 21 i Adjust the position of the Connecting Panel E and fix with the screws j Place the Stopper Panel C as below picture k Place the Alignment Panel D as below picture ...

Страница 22: ...www GCCworld com 22 m Put back the blue PC window n Intallation of Media Collection Tray is completed ...

Страница 23: ...composition key Reset error message on the display Tray down to reload the media Air flow volume selection SP 1 Low SP 2 SP 3 SP 4 High Run one piece of paper to keep paper length in memory for jam burn timing control Each time paper length change Test Run must be performed Start or Pause the feeder ...

Страница 24: ...count off 0100 Set batch count amount 100 0200 Set batch count amount 200 0300 Set batch count amount 300 0400 Set batch count amount 400 0500 Set batch count amount 500 Test level sensor height Reset counter Air suction volume selection SP 1 Low SP 2 SP 3 SP 4 High ...

Страница 25: ...www GCCworld com 25 8 Loading Paper 8 1 Fan the paper and make in order to separate the sheets 8 2 Load the Paper Note The height of the paper stack should not exceedthe MAX level 8 3 Setting the Guides ...

Страница 26: ...www GCCworld com 26 NOTE Please DO NOT adjust the paper width from the right side Please keep the circel part at the same position Distance 137mm ...

Страница 27: ... to paper quality variance The elevator level should be adjusted as the following cases The machine has inconsistent feed Raised Level Sensor to higher 1 is lowest and 8 is the highest The machine feeds multiple sheets at once Set the level sensor lower 9 2 Separator The height of the separator should be adjusted as below The machine does not feed or skew feed Rotates the knob clockwise to lower t...

Страница 28: ...ge blower volume by selecting from SP 1 for low to SP 4 for high The amount of airflow should be adjusted in the following cases The machine does not feed Hold then press to select larger setting to increase airflow The machine feeds multiple sheets at once Hold then press toselect a smaller setting to decrease airflow ...

Страница 29: ...even pressure to both wheels by turning thumbscrews clockwise A piece of paper can be inserted under each wheel to check for even pressures 9 5 Suction Air Adjustment When performing Duplex coating the coated image facing down is very slippery reduce the suction air as required to help the pick up roller to feed the coated stock from the feed hopper There are 4 setting for the suction air SP 1 is ...

Страница 30: ... 6 Double Detection Adjustment 10 7 1 Power OFFthe Feeder 10 7 2 Open the top cover 10 7 3Lift item 3 and Insert a piece of sheetwhich is going to be fed 9 7 Reset Counter Hold then press on to reset the counter on display ...

Страница 31: ...etect feed hopper has paper or not S2 Feeding Sensor Make sure feeding is success S3 Exit Sensor Sense paper is conveyance to DFS Machine S4 Level Sensor Detect feed tray height S6 Suction Fan On Off Accurate feeding control S7 Sure Feed Sensor Make sure paper is sucked 100 by suction head 7 ...

Страница 32: ...ff Index Sensor failed E007 Paper cannot reach to Sure Feed Sensor 1 Lever Sensor too low adjust the senor height 2 Sure Feed Sensor failed E008 Sensor 8 keeps seeing Actuator 1 Sure Feed Sensor Trigger malfunction 2 Sure Feed Sensor failed Ld Er Cover not closed or in place Close the cover db Er Double feed 1 Adjust the level sensor lower 2 Raise separator dA Er Test Run is not complete Press Tes...

Отзывы: