


47
6.
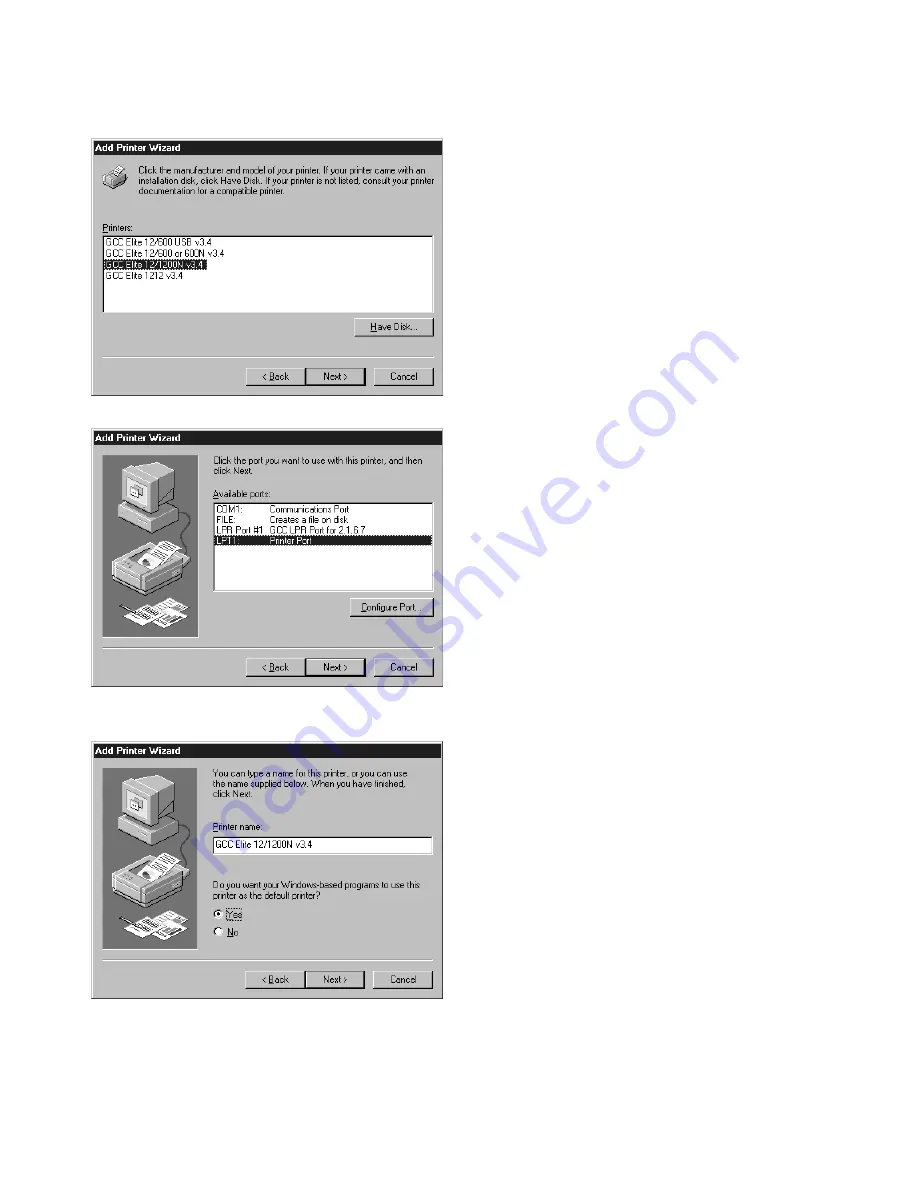
You’ll see a dialog box with the names of one
or more Elite 12 Series printers.
•
Select your Elite 12 Series printer model
from the list.
Click Next
•
If you selected Network in step 2, click
Next and go to step 8. If you selected
Local, click Next to go to the next step.
7.
You’ll see the port selection dialog box.
•
Select LPT1 for a parallel port connection
•
Select LPR port for a TCP/IP Ethernet
connection.
•
See system adminstrator for other port
connections.
•
After selecting a port, click Next.
8.
You’ll see the name printer dialog box.
•
You can enter a new name for your
printer if you wish, or you can accept the
default name. If there are printers
currently installed on your system, you
will be asked if you want to make this
your default printer. If you say Yes, the
Elite 12 Series will be the printer selected
every time you print from a Windows ap-
plication. If this is the first printer you are
installing, you will not see this prompt.
•
Click Next.


