7
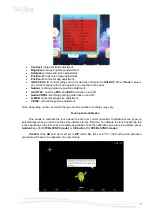
•
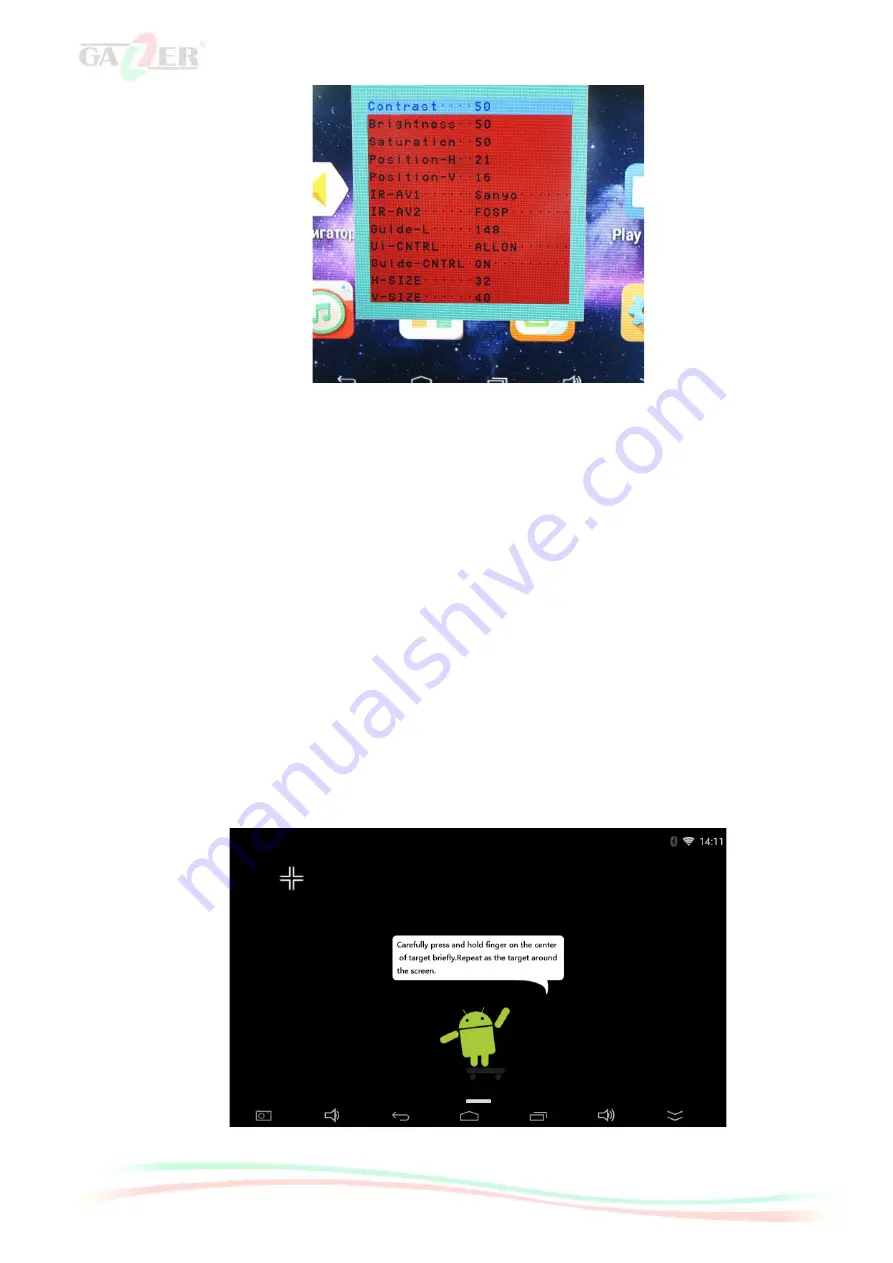
Contrast:
image contrast adjustment;
•
Brightness:
image brightness adjustment;
•
Saturation:
image saturation adjustment;
•
Position-H
:
horizontal image adjustment;
•
Position-V:
vertical image adjustment;
•
IR-AV1/AV2:
IR control settings menu for devices connected to
AV1/AV2
. When "
None
" value is
set, control buttons will not pop up when you tap the touch panel;
•
Guide-L:
parking guide line position adjustment;
•
Ui-CNTRL:
switching
PDC
and
IPAS
functions on and off;
•
Guide-CNTRL:
switching parking guide lines on and off;
•
H-SIZE:
horizontal image size adjustment;
•
V-SIZE:
vertical image size adjustment.
Note. Depending on the car model, the type and the number of settings may vary.
Touch panel calibration
One needs to calibrate the touch panel to ensure its correct operation. Calibration menu pops up
automatically when you switch on the video interface for the first time. To calibrate the touch panel, tap the
icons appearing on the screen as accurately as possible. Once the calibration procedure is complete, press
Android
logo (for
VI700A-SYNC3 model
) or
OK button
(for
VI700S-SYNC3 model
).
Caution! If the SD card slot is empty or DIP switch No. 6 is set to "On", the touch panel calibration
procedure will have to be repeated on every startup


