Menu Settings
Hold down the Menu/Mode button for 2 seconds and then release it to get into the menu settings.
You can navigate the settings menu by using the Up/Down buttons. To change or edit a selected
setting, press the Power/OK button.
Hold down the Menu/Mode button for 2 seconds and then release it to get into the second tab. Do
this again to get out of the settings menu
USB Mode
When connecting a USB cable with a PC, the DVR will present two options. ‘Mass Storage’ allows
you to transfer your videos and photos to your PC. The ‘PC Camera’ option allows you to use your
DVR as a webcam for your computer.
Battery Instructions
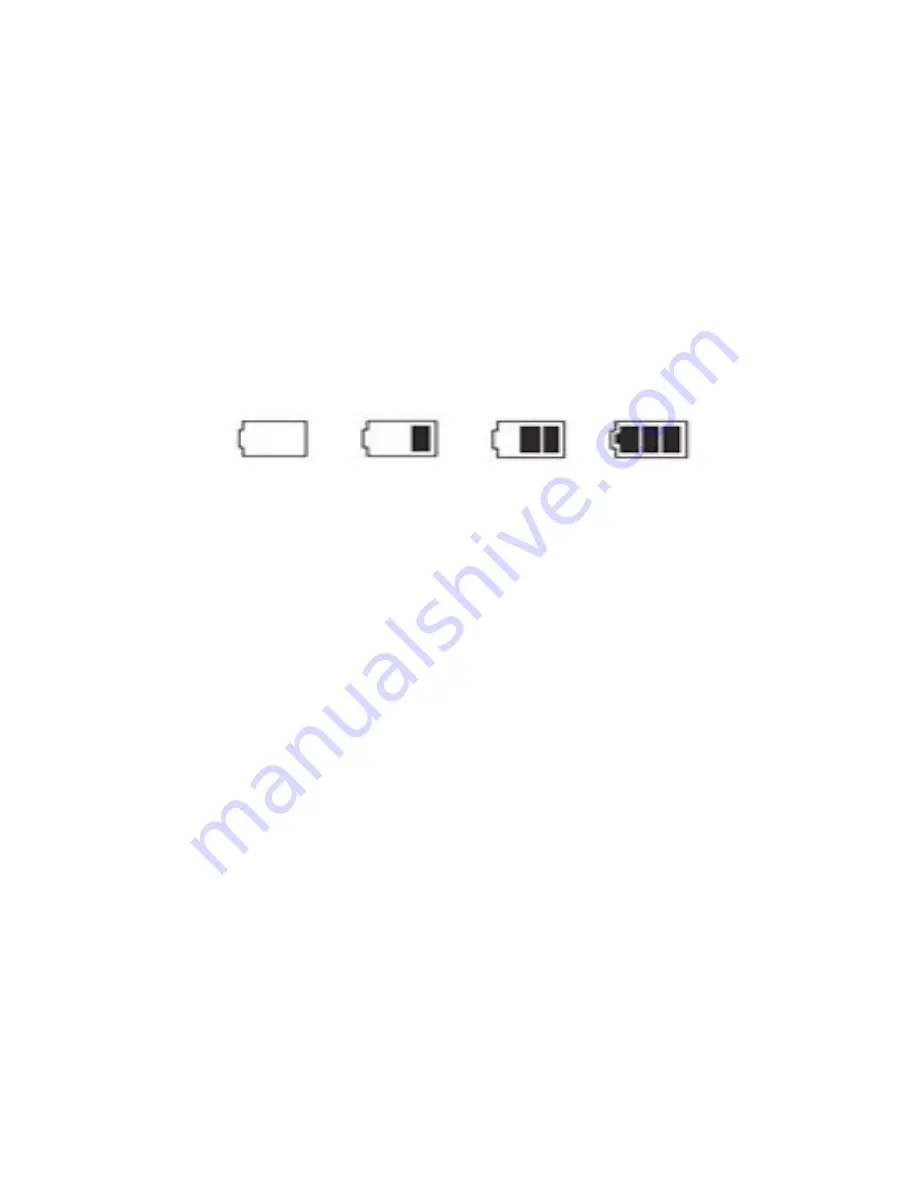
Please see below illustration for battery the capacity indications.
When the DVR is charging, a red indicator on the DVR glows red. The DVR takes about 3 hours to
fully charge. When the DVR hits full charge, the red indicator will turn off.
The DVR can be charged multiple ways:
1. Using the provided micro USB cable to connect to a USB interface for charging.
2. Using the provided car charger
Menu setting features explained
Resolution:
The recommended resolution should be set at ‘720P 1280x720’ in order to get the best
quality footage.
Loop Recording:
This feature allows you to set the size of the files your DVR will record before
saving and creating a new file. We recommend the DVR to be set to ‘3’ minute files.
Exposure:
This feature will change the white input. We recommend it always be set at ‘+0.0’.
Record Audio:
This Feature will allow you to turn the DVRs recording sound on or off. If you want
to stop the DVR recording sound in the cab of your vehicle, set this feature to ‘off’.
Date Stamp:
This feature will stamp the date and time on all your footage produced by your DVR.
G Sensor:
This feature allows you to set the sensitivity of the Gravity sensor in the DVR. We
recommend this be set to ‘4G to help stop false or irrelevant readings.
Parking Guard:
When enabled, the DVR will automatically turn on and start recording when it
detects a crash against the car. This is mainly used when the car is parked and someone else hits
your vehicle. A ‘P’ icon on the right of the screen signifies it is turned on.
Full Power
Medium Power
Low Power
Critical Power
Содержание GDVR190
Страница 1: ...USER GUIDE GDVR190...


