

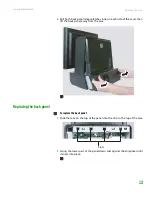
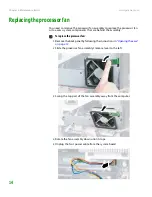
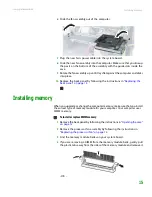


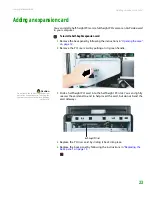
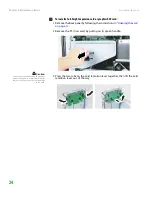


Adding an expansion card
www.gateway.com
25
4
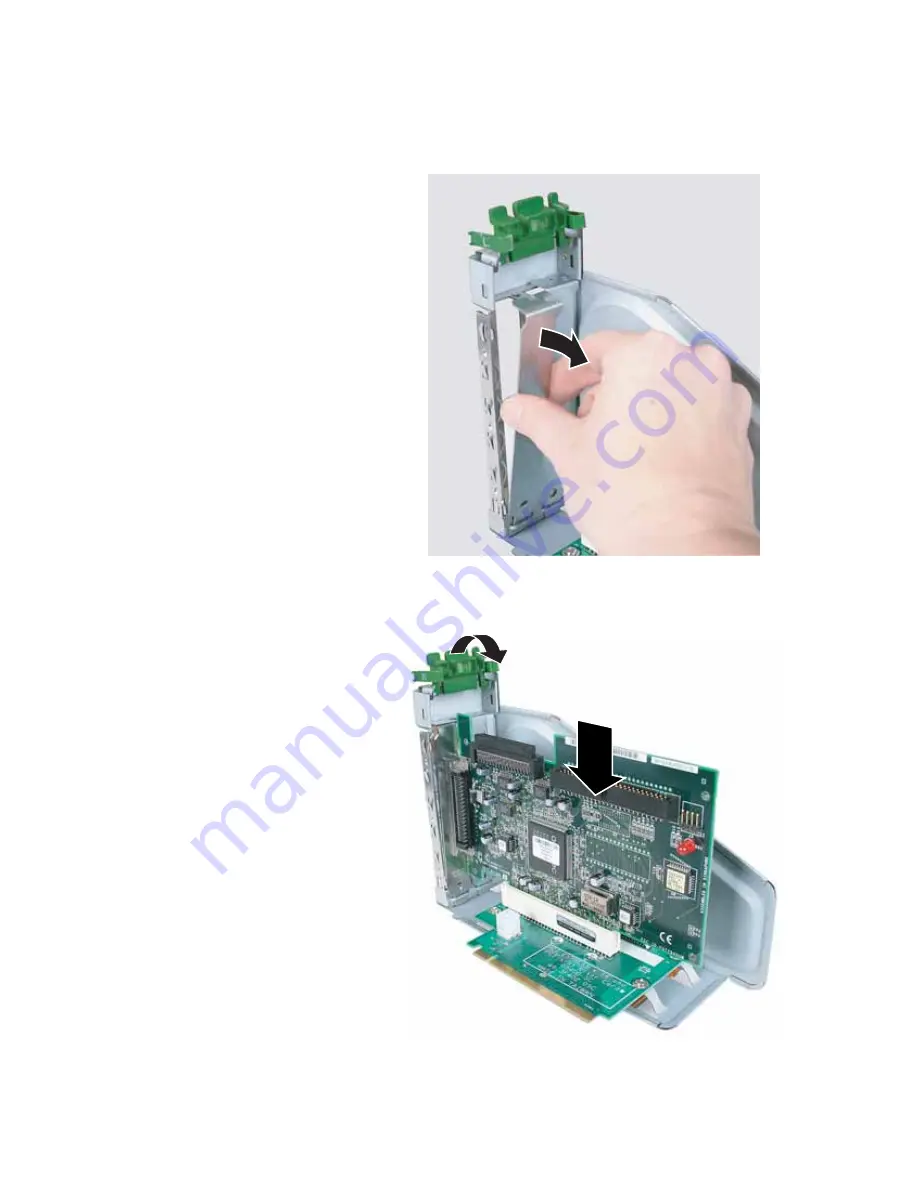
Remove the metal EMI shield next to the slot you are adding a card to. The
PCI card slot is the slot furthest from the riser card handle, and the AGP
graphics card slot is the slot closest to the handle.
5
Slide a PCI card into the PCI slot, or slide an AGP graphics card into the
AGP slot. You can slightly seesaw the card end-to-end to help insert the
card, but do not bend the card sideways.
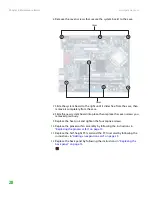
6
Press the card retention lever down until it clicks into place.
7
Replace the PCI riser card by sliding it back into place.
Содержание Profile 6
Страница 1: ...HARDWARE REFERENCE Gateway Profile 6...
Страница 2: ......
Страница 4: ...Contents www gateway com ii...
Страница 8: ...Chapter 1 About This Reference www gateway com 4...
Страница 9: ...CHAPTER 2 5 HardwareFeatures Front Back Right side Side port panel...
Страница 33: ......
Страница 34: ...MAN PFL6 HW REF R0 3 06...


