10
GATES.COM
seTup
Gates GC20 Cortex
5.
On the application welcome screen, tap
PRESS HERE TO BEGIN SETUP.
The
crimper application pairs to the crimper electronics. You may be asked to
allow the Gates GC20 Cortex to access the device’s location. Answer
ALLOW
.
6.
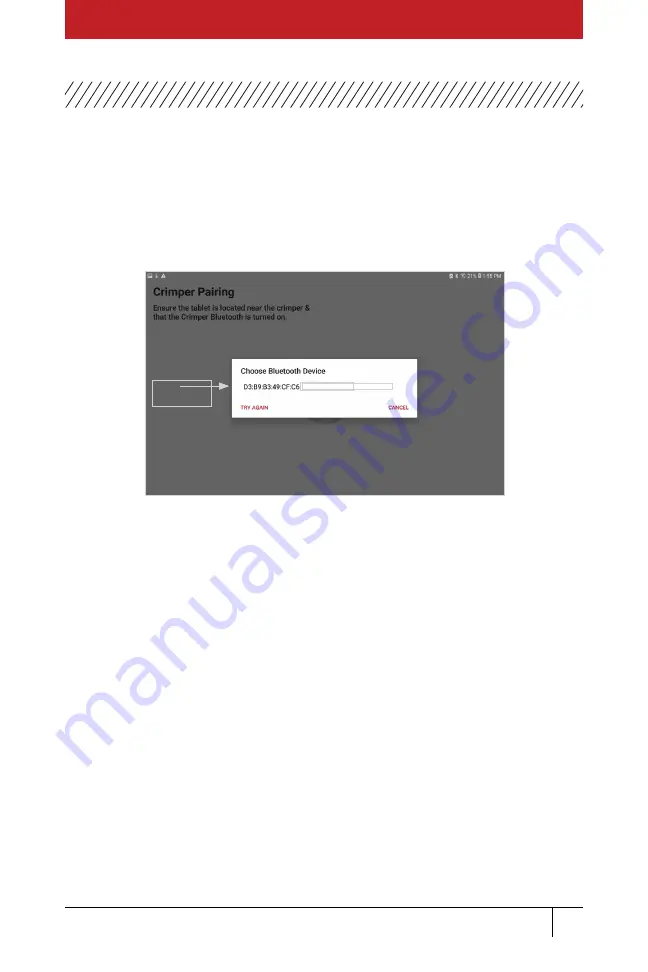
Tap to choose the Bluetooth device to pair with, as in Figure 10. The
application shows only the addresses of available crimpers. If you
have difficulty determining which Bluetooth device to pair with, see
“Troubleshooting” on page <?>.
Tap
Gates_GC20_Cortex
Figure 10: Choose Bluetooth device
7.
Begin the registration process. The serial number is on the right-hand side
of the faceplate. Enter the serial number, business name, and your location
into the template, and then tap
PRESS HERE TO CONTINUE
. Wait for the
validation confirmation before continuing.
8.
The Gates GC20 Cortex gives you an opportunity to set up an Administrator
account and Operator accounts if you want them.
You can skip setting up
Admin/Operator accounts and do this later or not at all
, or you can set up
an Administrator account now.
There are three ways to set up the tablet and use your crimper:
■
No Admin/No Operator:
Anyone can use and calibrate the crimper.
No passwords are required to use the crimper.
■
Admin-only:
Only the Admin can use and calibrate the crimper, using a
4-digit password.
■
Admin and Operators:
Admin and Operators created by the Admin can
use the crimper using their 4-digit password. Only the Admin can calibrate
the crimper, unless the Admin gives the specific Operator Admin access.


