p
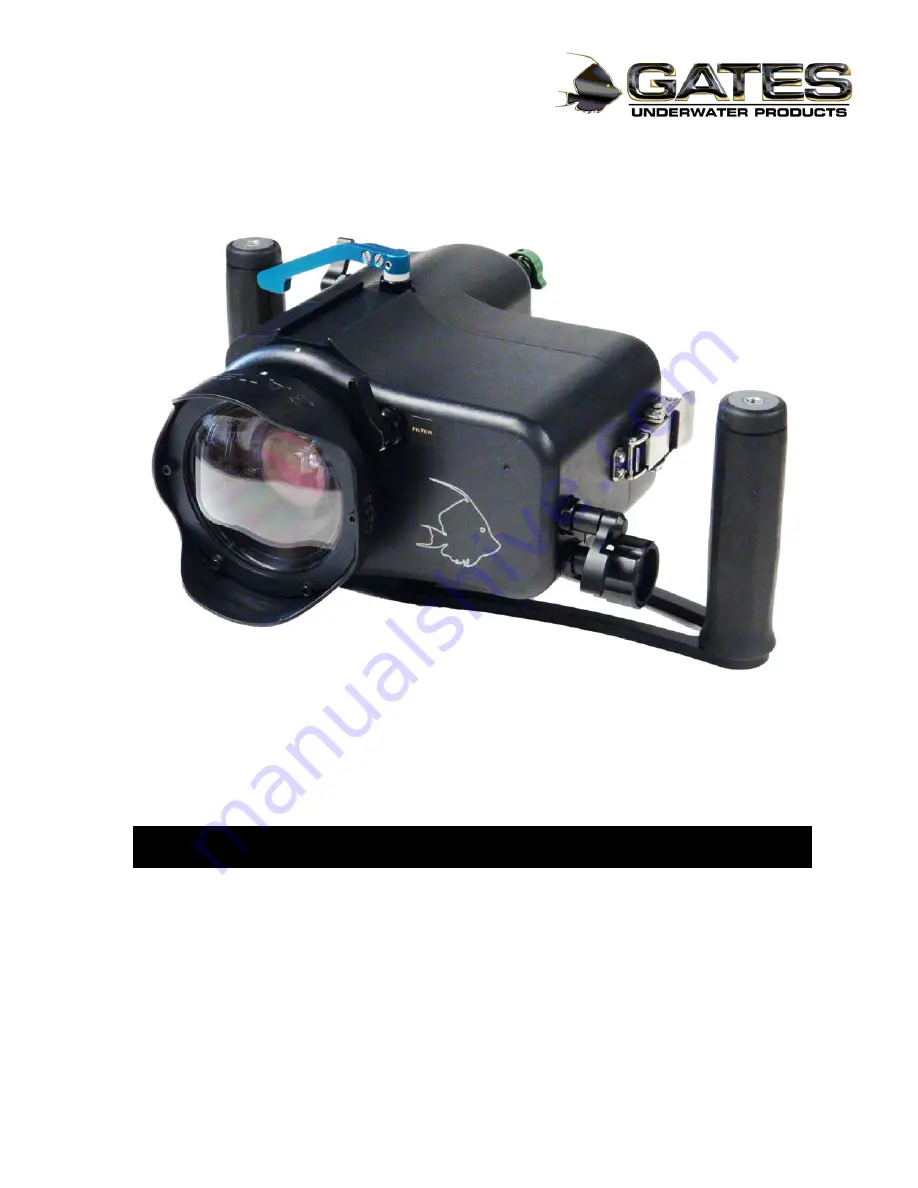
CX700 / CX560 Underwater Housing
Setup, Use, and Care Guide
Страница 1: ...p CX700 CX560 Underwater Housing Setup Use and Care Guide...
Страница 2: ...Petersen and John Ellerbrock This manual and current revision is available in 8 5 x 11 size and full color at http www gateshousings com documentation html Gates Underwater Products Inc 13685 Stowe D...
Страница 3: ...g 10 Handle Installation 11 Water Alarm Optional 12 Seal Check Optional 13 Video Out Optional 13 Microphone Optional 13 Final Checks 13 4 CX700 CX560 Operation 14 Right Side Controls 15 Top Controls 1...
Страница 4: ...ggage or dive gear Bulletproof construction Gates legendary reliability is inherent in the CX700 CX560 machined aluminum shell stainless hardware and reliable mechanical controls Precision optics The...
Страница 5: ...ce Standard Parts The CX700 CX560 comes with the following standard items The CX700 CX560 Housing The CX700 CX560 Camera Mount to which the CX700 CX560 cameras mount Various assembly and spare parts f...
Страница 6: ...USER RESPONSIBILITY This Setup Use and Care guide contains important detailed procedures for setup and use of the CX700 CX560 It is the user s responsibility to read understand and employ these proced...
Страница 7: ...first depress the center bar release while lifting the rear lever Separate the rear half of housing from the front Remove the camera mount CM Rotate the lock counterclockwise and slide the mount to th...
Страница 8: ...ck into the hand strap CAUTION Failure to perform this step may result in the hand strap becoming caught in the housing seal and accidental flooding Install the camera onto the CM using one of the sho...
Страница 9: ...opening Secure the camera by rotating the lock clockwise until snug Press in controls When the camera is installed into the front housing half press in the Manual Button and Manual Dial controls to ma...
Страница 10: ...ousing If this line is not even all the way around remove the back and determine the reason O ring out of place hand strap interference etc Failure To Do This May Result In A Wet Camera Press controls...
Страница 11: ...found on the bottom of the housing see photo Slide the handles onto the housing dovetail It may take firm pressure to fully seat the handles until they come to a solid stop Attach the knurled retainer...
Страница 12: ...ween plays after alarm test or water detection The alarm can tested anytime by shorting the detection contacts that lead to the water alarm transducer The water detection condition will activate for 6...
Страница 13: ...t installed plug the video connector into the camera after inserting the camera into the housing Microphone Optional Camera connection If you have the Submersible Microphone installed plug the audio c...
Страница 14: ...uite familiar and easy to use To help familiarize you with the housing controls Gates recommends reviewing each control individually how it actuates the corresponding camera control and operating it t...
Страница 15: ...h for the camera to focus and capture a photo Top Controls Zoom The Zoom control is blue and operates with a momentary rotation TIP The Zoom control operates free and smooth when well lubricated This...
Страница 16: ...ion Mode The Mode button is a short counter clockwise rotation White Balance A series of button presses are required to access WB Note there are two legs on this control refer to illustration The long...
Страница 17: ...CX700 CX560 Operation Page 17 White Balance Control shown isolated from the housing Note one leg is longer than the other Refer to the previous page for specific menu sequence to actuate White Balance...
Страница 18: ...ike focus and exposure Manual Dial After actuating the Manual Button this control rotates the Manual Dial to vary the selected function like focus or exposure Front Controls Flip Filter The Flip Filte...
Страница 19: ...place by a tension screw in the filter holder Loosen this screw with a 1 16 Allen tool Installation Rest the filter in the holder and tighten with a 1 16 Allen tool Tighten just enough to secure the...
Страница 20: ...ew port perform an inspection and lubrication of the sealing o ring See O ring Care and Maintenance in this Use and Care Guide for specific details Installation Mounting a different port is directly t...
Страница 21: ...ns brush if necessary to brush away foreign material that remains Rinse fresh water over the outside of the port if necessary to loosen any residual salt or sand that may remain Do this with the port...
Страница 22: ...ro imaging There is sufficient space between the camera and port to utilize up to three diopters stacked on the camera The camera utilizes diopters in a 37mm holder NOTE the Filter cannot be used with...
Страница 23: ...g or seeking to find focus A common technique is allowing the camera to auto focus on your subject or on something about the same distance from you as your subject then switch to manual focus This fre...
Страница 24: ...nd Maintenance document included with your Gates housing You can also find it on Gates web site at www GatesHousings com O Ring Care and Maintenance Your Gates housing has 2 serviceable o rings One is...
Страница 25: ...ustomer Support Should you have any questions about the CX700 CX560 and its operation please contact Gates at the numbers below Email Customer srvc GatesHousings com Web www GatesHousings com Phone 85...