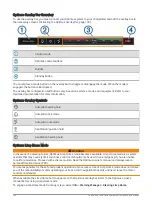

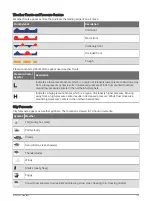

Viewing Fish Mapping Data
NOTE: This feature requires a GXM 54 antenna and a SiriusXM Fish Mapping
™
service subscription.
The Fish Mapping weather chart shows information that can help you locate fish species.
1 Select Charts > Fish Mapping.
2 If necessary, select Options > Layers, and turn on and off information.
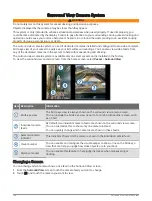
Viewing Sea Conditions
The Sea Conditions feature shows information about surface conditions, including winds, wave height, wave
period, and wave direction.
Select Charts > Sea Conditions.
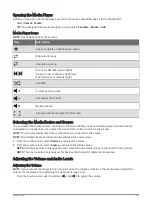
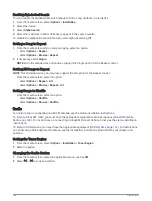
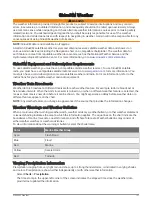
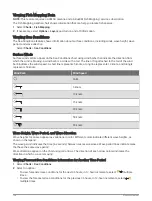
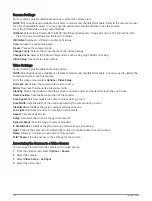
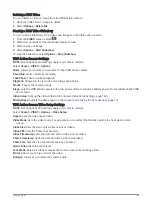
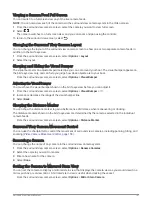
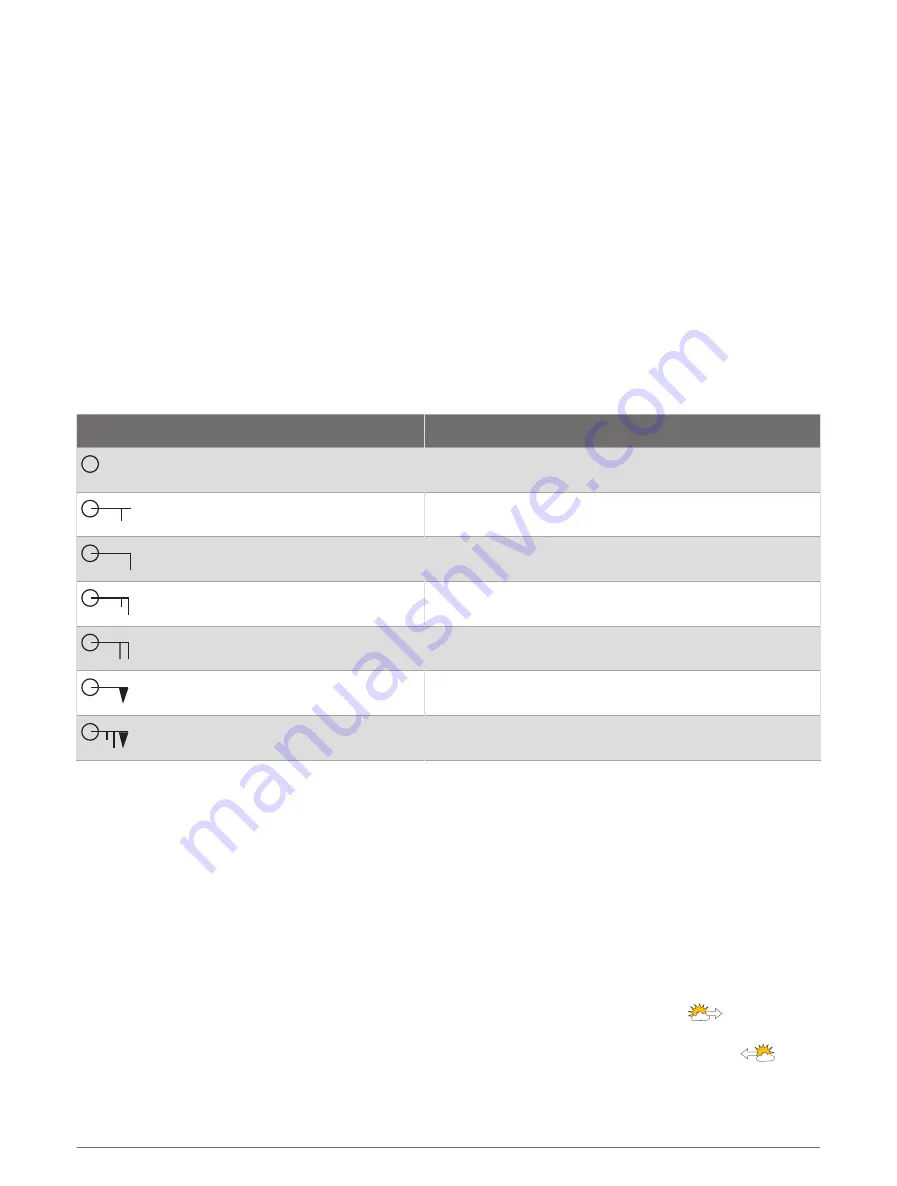
Surface Winds
Surface wind vectors appear on the Sea Conditions chart using wind barbs that indicate the direction from
which the wind is blowing. A wind barb is a circle with a tail. The line or flag attached to the tail of the wind
barb indicates the wind speed. A short line represents 5 knots, a long line represents 10 knots, and triangle
represents 50 knots.
Wind Barb
Wind Speed
Calm
5 knots
10 knots
15 knots
20 knots
50 knots
65 knots
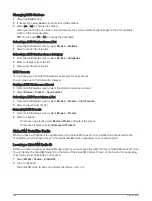
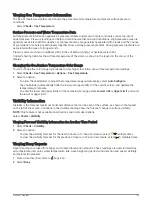
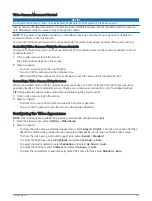
Wave Height, Wave Period, and Wave Direction
Wave heights for an area appear as variations in color. Different colors indicate different wave heights, as
shown in the legend.
The wave period indicates the time (in seconds) between successive waves. Wave period lines indicate areas
that have the same wave period.
Wave directions appear on the chart using red arrows. The direction of each arrow pointer indicates the
direction in which a wave is moving.
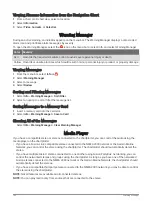
Viewing Forecast Sea Conditions Information for Another Time Period
1 Select Charts > Sea Conditions.
2 Select an option:
• To view forecasted sea conditions for the next 36 hours, in 12-hour increments, select
multiple
times.
• To view the forecasted sea conditions for the previous 36 hours, in 12-hour increments, select
multiple times.
154
SiriusXM Weather
Содержание GPSMAP 86 Series
Страница 1: ...GPSMAP 84XX 86XX 87XX Owner sManual...
Страница 12: ......
Страница 217: ......
Страница 218: ...support garmin com GUID 25CCEC48 337E 47C0 8B89 5C35CCDB65AC v22 September 2022...