


Routes
The last way to navigate to a destination is to create a user-defined route. The Garmin GPSMAP
172/172C system lets you create and store up to 50 reversible routes (numbered 1-50), with up to 50
waypoints each. Routes can be created and modified in two ways. The first way is to ‘Edit on Map’ from
the Route Edit map page, allowing you to see each route graphically on-screen as you create, review, or
modify the route. The second way is to ‘Edit as Text’ from the Route Review page, allowing you to see
a list of the waypoints as you create, review, or modify the route. All of the GPSMAP 172/172C’s route
functions are accessed through the Main Menu page or the
NAV
key.
To create a route graphically from the Route Edit map page:
1. Press the
MENU
key twice to display the Main Menu page. Use the
ARROW KEYPAD
to highlight
the ‘Route’ tab.
2. Press the
MENU
key to display the route options page. Select ‘New Route’ and press
ENTER
.
Or, highlight the first available blank slot in the Route List and press
ENTER
.
3. To add an existing waypoint or map item to the route, use the
ARROW KEYPAD
to highlight
the desired waypoint or map item on screen and press
ENTER
. Map items do not appear in the
waypoint list. To create a waypoint from a map item, see page 13.
4. To add a new waypoint to the route, use the map cursor to select the desired map position and
press
ENTER
. Press
ENTER
again to confirm the new waypoint. You may also change the name,
symbol and other properties of the new waypoint (see pages 34).
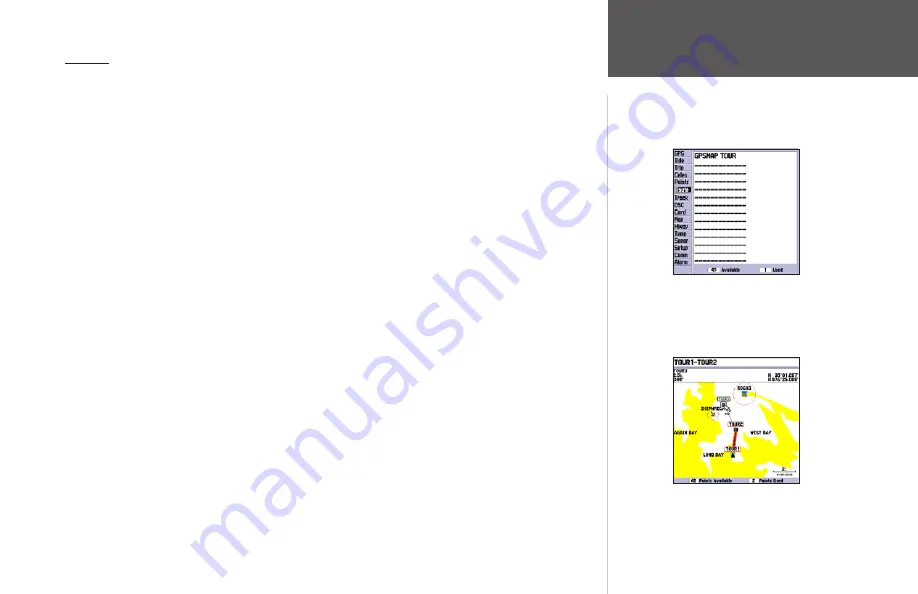
As you add each new waypoint to the route, the data window at the top of the map display shows
the waypoint/map item name, bearing and distance from your location, and coordinates of the
cursor. The bottom of the display shows you the number of available and used points. A route line
appears on the map to indicate each completed leg, and a dotted line appears to indicate the
distance and bearing to the arrow cursor from the last route waypoint.
5. Repeat steps 3 and 4 until you have finished defining all route waypoints.
6. When finished press
QUIT
twice to return to the Route List page; or press
MENU
, highlight ‘Edit as
Text’ and press
ENTER
to return to the Route Review page.
Main Menu—Route Tab and
Route Options Menu
You see ‘ADD’ below the
cursor as you add points.
Reference
Creating Routes
Содержание GPSMAP 172
Страница 1: ...owner s manual GPSMAP 172 172C chartplotting receiver ...
Страница 108: ......
Страница 109: ......