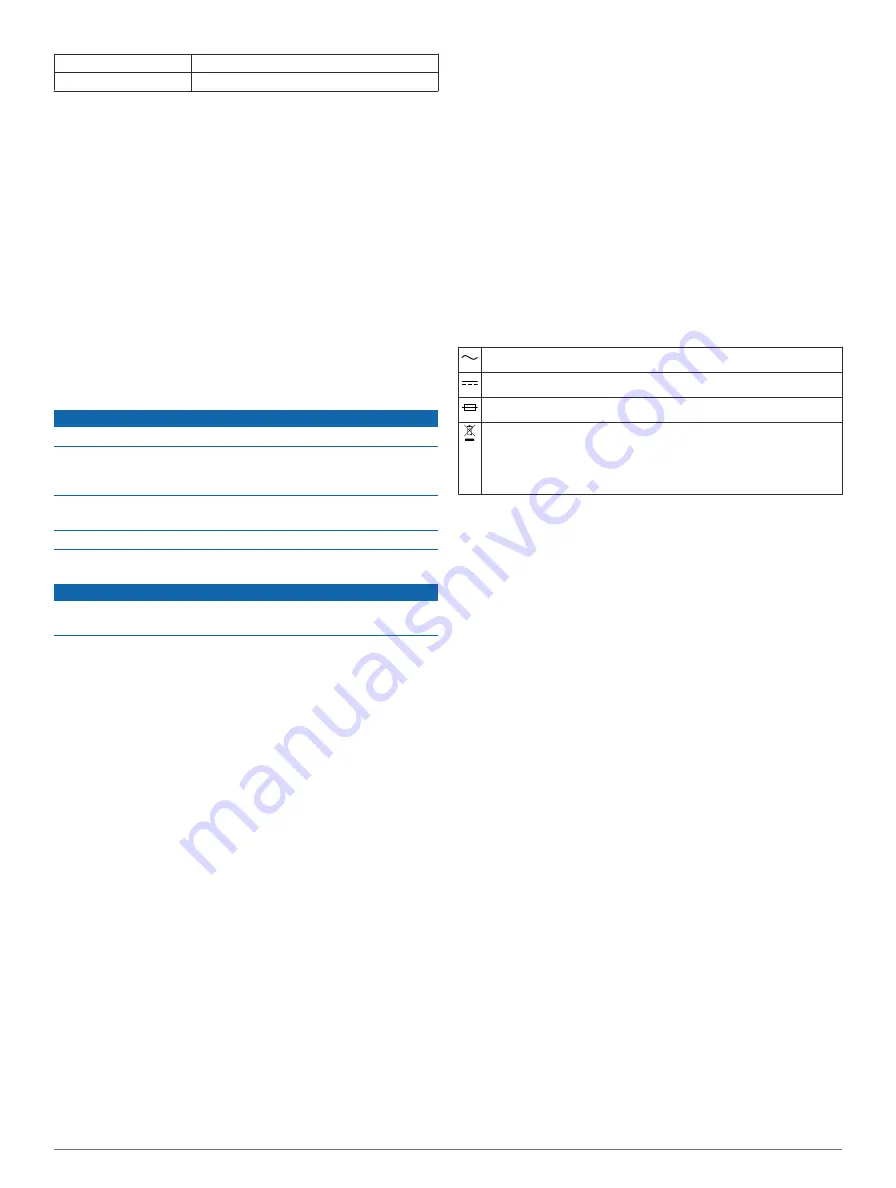
Battery type
Rechargeable lithium-ion, 3.7 Vdc
Input
Maximum DC 5 V, 2 A
Charging the Device
NOTE:
This Class III product shall be powered by an LPS
power supply.
You can charge the battery in the device using any of these
methods.
• Connect the device to the vehicle power cable.
• Connect the device to a computer using a USB cable.
The device may charge slowly when connected to a
computer. Some portable computers may not charge the
device.
• Connect the device to an optional power adapter accessory,
such as a wall power adapter.
You can purchase an approved Garmin AC-DC adapter
suitable for home or office use from a Garmin dealer or
Device Care
NOTICE
Avoid dropping your device.
Do not store the device where prolonged exposure to extreme
temperatures can occur, because it can cause permanent
damage.
Never use a hard or sharp object to operate the touchscreen, or
damage may result.
Do not expose the device to water.
Cleaning the Outer Casing
NOTICE
Avoid chemical cleaners and solvents that can damage plastic
components.
1
Clean the outer casing of the device (not the touchscreen)
using a cloth dampened with a mild detergent solution.
2
Wipe the device dry.
Cleaning the Touchscreen
1
Use a soft, clean, lint-free cloth.
2
If necessary, lightly dampen the cloth with water.
3
If using a dampened cloth, turn off the device and disconnect
the device from power.
4
Gently wipe the screen with the cloth.
Avoiding Theft
• Remove the device and mount from sight when not in use.
• Remove the residue left on the windshield by the suction
cup.
• Do not keep your unit in the glove compartment.
• Register your device at
Removing the Device, Mount, and Suction
Cup
Removing the Device from the Mount
1
Grip the device by the top and bottom.
2
Pull the bottom edge of the device toward you until it
releases from the magnet.
Pulling the device straight toward you may cause the mount
to release from the suction cup.
Removing the Mount from the Suction Cup
1
Turn the device mount to the right or left.
2
Apply pressure until the socket on the mount releases the
ball on the suction cup.
Removing the Suction Cup from the Windshield
1
Flip the lever on the suction cup toward you.
2
Pull the tab on the suction cup toward you.
Purchasing Additional Maps
1
Go to your device product page at (
).
2
Click the
Maps
tab.
3
Follow the on-screen instructions.
Purchasing Accessories
Symbol Definitions
These symbols may appear on the device or accessory labels.
Alternating current. The device is suitable for alternating current.
Direct current. The device is suitable for direct current only.
Fuse. Indicates a fuse specification or location.
WEEE disposal and recycling symbol. The WEEE symbol is
attached to the product in compliance with the EU directive
2002/96/EC on Waste Electrical and Electronic Equipment
(WEEE). It is intended to deter the improper disposal of this
product and to promote reuse and recycling.
Troubleshooting
The suction cup will not stay on my
windshield
1
Clean the suction cup and windshield with rubbing alcohol.
2
Dry with a clean, dry cloth.
3
Mount the suction cup (
Connecting the Device to Vehicle
My device is not acquiring satellite signals
• Verify the GPS simulator is turned off (
).
• Take your device out of parking garages and away from tall
buildings and trees.
• Remain stationary for several minutes.
The device does not charge in my vehicle
• Check the fuse in the vehicle power cable.
• Verify the vehicle is turned on and is supplying power to the
power outlet.
• Verify the interior temperature of the vehicle is between 32°
and 113°F (between 0° and 45°C).
• Verify that the fuse is not broken in the vehicle power outlet.
My battery does not stay charged for very
long
• Decrease the screen brightness (
).
• Shorten the display timeout (
).
• Decrease the volume (
).
• Disable Bluetooth wireless technology (
).
• Put the device in sleep mode when not in use (
).
• Keep your device away from extreme temperatures.
• Do not leave your device in direct sunlight.
Troubleshooting
13
Содержание fleet 660
Страница 1: ...Garmin fleet 660 Owner s Manual September 2014 Printed in Taiwan 190 01791 00_0A ...
Страница 21: ......


