background image

TITLE

SIZE 

PART NO: 

REV:

SCALE 

Sht. 

Of

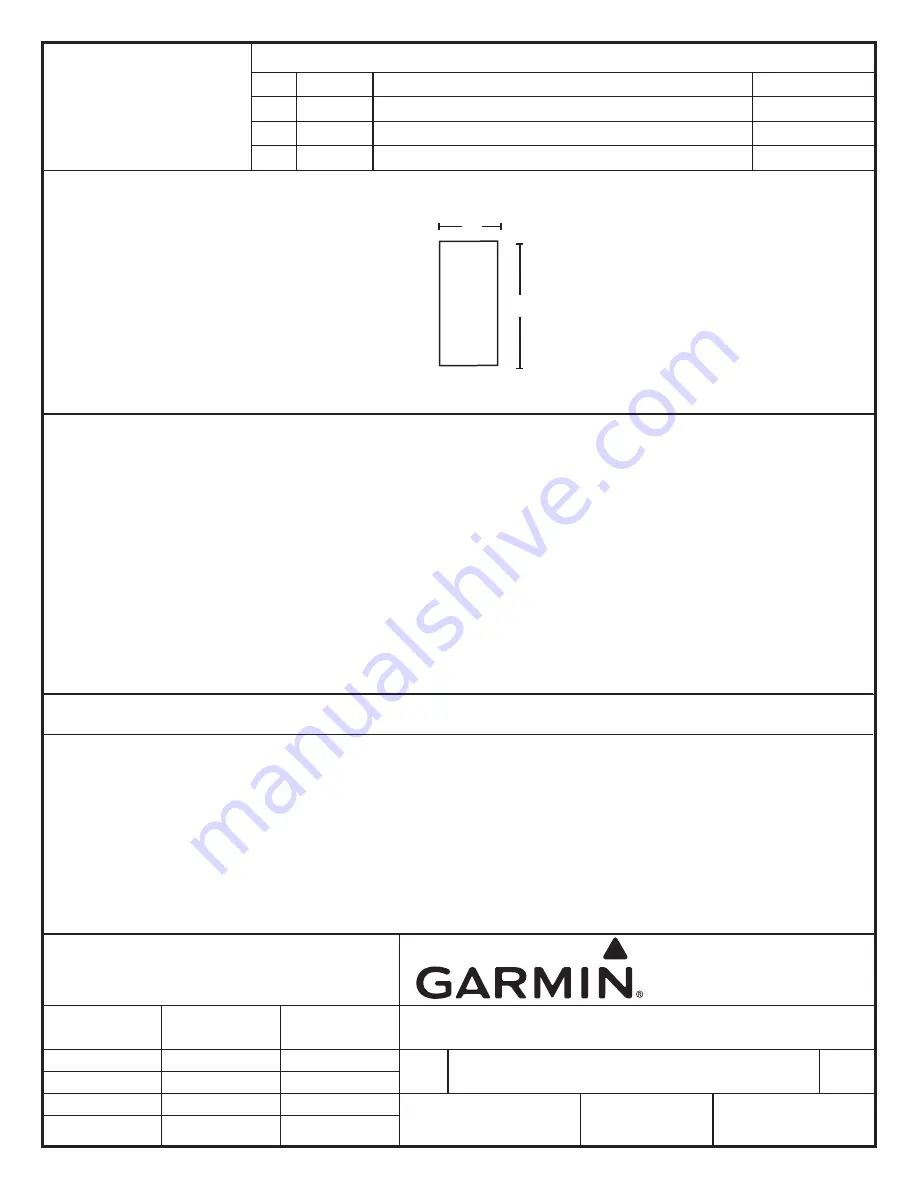
Dimensions and drawings for reference only. Drawings are not to scale.

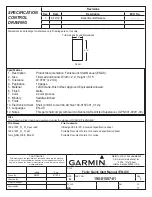
Trimmed and bound dimensions

Cover

5.15"

2.4"

Specifications

 1.  Description 

Product documentation: Fenix Quick Start Manual (EN-US)

 2.  Size 

Trimmed and bound: Width = 2.4”, Height = 5.15”. 

 3.  Tolerance 

±0.0787” (±2 mm)

 4.  Pagination 

16 pages

 5.  Material 

120-lb matte-finish offset. Approved Equivalents Allowed. 

 6.  Finish 

Matte

 7.  Color 

4-color process

 8.  Bindery 

Saddle-stitched.

 9.  Folds 

N/A

 10. Electronic Artwork  Shall conform to Garmin Archive 190-01507-01_01.zip

11. Languages 

EN-US

 12. Notes 

This part shall comply with Garmin Banned & Restricted Substances (GPN 001-00211-00).

Files

The following files have been archived under the above ARCHIVE FILENAME.

File Name

File Contents

190-01507_01_01_Spec.indd

InDesign CS4 for PC, document specification sheet

190-01507_01_01.pdf

Portable Document Format, manual and specification sheet

fenix_QSM_WEB_EN.pdf

Portable Document Format, for online

SPECIFICATION 

CONTROL 

DRAWING

Revisions

Rev.

Date

Description

ECO No. 

1

6/12/12

Experimental Release

– – – –

CONFIDENTIAL

This drawing and the specifications contained herein are the property 

of Garmin Ltd. or its subsidiaries and may not be reproduced or used in 

whole or in part as the basis for manufacture or sale of products without 

written permission.

Garmin Ltd. or its subsidiaries

C/O Garmin International, Inc.

1200 E. 151st Street

Olathe, Kansas 66062 U.S.A.

Initials

Date

Fenix Quick Start Manual (EN-US)

Drawn By:

SMW

6/12/12

A

190-01507-01

1

Checked By:
Project Manager:

N/A

Approved By:

1

17

Содержание fenix

Страница 1: ...iles have been archived under the above ARCHIVE FILENAME File Name File Contents 190 01507_01_01_Spec indd InDesign CS4 for PC document specification sheet 190 01507_01_01 pdf Portable Document Format...

Страница 2: ...ore you begin or modify any exercise program Getting Started When using your device the first time you should complete these tasks to set up the device and get to know the basic features 1 Charge the...

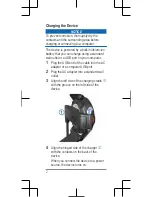
Страница 3: ...ng a standard wall outlet or a USB port on your computer 1 Plug the USB end of the cable into the AC adapter or a computer USB port 2 Plug the AC adapter into a standard wall outlet 3 Align the left s...

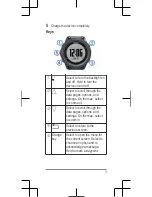
Страница 4: ...the data pages options and settings On the map select to zoom out Select to scroll through the data pages options and settings On the map select to zoom in Select to return to the previous screen Oran...

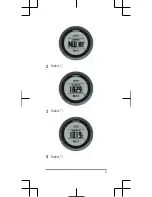
Страница 5: ...r five seconds the display automatically switches back to the previous page Viewing the Sensor Data You can quickly access real time data for the compass altimeter barometer and temperature sensors NO...

Страница 6: ...2 Select 3 Select 4 Select 5...

Страница 7: ...s manual for more information Turning On a Sensor Mode You can put the device in compass altimeter barometer or temperature mode to display continuous sensor data For example you can put the device in...

Страница 8: ...Select the Orange key 4 Select GPS 5 Wait while the device locates satellites The device displays your coordinates when it has located satellites 6 Select Start 7 Walk around to record a track Your d...

Страница 9: ...on the device 1 Select the Orange key 2 Select GPS Start 3 Start hiking 4 When you want to take a break or pause the device from tracking select 5 Select Resume and continue hiking 6 When finished sel...

Страница 10: ...can save your current location as a waypoint 1 Hold the Orange key 2 Select an option To save the waypoint without changes select Save To make changes to the waypoint select Edit make changes to the...

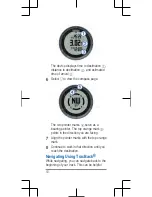
Страница 11: ...ointer marks serve as a bearing pointer The top orange mark points in the direction you are facing 7 Align the pointer marks with the top orange mark 8 Continue to walk in that direction until you rea...

Страница 12: ...opping Navigation 1 Select the Orange key 2 Select Stop Nav Setting Alerts You can set the device to alert you in many different situations where your awareness of the surrounding conditions or other...

Страница 13: ...ct Locking the Keys You can lock the keys to prevent inadvertent key presses 1 Select the data page you want to view while the keys are locked 2 Hold and to lock the keys 3 Hold and to unlock the keys...

Страница 14: ...ireless communications protocol Bluetooth Smart device Battery Information The actual battery life depends on how much you use GPS device sensors optional wireless sensors and the backlight Battery Li...

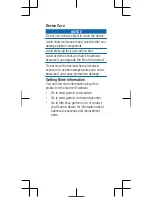
Страница 15: ...rade the life of the product Do not store the device where prolonged exposure to extreme temperatures can occur because it can cause permanent damage Getting More Information You can find more informa...

Страница 16: ......

Страница 17: ...y use of such marks by Garmin is under license Mac is a registered trademark of Apple Computer Inc Windows is a registered trademark of Microsoft Corporation in the United States and other countries O...

Отзывы: