If you know your maximum heart rate, you can use the table
(
heart rate zone for your fitness objectives.
If you do not know your maximum heart rate, use one of the
calculators available on the Internet. Some gyms and health
centers can provide a test that measures maximum heart rate.
The default maximum heart rate is 220 minus your age.
Recovery Advisor
You can use your Garmin device with a heart rate monitor to
display how much time remains before you are fully recovered
and ready for the next hard workout.
Recovery time
: The recovery time appears immediately
following an activity. The time counts down until it is optimal
for you to attempt another hard workout.
Viewing Your Recovery Time
Before you can use the recovery time feature, you must put on
the heart rate monitor, and pair it with your device (
). If your device was packaged with
a heart rate monitor, the device and sensor are already paired.
For the most accurate estimate, complete the user profile setup,
and set your maximum heart rate (
).
1
Hold .
2
Select
My Stats
>
Recovery Advisor
.
3
Go for a ride.
4
After your ride, select
Save Ride
.
The recovery time appears. The maximum time is 4 days,
and the minimum time is 6 hours.
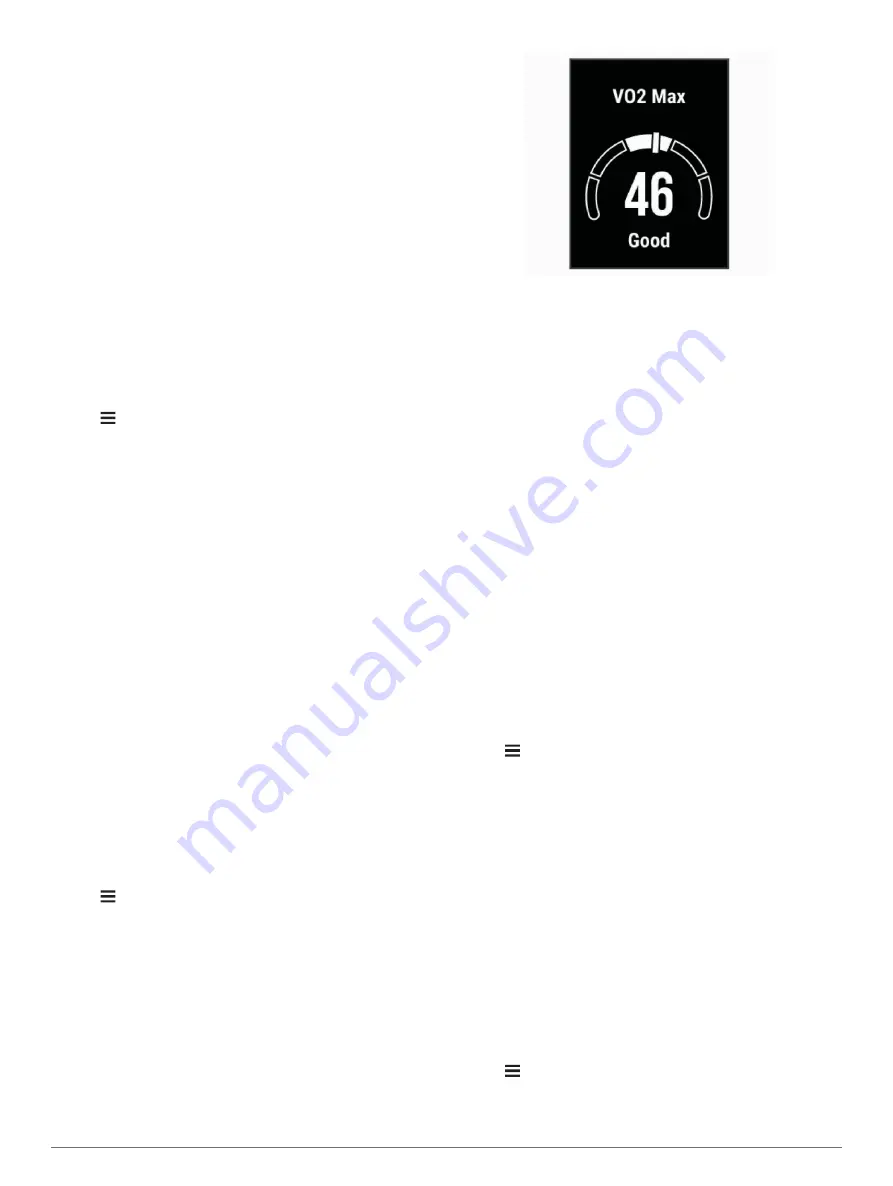
About VO2 Max. Estimates
VO2 max. is the maximum volume of oxygen (in milliliters) you
can consume per minute per kilogram of body weight at your
maximum performance. In simple terms, VO2 max. is an
indication of athletic performance and should increase as your
level of fitness improves. VO2 max. estimates are provided and
supported by Firstbeat. You can use your Garmin device paired
with a compatible heart rate monitor and power meter to display
your cycling VO2 max. estimate.
Getting Your VO2 Max. Estimate
Before you can view your VO2 max. estimate, you must put on
the heart rate monitor, install the power meter, and pair them
with your device (
). If
your device was packaged with a heart rate monitor, the device
and sensor are already paired. For the most accurate estimate,
complete the user profile setup, and set your maximum heart
rate (
).
NOTE:
The estimate may seem inaccurate at first. The device
requires a few rides to learn about your cycling performance.
1
Ride at a steady, high intensity for at least 20 minutes
outdoors.
2
After your ride, select
Save Ride
.
3
Hold .
4
Select
My Stats
>
VO2 Max
.
Your VO2 max. estimate appears as a number and position
on the gauge.
VO2 max. data and analysis is provided with permission from
The Cooper Institute
®
. For more information, see the
appendix (
), and go to
.
Tips for Cycling VO2 Max. Estimates
The success and accuracy of the VO2 max. calculation
improves when your ride is a sustained and moderately hard
effort, and where heart rate and power are not highly variable.
• Before your ride, check that your device, heart rate monitor,
and power meter are functioning properly, paired, and have
good battery life.
• During your 20 minute ride, maintain your heart rate at
greater than 70% of your maximum heart rate.
• During your 20 minute ride, maintain a fairly constant power
output.
• Avoid rolling terrain.
• Avoid riding in groups where there is a lot of drafting.
Pairing Your Wireless Sensors
Before you can pair, you must put on the heart rate monitor or
install the sensor.
Pairing is the connecting of ANT+ or Bluetooth wireless sensors.
For example, connecting a heart rate monitor with your Garmin
device.
1
Bring the device within 3 m (10 ft.) of the sensor.
NOTE:
Stay 10 m (33 ft.) away from other riders' sensors
while pairing.
2
Hold .
3
Select
Sensors
>
Add Sensor
.
A list of available sensors appears.
4
Select one or more sensors to pair with your device.
When the sensor is paired with your device, the sensor status is
Connected. You can customize a data field to display sensor
data.
Training with Power Meters
• Go to
for a list of ANT+ sensors
that are compatible with your device (such as Vector
™
).
• For more information, see the owner's manual for your power
meter.
Calibrating Your Power Meter
Before you can calibrate your power meter, you must install it,
pair it with your device, and begin actively recording data with it.
For calibration instructions specific to your power meter, see the
manufacturer's instructions.
1
Hold .
2
Select
Sensors
.
3
Select your power meter.
8
Wireless Sensors
Содержание EDGE 130
Страница 1: ...EDGE 130 Owner sManual...
Страница 4: ......
Страница 20: ...support garmin com April 2018 190 02321 00_0A...


