


NOTE:
In order for the software update instructions to
appear, the device must be fully booted before the card is
inserted.
3
Follow the on-screen instructions.
4
Wait several minutes while the software update process
completes.
5
When prompted, leave the memory card in place and restart
the chartplotter manually.
6
Remove the memory card.
NOTE:
If the memory card is removed before the device
restarts fully, the software update is not complete.
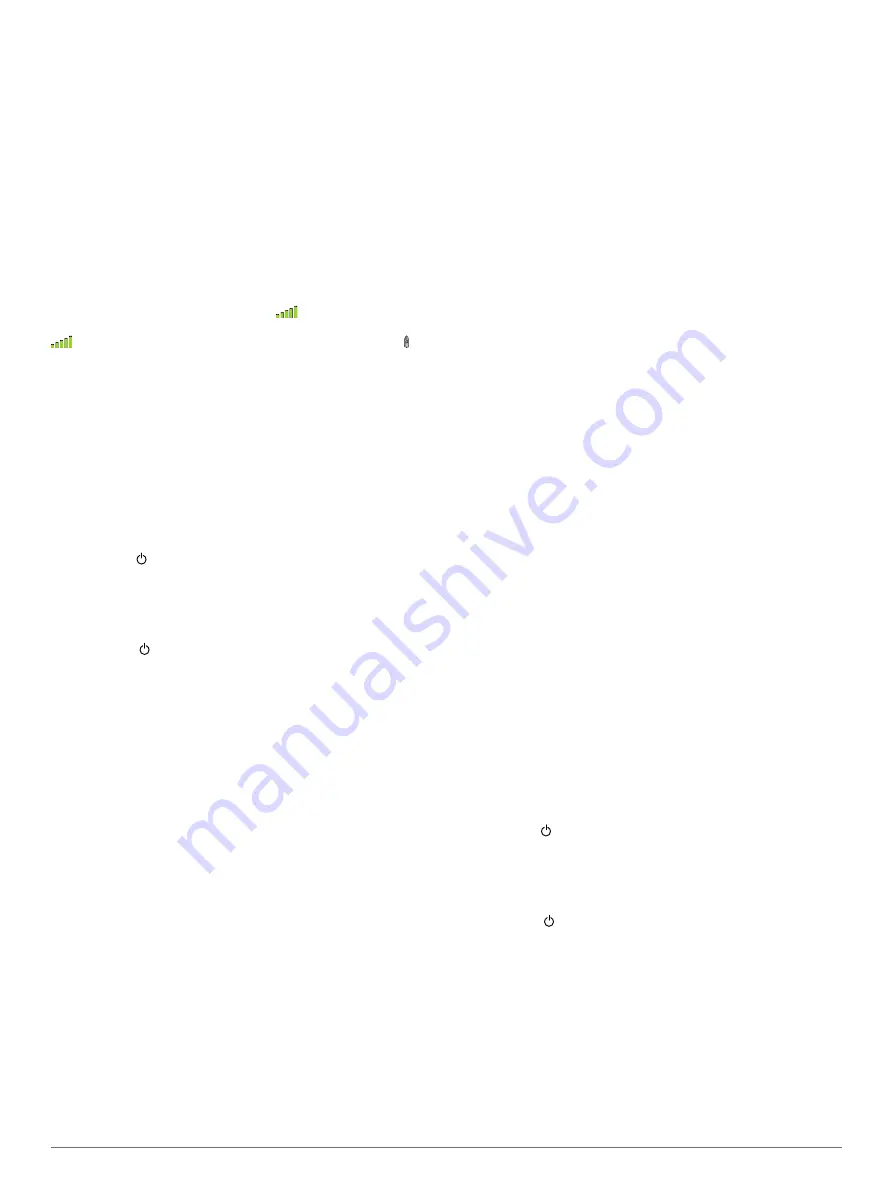
GPS Satellite Signals
When you turn on the chartplotter, the GPS receiver must collect
satellite data and establish the current location. When the
chartplotter acquires satellite signals,
appears at the top of
the Home screen. When the chartplotter loses satellite signals,
disappears and a flashing question mark appears over on
the chart.
For more information about GPS, go to
.
Selecting the GPS Source
You can select your preferred source for GPS data, if you have
more than one GPS source.
1
Select
Settings
>
System
>
GPS
.
2
Select the source for GPS data.
Adjusting the Backlight
1
Select
Settings
>
System
>
Display
>
Backlight
.
TIP:
Press from any screen to open the backlight settings.
2
Adjust the backlight.
Adjusting the Color Mode
1
Select
Settings
>
System
>
Display
>
Color Mode
.
TIP:
Select >
Display
>
Color Mode
from any screen to
access the color settings.
2
Select an option.
Customizing the Home Screen
You can add items to and rearrange items on the Home screen.
1
From the Home screen, select
Customize Home
.
2
Select an option:
• To rearrange an item, select
Rearrange
, select the item to
move, and select the new location.
• To add an item to the Home screen, select
Add
, and
select the new item.
• To remove an item you have added to the Home screen,
select
Remove
, and select the item.
Customizing the Chartplotter
Customizing the Home Screen
You can add items to and rearrange items on the Home screen.
1
From the Home screen, select
Customize Home
.
2
Select an option:
• To rearrange an item, select
Rearrange
, select the item to
move, and select the new location.
• To add an item to the Home screen, select
Add
, and
select the new item.
• To remove an item you have added to the Home screen,
select
Remove
, and select the item.
Combinations
The Combination screen shows a combination of different
screens at the same time. The number of options available on
the Combination screen depends on the optional devices you
have connected to your chartplotter and whether you are using
premium maps.
Selecting a Combination
1
Select
Combinations
.
2
Select a combination.
Customizing a Combination Screen
1
Select
Combinations
.
2
Use the arrow keys to highlight a Combination screen.
3
Select
MENU
>
Configure
.
4
Select an option:
• To change the name, select
Name
, and enter a new
name.
• To change the arrangement of the information on the
screen, select
Change Layout
, and select a new layout.
• To change the information shown on the screen, select
Change Function
, and select new information.
• To customize the data shown on the screen, select
Overlay Numbers
(
• To resize the information areas shown on the screen,
select
Resize Combination
.
Adding a Custom Combination Screen
You can create a custom combination screen to suit your needs.
1
Select
Combinations
>
MENU
>
Add
.
2
Follow the on-screen instructions.
Deleting a Combination Screen
1
Select
Combinations
.
2
Use the arrow keys to highlight a Combination screen.
3
Select
Configure
>
Remove Combination
.
Setting the Vessel Type
You can select your boat type to configure the chartplotter
settings and to use features customized for your boat type.
1
Select
Settings
>
My Vessel
>
Vessel Type
.
2
Select an option.
Adjusting the Backlight
1
Select
Settings
>
System
>
Display
>
Backlight
.
TIP:
Press from any screen to open the backlight settings.
2
Adjust the backlight.
Adjusting the Color Mode
1
Select
Settings
>
System
>
Display
>
Color Mode
.
TIP:
Select >
Display
>
Color Mode
from any screen to
access the color settings.
2
Select an option.
Charts and 3D Chart Views
The charts and 3D chart views that are available depend on the
map data and accessories used.
You can open the charts and 3D chart views by selecting
Charts.
Navigation Chart
: Shows navigation data available on your pre-
loaded maps and from supplemental maps, if available. The
2
Customizing the Chartplotter
Содержание echomap chirp 40 series
Страница 1: ...echoMAP CHIRP 40 50 70 90 Series Owner s Manual September 2016 190 01951 10_0A...
Страница 6: ......
Страница 43: ......
Страница 45: ...September 2016 GARMIN echoMAP CHIRP 40 50 70 90 Series Quick Start Manual Printed in Taiwan 190 01951 11_0A...
Страница 54: ...DUPLQ WG RU LWV VXEVLGLDULHV ZZZ JDUPLQ FRP VXSSRUW...


